


This repository contains introductory materials on Quantum Machine Learning, as well as Python code demos using PennyLane, a cross-platform Python library for differentiable programming of quantum computers.

The content consists of four main areas:
-
What is quantum machine learning? Understand what quantum computing means for machine learning.
-
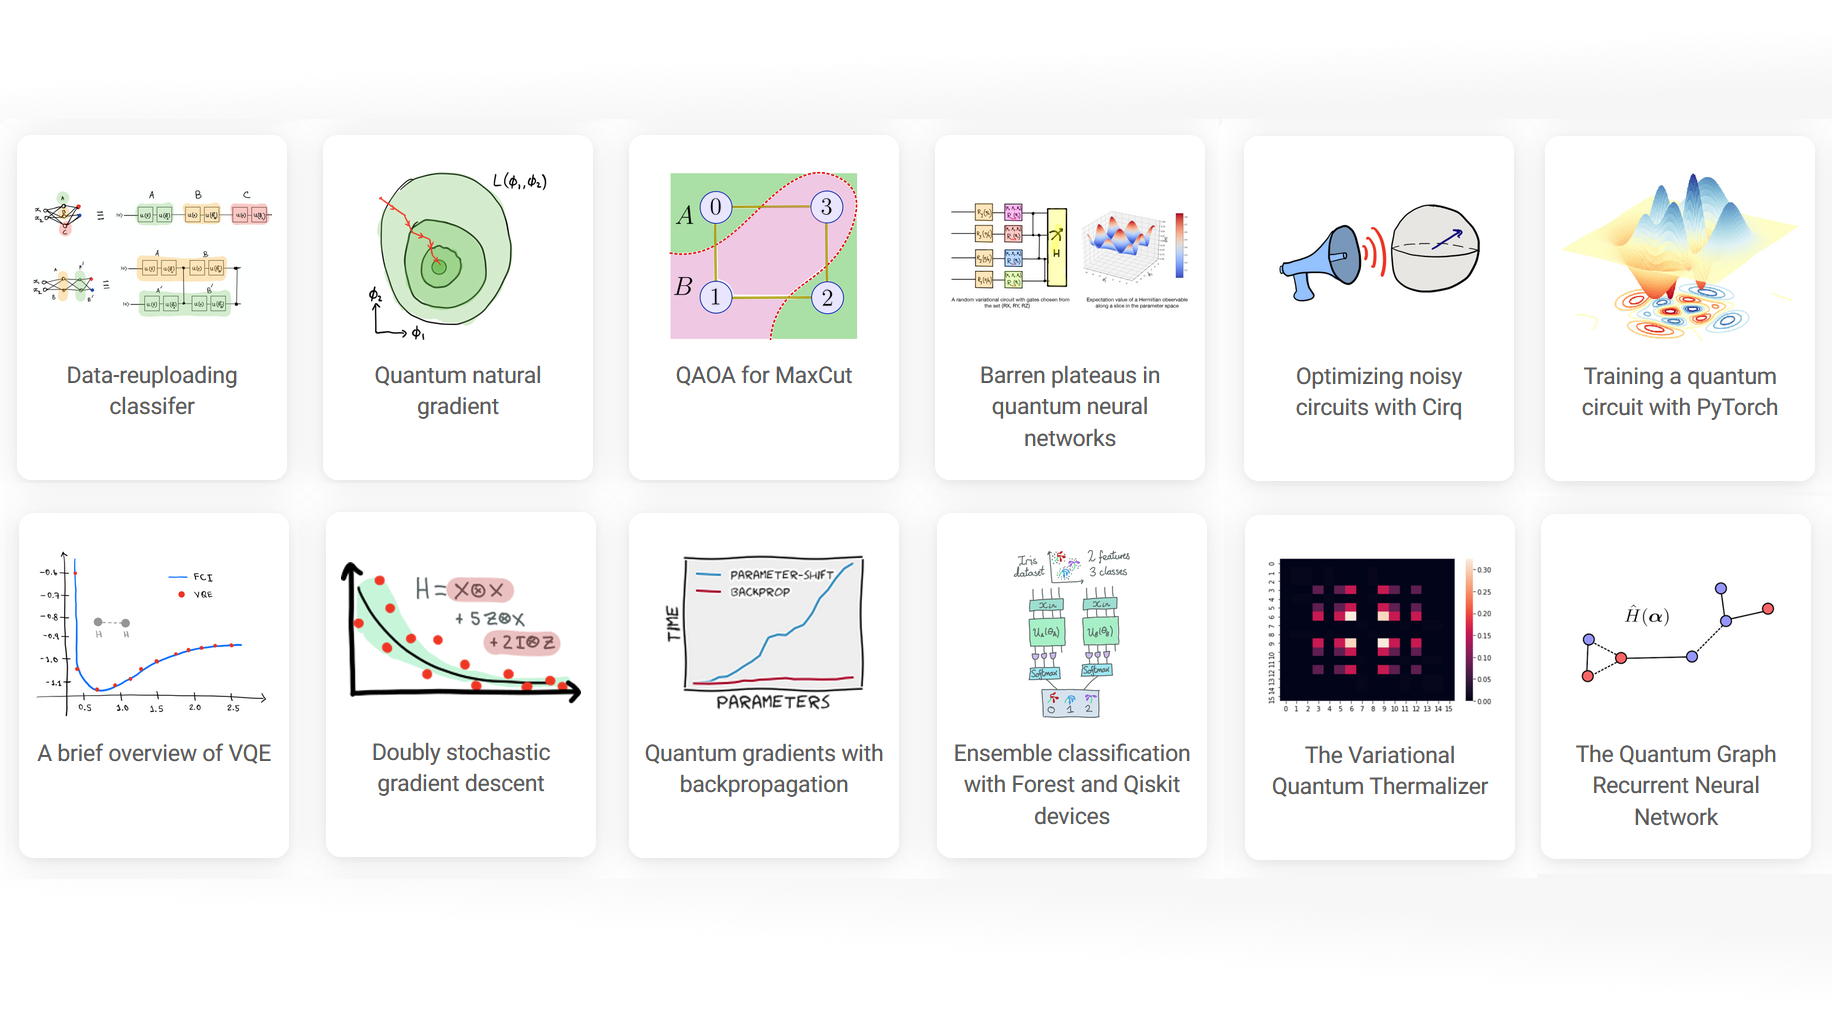
QML tutorials and demos. Take a dive into quantum machine learning with fully-coded implementations of major works.
-
Key concepts of QML. A glossary of key ideas for quantum machine learning and optimization.
-
QML videos. A selection of curated expert videos discussing various aspects of quantum machine learning.
Explore these materials on our website: https://pennylane.ai/qml. All tutorials are fully executable, and can be downloaded as Jupyter notebooks and Python scripts.
You can contribute by submitting a demo via pull request implementing a recent quantum computing paper/result.
-
Demos are written in the form of an executable Python script. Any package listed in
requirements.txtandrequirements_no_deps.txtyou can assume is available to be imported. Matplotlib plots will be automatically rendered and displayed on the QML website.Note: try and keep execution time of your script to within 10 minutes.
-
If you would like to write the demo using a Jupyter notebook, you can convert the notebook to the required executable Python format by using this script.
-
All demos should have a file name beginning with
tutorial_. The python files are saved in thedemonstrationsdirectory. -
Restructured Text sections may be anywhere within the script by beginning the comment with 79 hashes (
#). These are useful for breaking up large code-blocks. -
You may add figures within ReST comments by using the following syntax:
##############################################################################
#.. figure:: ../demonstrations/<demo name>/image.png
#    :align: center
#    :width: 90%
where
<demo name>is a sub-directory with the name of your demo. -
You may add author bios within ReST comments by using the following syntax:
##############################################################################
#.. bio:: Author name goes here
#    :photo: ../_static/avatar.webp
#
#    Write the author bio content here. It must be preceded by a blank line.
Leave the selected photo as above to display the default avatar, or add and select an author photo from the
_static/authorsfolder. -
When complete, create a gallery link to your demo. This can be done by adding the snippet below to
demos_getting-started.rstfor introductory demos... gallery-item:: :tooltip: An extended description of the demo :figure: demonstrations/<demo name>/thumbnail.png :description: :doc:`demos/tutorial_name`
You should also add there a link to your demo to the table of contents, by adding to the end of the
.. toctree::in the appropriate file.
.. toctree::
    :maxdepth: 2
    :caption: Getting Started
    :hidden:

    demos/tutorial_qubit_rotation
    demos/tutorial_name
If you're unsure which file to put your demo in, choose the one you think is best, and we will work together to sort it during the review process.
-
Finally, run your script through the Black Python formatter,
pip install black
black -l 100 demo_new.py
and you are ready to submit a pull request!
If your demo uses the latest release of PennyLane, simply make your PR against the
master branch. If you instead require the cutting-edge development versions of
PennyLane or any relevant plugins, make your PR against the dev branch instead.
While you are free to be as creative as you like with your demo, there are a couple of guidelines to keep in mind.
-
Submissions should include your name (and optionally email) at the top under the title.
-
All contributions must be made under the Apache 2.0 license.
-
The title should be clear and concise, and if based on a paper it should be similar to the paper that is being implemented.
-
All demos should include a summary below the title. The summary should be 1-3 sentences that makes clear the goal and outcome of the demo, and links to any papers/resources used.
-
Code should be clearly commented and explained, either as a ReST-formatted comment or a standard Python comment.
-
Thumbnails should be legible, interesting, and unique --- but not too busy! Any included text should be minimal and legible.
-
If your content contains random variables/outputs, a fixed seed should be set for reproducibility.
-
All content must be original or free to reuse subject to license compatibility. For example, if you are implementing someone else's research, reach out first to recieve permission to reproduce exact figures. Otherwise, avoid direct screenshots from papers, and instead refer to figures in the paper within the text.
-
All submissions must pass code review before being merged into the repository.
To build the website locally, simply run make html. The rendered HTML files
will now be available in _build/html. Open _build/html/index.html to browse
the built site locally.
Note that the above command may take some time, as all demos will be executed and built! Once built, only modified demos will be re-executed/re-built.
Alternatively, you may run make html-norun to build the website without executing
demos, or build only a single demo using the following command:
sphinx-build -D sphinx_gallery_conf.filename_pattern=tutorial_QGAN\.py -b html . _buildwhere tutorial_QGAN should be replaced with the name of the demo to build.
To install dependencies on an M1 Mac and build the QML website, the following instructions may be useful.
-
If python3 is not currently installed, we recommend you install via Homebrew:
brew install python
-
Install each package in
requirements-norun.txtby runningpip3 install -r requirements-norun.txt
Alternatively, you can do this in a new virtual environment using
python -m venv [venv_name]
cd [venv_name] && source bin/activate
pip install -r requirements-norun.txt
Once this is complete, you should be able to build the website using make html-norun. If this succeeds, the build folder should be populated with files. Open index.html in your browser to view the built site.
If you are running into the error message
command not found: sphinx-build
you may need to make the following change:
- In the
MakefilechangeSPHINXBUILD = sphinx-buildtoSPHINXBUILD = python3 -m sphinx.cmd.build.
If you are running into the error message
ModuleNotFoundError: No module named 'the-module-name'
you may need to install the module manually:
pip3 install the-module-name
- Source Code: https://github.com/PennyLaneAI/QML
- Issue Tracker: https://github.com/PennyLaneAI/QML/issues
If you are having issues, please let us know by posting the issue on our GitHub issue tracker.
We are committed to providing a friendly, safe, and welcoming environment for all. Please read and respect the Code of Conduct.
The materials and demos in this repository are free and open source, released under the Apache License, Version 2.0.
The file custom_directives.py is available under the BSD 3-Clause License with
Copyright (c) 2017, Pytorch contributors.


![dependabot[bot] avatar](https://avatars.githubusercontent.com/in/29110?v=4 "dependabot[bot]")


