In this lab, we're going to combo use an API to get the weather. First, we'll have the user enter a location (a landmark or an address) into a form. We'll take that information and translate it into GPS coordinates, or latitude-longitude using the Simple Geocoder module. Finally, we'll give those coordinates to DarkSky's API to see what the current weather is.
You won't need to turn in this assignment, but you should fork and clone this repository for its starter code.
This will install the dependecies you need to run an Express app from the package.json file.
You can do this by running the command touch .env.
You've got a basic Node/Express app going on here. Take a look at it and get familiar with what it does. Make sure you can run the server and get to the home page.
Your layout is already set up and includes a reference to Material CSS by Google. It already has a basic navbar and two ejs files, but the rest is up to you!
You've got two routes set up. One is a get route that is rendering your home page and the other is a post route that will eventually display the weather results that your user is searching for.
| Method | Path | Purpose |
|---|---|---|
| GET | / | Show form where user can enter a location |
| POST | / | Take users search, get results, and display them |
You've got a static folder you can put static files into. There is already a style.css file for custom styles. What folder is your static folder is decided by the following line in index.js:
app.use(express.static('static'));
However, in this case, static is just the name of the folder. It could be anything, but since we're in the habit of making descriptive and meaningful names, static is a solid choice. You may also commonly see this folder called public, which is also a solid choice.
This will include a text input, and a submit button. You're going to use this to submit the location the user enters to your backend post route.
Make sure you have the method listed as "POST" on your form tag.
If your form is hooked up right, two things should be happening. First, you should be getting to the post route in your index.js file. You can tell this is happening if you're rendering the results.ejs view. Second, you should be getting the location from your form to the backend route. To test this, add the following line of code to the post route:
console.log(req.body);
This should print out an object containing the data you passed in! Note that console.logs from your backend will print on your terminal.
REPEAT, console.logs from your backend will print on your terminal, NOT your browser!
Not seeing anything? Does your input HTML element have a "name" property?
npm install simple-geocoder
NOTE Dec 2019: simple-geocoder looks like it may have stopped being updated. node-open-geocoder may be a possible alternative.
This is the package we're going to use to figure out latitude-longitude coordinates for the location or address the user typed. Check out the documentation for simple-geocoder.
All we really need from geocoder is the geocode() function. We'll feed it the data that the user entered and (hopefully) get back some coordinates!
Feed the geocoder.geocode function the data that your user types. In the callback function, print out locations by putting it into a console.log. You should see that the locations object has a x and a y property.
In this case, your user is you! Type in Seattle, WA as your test user input address. The expected coordinates are 47.608013,-122.335167. Do you see them in locations?
In your res.render('results') call, send on the location and coordinate data via a second argument. Display this on the results.ejs page.
Remember, you can pass data to an EJS file that you render!
res.render('results', { someData: 'MY DATA!', someNum: 6});
Check and make sure that your results page is now printing out:
Seattle
47.608013,-122.335167
It might print out a whole lot of decimals... feel free to round off as appropriate for display purposes.
npm install request
8. Sign up for an API Key on DarkSky.net
It's free!
9. Look at the DarkSky Example
DarkSky wants your request url in this format (using Seattle as our example):
https://api.darksky.net/forecast/YOURAPIKEY/47.608013,-122.335167
You visit this link and get the data... but it's kind of a mess!
10. Install JSONView Chrome Plugin
This will help you view JSON data in your browser in a much more efficient way. A Chrome plugin like JSONView can really, really help make large amounts of JSON data less of a headache. You may have to enable it in your settings, but after that you should be good to start viewing all the JSON data you can handle.
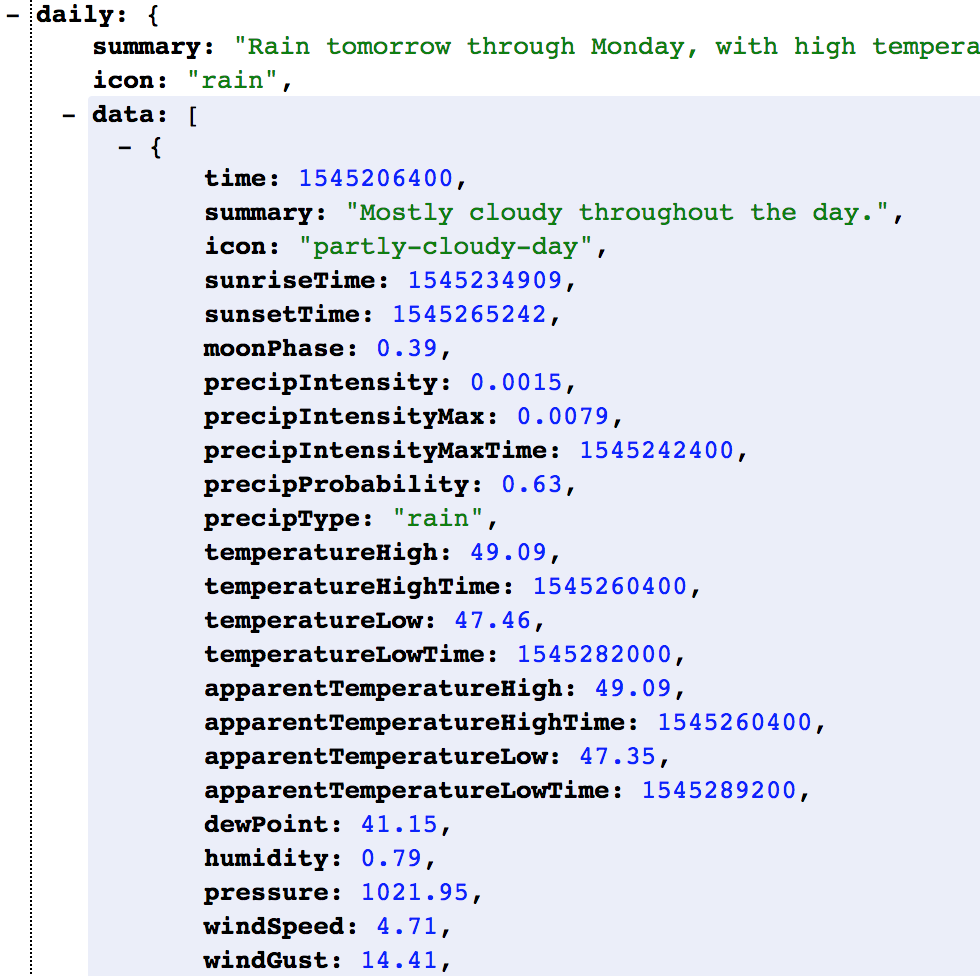
Look at the DarkSky forecast data for Seattle. What is the current temperature? How deep in the results object is this located?
Create a .env file at the top-level if you haven't already. Add your base url from DarkSky (the one that includes your API key). It might look something like this:
DARK_SKY_BASE_URL='https://api.darksky.net/forecast/abc123notmyrealapikey/'
npm install dotenv
This will read the .env file for you and make those variables available that we put in there. You can access DARK_SKY_BASE_URL just like a regular constant in your index.js file now. Here's an example:
var urlToCall = process.env.DARK_SKY_BASE_URL + lat + ',' + lng;
Take that URL you used for DarkSky and use it in the request call. If you don't remember how to do this, refer to the class notes, or just look at the example on Request's NPM page.
Remember to add the coordinates you found in step 6 to the end of the DarkSky request URL. This makes it dynamic instead of giving you the same location data over and over.
Make sure that the request call is INSIDE the geocoder.geocode callback! Don't let asynchronous calls ruin your day!
Use the built in function JSON.parse() to parse the result data that returns from DarkSky.
request(yourUrl, function(error, response, body) {
    // Parse the data
    var result = JSON.parse(body);

    // Look at the data
    console.log(result);

    // TODO: Do something with that data!
});It's up to you how you want to stylize this part! At minimum you should be passing the current temperature into the results page and displaying something along thee lines of "It is currently 54.2F in Seattle."
CONGRATS You survived the lab!!!
You have the current temperature printing out for any location a user can come up with. Cool! But DarkSky gives you so much more data than just that!
Take this app and enhance it to give me a 5-day forecast (that's the daily section!) complete with styling, and weather icons.
Your completed deliverable is:
- Styled with cards, tables, or rectangular borders that look like a real weather site, like Accuweather or Kiro7 News. (Try out Materialize cards if you are stylistically inclined!)
- 5 day forecast, where each day includes
- High and Low Predicted Temperatures
- Description (the summary field)
- Wind speed, in MPH
- An icon based on their recommendation (Try unicode characters for basic weather symbols)
- Display alerts if there are any! (e.g., high wind warning, etc.)
- Interpret the timestamp into day of week