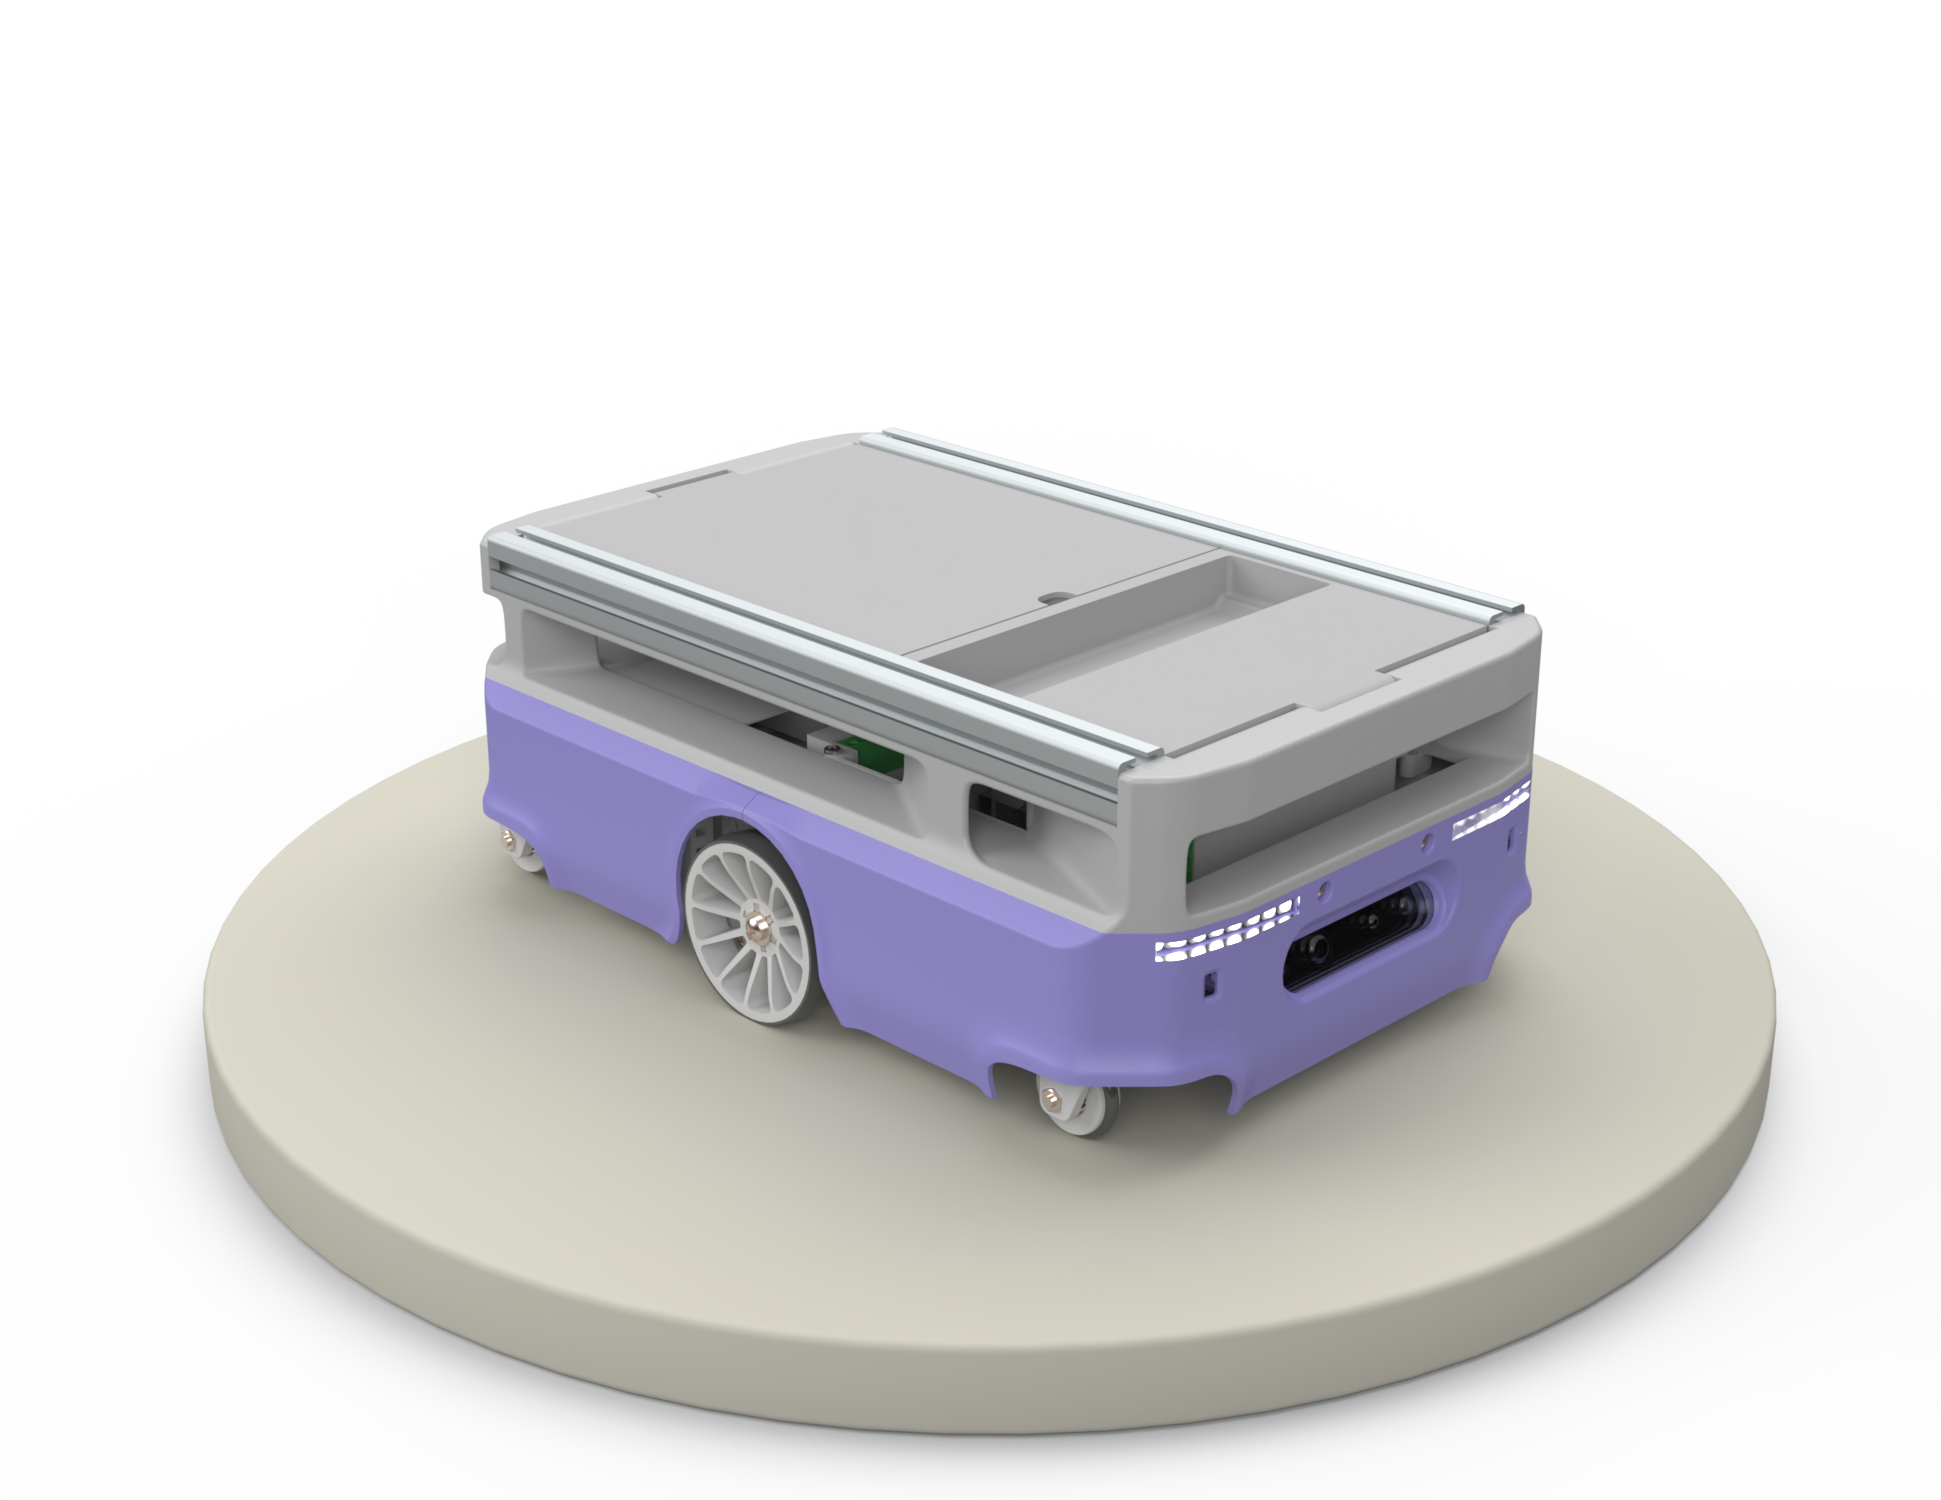


Cloudy is an open-source, 3D-printed robot designed and built by Robolaunch. With its advanced capabilities and innovative design, Cloudy is poised to become a key player in the world of robotics. Whether you're a seasoned DIY enthusiast or just getting started in the world of robotics, Cloudy has something to offer.
- Explore the world of robotics and learn about the latest technology and techniques
- Build, customize, and program your own robot using open-source software and hardware
- Experiment with sensors, motors, and other components to see what Cloudy can do
- Share your creations and collaborate with others in the ROS community
Simulation
If you do not currently have access to a physical Cloudy robot, you can use the Gazebo simulation for experimentation.
To clone the Cloudy repository, you will need to have Git and ROS installed on your system. You can check offical guide for installing Git and ROS. Once both are installed, you can use the following commands to clone the repository:
- Create a new workspace
mkdir cloudy_ws/src -p && cd cloudy_ws/- Clone the repository
git clone https://github.com/robolaunch/cloudy.git src- Init rosdep if you have not already
sudo rosdep init- Install dependencies
sudo rosdep update && rosdep install --from-paths src --ignore-src -y- Source your ROS distribution
source /opt/ros/$ROS_DISTRO/setup.bash- Build the repository
colcon build && source install/setup.bash- Launch the simulation
ros2 launch robolaunch_cloudy_simulator launch_sim.launch.py- Control the robot
In a separate terminal, source the ROS installation and run teleop node
source /opt/ros/$ROS_DISTRO/setup.bash && ros2 run teleop_twist_keyboard teleop_twist_keyboard
Real Robot
If you have access to a physical Cloudy robot, you have to install the firmware to the ESP32 and ROS packages to the internal board computer. Follow the simulation installation for building the Cloudy workspace.
Install firmware code to the ESP32
- Install Arduino IDE 2.0 from official website
- Open Arduino IDE->Boards Manager, find esp32 by Espressif Systems, install (version 2.0.2).
- Check the available micro-ros-arduino library from the official releases. Download zip library, go to Arduino IDE -> Sketch -> Include Library -> Add .ZIP library and choose the downloaded library
- Choose the board from Tools -> Board -> esp32 -> DOIT ESP32 DEVKIT V1
- Open library manager, install FastAccelStepper (version 0.28.3)
- Open the firmware file from File -> Open and choose cloudy_ws/robolaunch_cloudy_hardware/firmware/firmware.ino
- Choose the correct port from Tools -> Port (/dev/ttyUSB0 in an example case)
- Upload the file to the ESP32
Install micro-ROS and ROS2 packages to the internal computer
- micro-ROS tools installation
# Source the ROS 2 installation
source /opt/ros/$ROS_DISTRO/setup.bash

# Go to Cloudy workspace and download the micro-ROS tools
cd cloudy_ws
git clone -b $ROS_DISTRO https://github.com/micro-ROS/micro_ros_setup.git src/micro_ros_setup

# Update dependencies using rosdep
sudo apt update && rosdep update
rosdep install --from-paths src --ignore-src -y

# Install pip
sudo apt-get install python3-pip

# Build micro-ROS tools and source them
colcon build
source install/local_setup.bash- Create and build micro-ROS agent
ros2 run micro_ros_setup create_agent_ws.shros2 run micro_ros_setup build_agent.shsource install/local_setup.bashros2 run micro_ros_agent micro_ros_agent serial --dev [device] #(device is the same with port you've choosen in the previous step, ex. /dev/ttyUSB0)Note: If the agent is not active you can try pushing the boot button on the ESP32.
- Launch Cloudy nodes
Launch the nodes, in a new terminal:
source install/setup.bash && ros2 launch robolaunch_cloudy_bringup diffbot_system.launch.py- Controlling the robot
Use the teleop keyboard, in a new terminal :
source install/setup.bash && ros2 run teleop_twist_keyboard teleop_twist_keyboard cmd_vel:=diffbot_base_controller/cmd_vel_unstampedvehicle types
- cloudy_v2 (default)
- cloudy_v1
- arcelik
First source the workspace
source install/setup.bashIn order to launch both SLAM and navigation run:
ros2 launch robolaunch_cloudy_navigation sim_launch_all.launch.pyTo launch with other robolaunch robots set the vehicle launch argument to one of the vehicle types given above. Openning arcelik vehicle might take a few minutes since it has detailed parts.
ros2 launch robolaunch_cloudy_navigation sim_launch_all.launch.py vehicle:="'arcelik'"If you want to launch saperately, first open the simulation. The default vehicle is cloudy_v2 but if you wish to use another robot, set the vehicle parameter to one of the vehicles listed above.
ros2 launch robolaunch_cloudy_simulator gazebo.launch.pyThen launch slam:
ros2 launch robolaunch_cloudy_navigation sim_slam.launch.pyFinally, launch navigation. If you would like to open rviz set rviz parameter true by adding rviz:=true at the end of the command.
ros2 launch robolaunch_cloudy_navigation sim_nav.launch.pyPlease see this guide if you want to contribute.


