In this lab, we're going to dig into using Docker Swarm, Docker's native orchestration tool. To learn about Swarm, check out the slides here.
- Setting up VMs
- Creating the Swarm
- (Optional, but recommended) Updating hosts file
- (Optional) Start the Visualizer
- Deploying a Service
- Scaling up the App
- Rolling out an update
- Cleaning up
In case you didn't know, when you installed Docker on your machine, a tool named docker-machine was also installed! This tool helps make it easy to create your own cluster of nodes directly on your machine.
- If you don't have VirtualBox installed yet, download and install it now.
- Run the following commands. Each
createcommand will take a little while to create the VM, start it, and configure it. But, once it's done, you'll have a machine with Docker installed and ready to go!
docker-machine create -d virtualbox node-1
docker-machine create -d virtualbox node-2
docker-machine create -d virtualbox node-3
docker-machine ls
The output from docker-machine ls should now look something like this...
NAME     ACTIVE   DRIVER       STATE     URL                         SWARM   DOCKER    ERRORS
node-1   -        virtualbox   Running   tcp://192.168.99.100:2376           v1.12.3
node-2   -        virtualbox   Running   tcp://192.168.99.101:2376           v1.12.3
node-3   -        virtualbox   Running   tcp://192.168.99.102:2376           v1.12.3
Now that we have three VMs ready to go, how do we run Docker commands on them? Docker Machine comes with a command that helps setup our console with various environment variables used to configure Docker. Running docker-machine env [node-name], we get something like this...
export DOCKER_TLS_VERIFY="1"
export DOCKER_HOST="tcp://192.168.99.100:2376"
export DOCKER_CERT_PATH="/Users/mikesir87/.docker/machine/machines/node-1"
export DOCKER_MACHINE_NAME="node-1"
# Run this command to configure your shell:
# eval $(docker-machine env node-1)
So, what's going on here? Each environment variable is providing configuration to Docker to connect to a remote daemon (which is running locally), using the TLS certificate at the DOCKER_CERT_PATH. Then, all Docker commands will be executed on the remote daemon.
- Run
eval $(docker-machine env node-1)to setup your environment - Setup
node-1as a manager for the swarm. Thedocker-machine ip [node-name]commands simply get the IP address for that node, allowing each of the VMs to talk to each other.
docker swarm init --advertise-addr $(docker-machine ip node-1) --listen-addr $(docker-machine ip node-1):2377
- The output from the previous command should include a command like the one below. Copy that to make it easier to enroll the other nodes.
docker swarm join \
--token some-crazy-long-token \
192.168.99.100:2377- Enroll the other nodes, using the command from above. If you lose the command or need the enrollment token again, you can use
docker swarm join-token -q workerwhile connected to the manager (node-1).
eval $(docker-machine env node-2)
docker swarm join --token some-crazy-long-token 192.168.99.100:2377

eval $(docker-machine env node-3)
docker swarm join --token some-crazy-long-token 192.168.99.100:2377- We can now confirm that the other nodes are enrolled as agents in the cluster...
eval $(docker-machine env node-1)
docker node ls
We should see something like this (nodes may not be in any order and IDs will obviously be different)...
ID                           HOSTNAME  MEMBERSHIP  STATUS  AVAILABILITY  MANAGER STATUS
cfnrj7w7pfuf3lpe4f43l31oo *  node-1    Ready               Active        Leader
dwcb99gklxwzx1qp3zem4zcjl    node-2    Ready               Active
3fbascszs3xnpbagm2puzy7m3    node-3    Ready               Active
Running in a production environment, we would want more than one manager. But, for demo purposes (and to prevent you from having to spin up 5 VMs), we'll just do one manager. The manager enrollment process is very similar to enrolling agents into the swarm.
To make things easier when trying to open the applications we're going to launch modify your /etc/hosts (Mac/Linux) or c:\Windows\System32\Drivers\etc\hosts (Windows) and put in entries for node-1, node-2, and node-3.
192.168.99.100	node-1
192.168.99.101	node-2
192.168.99.102	node-3
Of course, be sure your the IP addresses are correct. You can use docker-machine ip [node-name] to get the IP address for a specific node.
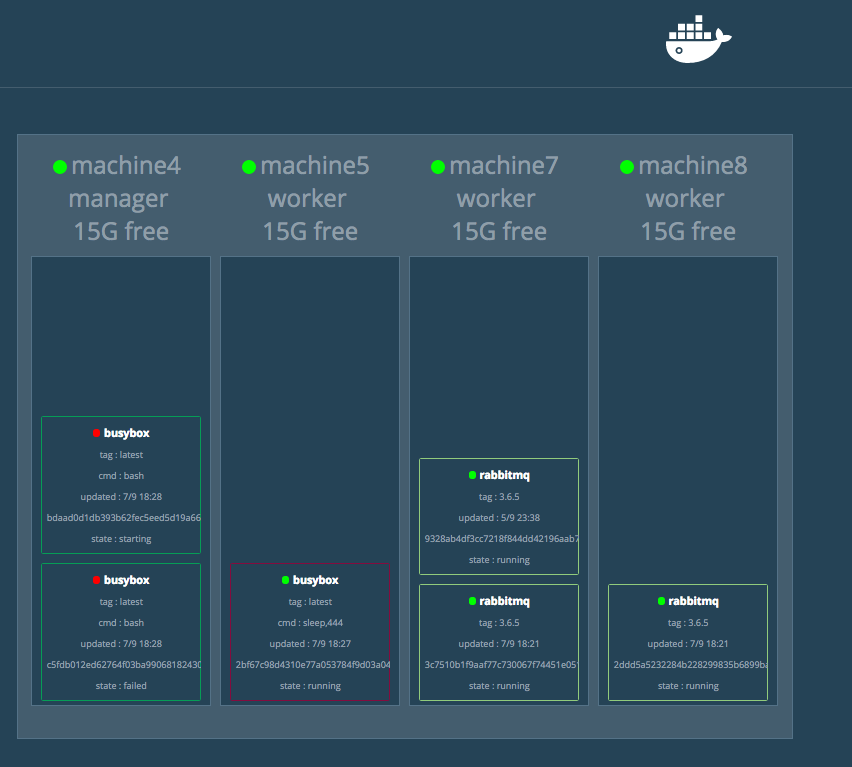
If you want to see what's going on as you're spinning up services, scaling up/down, etc., start the following service to get a nice visualizer.
docker service create --name=viz -p=8081:8080 \
  --constraint=node.role==manager \
  --mount=type=bind,src=/var/run/docker.sock,dst=/var/run/docker.sock \
  manomarks/visualizer
Now, open up http://node-1:8081 and you should see the visualizer!
Before we start up a service, we need to create an overlay network that will allow communication between all services, no matter which node they're running on.
docker network create --driver overlay demoIf we run docker network ls, you should then see something like this...
NETWORK ID          NAME                DRIVER              SCOPE
3ff7b4f01158        bridge              bridge              local
0g34wmgwmmst        demo                overlay             swarm
0c56ef6f629d        docker_gwbridge     bridge              local
1939160e0fb7        host                host                local
cdny2xekiar7        ingress             overlay             swarm
b324682c7e01        none                null                local
Let's start up a MySQL database service...
docker service create --name db -e MYSQL_ROOT_PASSWORD=p4SSW0rd -e MYSQL_DATABASE=app -e MYSQL_USER=mysql -e MYSQL_PASSWORD=mysql --network demo mysql:5.7The above command will create a new database named app with credentials mysql:mysql.
Now, let's add an application!
docker service create --name app --network demo -p 8080:8080 mikesir87/spring-boot-jpa-docker-webappWatch the visualizer (if you have it running) and wait for the container to enter the RUNNING state. It will probably hang out in the PREPARING state for a while, as it has to download the image and setup the container.
After it's up, you should be able to open http://node-1:8080 and see the app! Try going to http://node-2:8080 and http://node-3:8080. Any difference? Shouldn't be!
Our application has started to get a lot of traffic! Let's scale up the number of containers we're running.
docker service scale app=3Check out the visualizer and you'll see that three containers are now running! If you open the app in several different tabs, you should see the hostname at the bottom change, as the app is being served by several containers now!
Our app is cool and all, but management now wants to ability to add superheroes to the list. Fortunately, our developers are quick and the image is available with the add-form tag. So, let's update our service to deploy this updated version.
docker service update --image=mikesir87/spring-boot-jpa-docker-webapp:add-form --update-delay 10s appAfter running this, if you watch the visualizer, you'll see one task be pulled at a time and a new one deployed. After ten seconds, another task will be pulled and updated. This will continue until all services are updated.
Not bad for a quick run-through eh? To cleanup, you can do the following...
docker service rm app
docker service rm db
If you wish to completely remove the VMs you created, you can run...
docker-machine rm node-1
docker-machine rm node-2
docker-machine rm node-3
