Coder Social home page Coder Social logo

radhoo / uradmonitor_kit1 Goto Github PK

View Code? Open in Web Editor NEW
77.0 24.0 26.0 6.3 MB

A hackable open source sensor IoT board with network interface. A DIY Geiger counter KIT to contribute readings to the uRADMonitor network.

Home Page: http://www.uradmonitor.com/open-source-uradmonitor-kit1/

License: GNU General Public License v3.0

Shell 0.24% C 16.35% C++ 74.39% HTML 3.61% Makefile 5.40%

uradmonitor_kit1's Introduction

uradmonitor_kit1's People

Contributors

offerman avatar radhoo avatar uradmonitor avatar

Stargazers

 avatar  avatar  avatar  avatar  avatar  avatar  avatar  avatar  avatar  avatar  avatar  avatar  avatar  avatar  avatar  avatar  avatar  avatar  avatar  avatar  avatar  avatar  avatar  avatar  avatar  avatar  avatar  avatar  avatar  avatar  avatar  avatar  avatar  avatar  avatar  avatar  avatar  avatar  avatar  avatar  avatar  avatar  avatar  avatar  avatar  avatar  avatar  avatar  avatar  avatar  avatar  avatar  avatar  avatar  avatar  avatar  avatar  avatar  avatar  avatar  avatar  avatar  avatar  avatar  avatar  avatar  avatar  avatar  avatar  avatar  avatar  avatar  avatar  avatar  avatar  avatar  avatar

Watchers

 avatar  avatar  avatar  avatar  avatar  avatar  avatar  avatar  avatar  avatar  avatar  avatar  avatar  avatar  avatar  avatar  avatar  avatar  avatar  avatar  avatar  avatar  avatar  avatar

uradmonitor_kit1's Issues

Regulator voltage

The regulator voltage of 3.0V is too low. The minimum for the ENC28J60 is 3.1V according to the datasheet, and I've noticed erratic behavior in the 2.9V - 3.0V range which is around the level of the low battery indicator. For example, at 2.95V my ENC28J60 won't startup 50% of the time.

I suggest 3.3V for the regulator if using ethernet.

tube type is hardcoded?

issue:
the tube type it seems to be hardcoded in uRADMonitor.cpp @ lines 351, 359:

`#ifdef USE_BME280_SENSOR
sprintf_P(ethParams, PSTR(ID_TIME_SECONDS"/%lu/"ID_VERSION_HW"/%u/"ID_VERSION_SW"/%u/"
ID_SBM20_CPM"/%lu/"ID_INVERTERVOLTAGE_VOLTS"/%u/"ID_INVERTERDUTY_PM"/%u/"
ID_TEMPERATURE_CELSIUS"/%.2f/"ID_PRESSURE_PASCALS"/%lu/"ID_HUMIDITY_RH"/%u"),
time.getTotalSec(), (uint8_t)VER_HW, (uint8_t)VER_SW,
data.getGeigerCPM(),data.getInverterVoltage(), data.getInverterDuty(),
data.getTemperature(), data.getPressure(), data.getHumidity()
);

else

                sprintf_P(ethParams, PSTR(ID_TIME_SECONDS"/%lu/"ID_VERSION_HW"/%u/"ID_VERSION_SW"/%u/"
                                            ID_SBM20_CPM"/%lu/"ID_INVERTERVOLTAGE_VOLTS"/%u/"ID_INVERTERDUTY_PM"/%u"),
                        time.getTotalSec(), (uint8_t)VER_HW, (uint8_t)VER_SW,
                        data.getGeigerCPM(),data.getInverterVoltage(), data.getInverterDuty()
                    );`

result:
in the graph window it always shows "sbm20" type, regardless what is set by the user.

tube2

Tube length

The SBM-20 I had (marked SBM-20) was too large to fit the PCB and I needed to respin it.

According to the lengths on: https://www.gstube.com/data/2398/, I have a SBM-20, and KIT1 is for a SBM-20U

I received the tube with my MightyOhm kit about 2 years ago and it fitted that board, so suspect there maybe multiple sizes of double end capped tube labelled SBM-20 as the SBM-20U has one end cap missing

Recommend adding a 2nd position for the clip on the board for the larger length tube.

Makefile for non-eclipse users

Please add a Makefile:

CC=avr-gcc
CFLAGS=-fdata-sections -ffunction-sections -Wall -Wl,-u,vfprintf,--gc-sections -funsigned-char -Os -DF_CPU=8000000 -mmcu=atmega328p
OBJCOPY=avr-objcopy
LIBS=-lprintf_flt -lm

OBJS=uRADMonitor.o  data.o UI.o detectors.o inverter.o DigitalPin.o i2c.o 5110.o morse.o utils.o dhcp_client.o dnslkup.o enc28j60.o ip_arp_udp_tcp.o bme280.o bmp180.o timecounter.o watchdog.o

all:			uRADMonitor.hex

uRADMonitor.hex:	$(OBJS)
			$(CC) $(CFLAGS) $(OBJS) $(LIBS) -o uRADMonitor.elf
			$(OBJCOPY) -O ihex uRADMonitor.elf uRADMonitor.hex

uRADMonitor.o:		uRADMonitor.cpp
			$(CC) $(CFLAGS) -c uRADMonitor.cpp

data.o:			app/data.cpp
			$(CC) $(CFLAGS) -c app/data.cpp

UI.o:			app/UI.cpp
			$(CC) $(CFLAGS) -c app/UI.cpp

detectors.o:		geiger/detectors.cpp
			$(CC) $(CFLAGS) -c geiger/detectors.cpp

inverter.o:		geiger/inverter.cpp
			$(CC) $(CFLAGS) -c geiger/inverter.cpp

DigitalPin.o:		gpio/DigitalPin.cpp
			$(CC) $(CFLAGS) -c gpio/DigitalPin.cpp

i2c.o:			i2c/i2c.cpp
			$(CC) $(CFLAGS) -c i2c/i2c.cpp

5110.o:			lcd/5110.cpp
			$(CC) $(CFLAGS) -c lcd/5110.cpp

morse.o:		misc/morse.cpp
			$(CC) $(CFLAGS) -c misc/morse.cpp

utils.o:		misc/utils.cpp
			$(CC) $(CFLAGS) -c misc/utils.cpp

dhcp_client.o:		net/dhcp_client.cpp
			$(CC) $(CFLAGS) -c net/dhcp_client.cpp

dnslkup.o:		net/dnslkup.cpp
			$(CC) $(CFLAGS) -c net/dnslkup.cpp

enc28j60.o:		net/enc28j60.cpp
			$(CC) $(CFLAGS) -c net/enc28j60.cpp

ip_arp_udp_tcp.o:	net/ip_arp_udp_tcp.cpp
			$(CC) $(CFLAGS) -c net/ip_arp_udp_tcp.cpp

bme280.o:		sensors/bme280.cpp
			$(CC) $(CFLAGS) -c sensors/bme280.cpp

bmp180.o:		sensors/bmp180.cpp
			$(CC) $(CFLAGS) -c sensors/bmp180.cpp

timecounter.o:		time/timecounter.cpp
			$(CC) $(CFLAGS) -c time/timecounter.cpp

watchdog.o:		time/watchdog.cpp
			$(CC) $(CFLAGS) -c time/watchdog.cpp

clean:
			rm -f *.o uRADMonitor.elf

realclean:		clean
			rm -f uRADMonitor.hex

Minor issue about humidity

When using your KIT1 with BME280 sensor, humidity is formatted as a 2 decimal places float number...the sensor only returns integer humidity percentages.
Also, in file uradmonitor.cpp on line #414 it says "humidty" instead of "humidity".

can not remove "old" stations from uradmonitor map

simptome:
when flashing the new firmware, if one does not set the "do not clear eeprom" fusebit parameter, the server allocates a new device id.
so, every time when the firmware is flashed, a "new' device will appear on the map, and the "old" ones still remain. this can clutter the map and could suggest improper device numbers / city. posteriorly impossible for the user to remove them...

solution:
it would be nice to have a delete button on the dashboard (or some other way) to delete fictional stations from the map. (or delete automatically the units which are offline more than x days)

Routing incomplete?

Hi,

Opening the 1.1 board in Eagle shows me that some traces have not been routed. Is that correct? After manually checking, it seems all is oke, but I want to etch the board, so I need to make sure that no errors are in the board. Seems like the Nokia LCD display has some magic via's on it, that I am unaware of.

Best regards,
Max

Anode resistor

Recommended anode resistor for the SBM-20 in the datasheet is 5.1MOhm, however this design has 10M Ohm and most other designs using this tube use a closer value (4.7MOhm).

What would be the effect on detection rate by changing it to closer to the recommended value? Any other issues?

Resistor value changes to reduce overall current consumption

I'd like to suggest some resistor value changes which allow for reduced overall current consumption of the KIT1 without impairing its performance. I tested all if these changes successfully on my KIT1.

  1. The base resistor R9 to T4 for the LED backlight is IMHO much too low with 100 ohms.
    I changed it to 2k7, and T4 still saturates to 0,05V when the backlight LEDs are on. I assume a 4k7 resistor will be just fine here.

  2. The same goes with the base resistor R10 for T5 (beeper). I also used a 2k7 here (and could also easily be 4k7). There is no noticable decrease of beeper sound volume.

  3. With the standard values, the pulse width for SBM20 tube anode voltage generation was about 64% (whole unit needed 42mA at 5V). The voltage divider R3 and R4 could be made better with 47Mohms and 220kOhms, greatly reducing the load here.

  4. R1's value is way too low. Originally, I scoped a base current of 15mA into T1 (when T1 is turned on). For an estimated "on-state" collector current of 100mA and a MPSA42 has a hFE of at least 40, so a base current of about 2mA should be ok. That gives a base resistor value of about 2k.
    I tried successfully a value of 1k5 instead of 100 ohms.

All these changes do not require a software modification.

Doing this, the HV converter pulse width reduced to about 43%, and the unit only draws 25mA now.

aux_detectorFactor for GEIGER_TUBE_SBM20 - CPM to µSv/h conversion

Hi,

I'm trying to calibrate my Geiger counter based on a SBM20 tube.
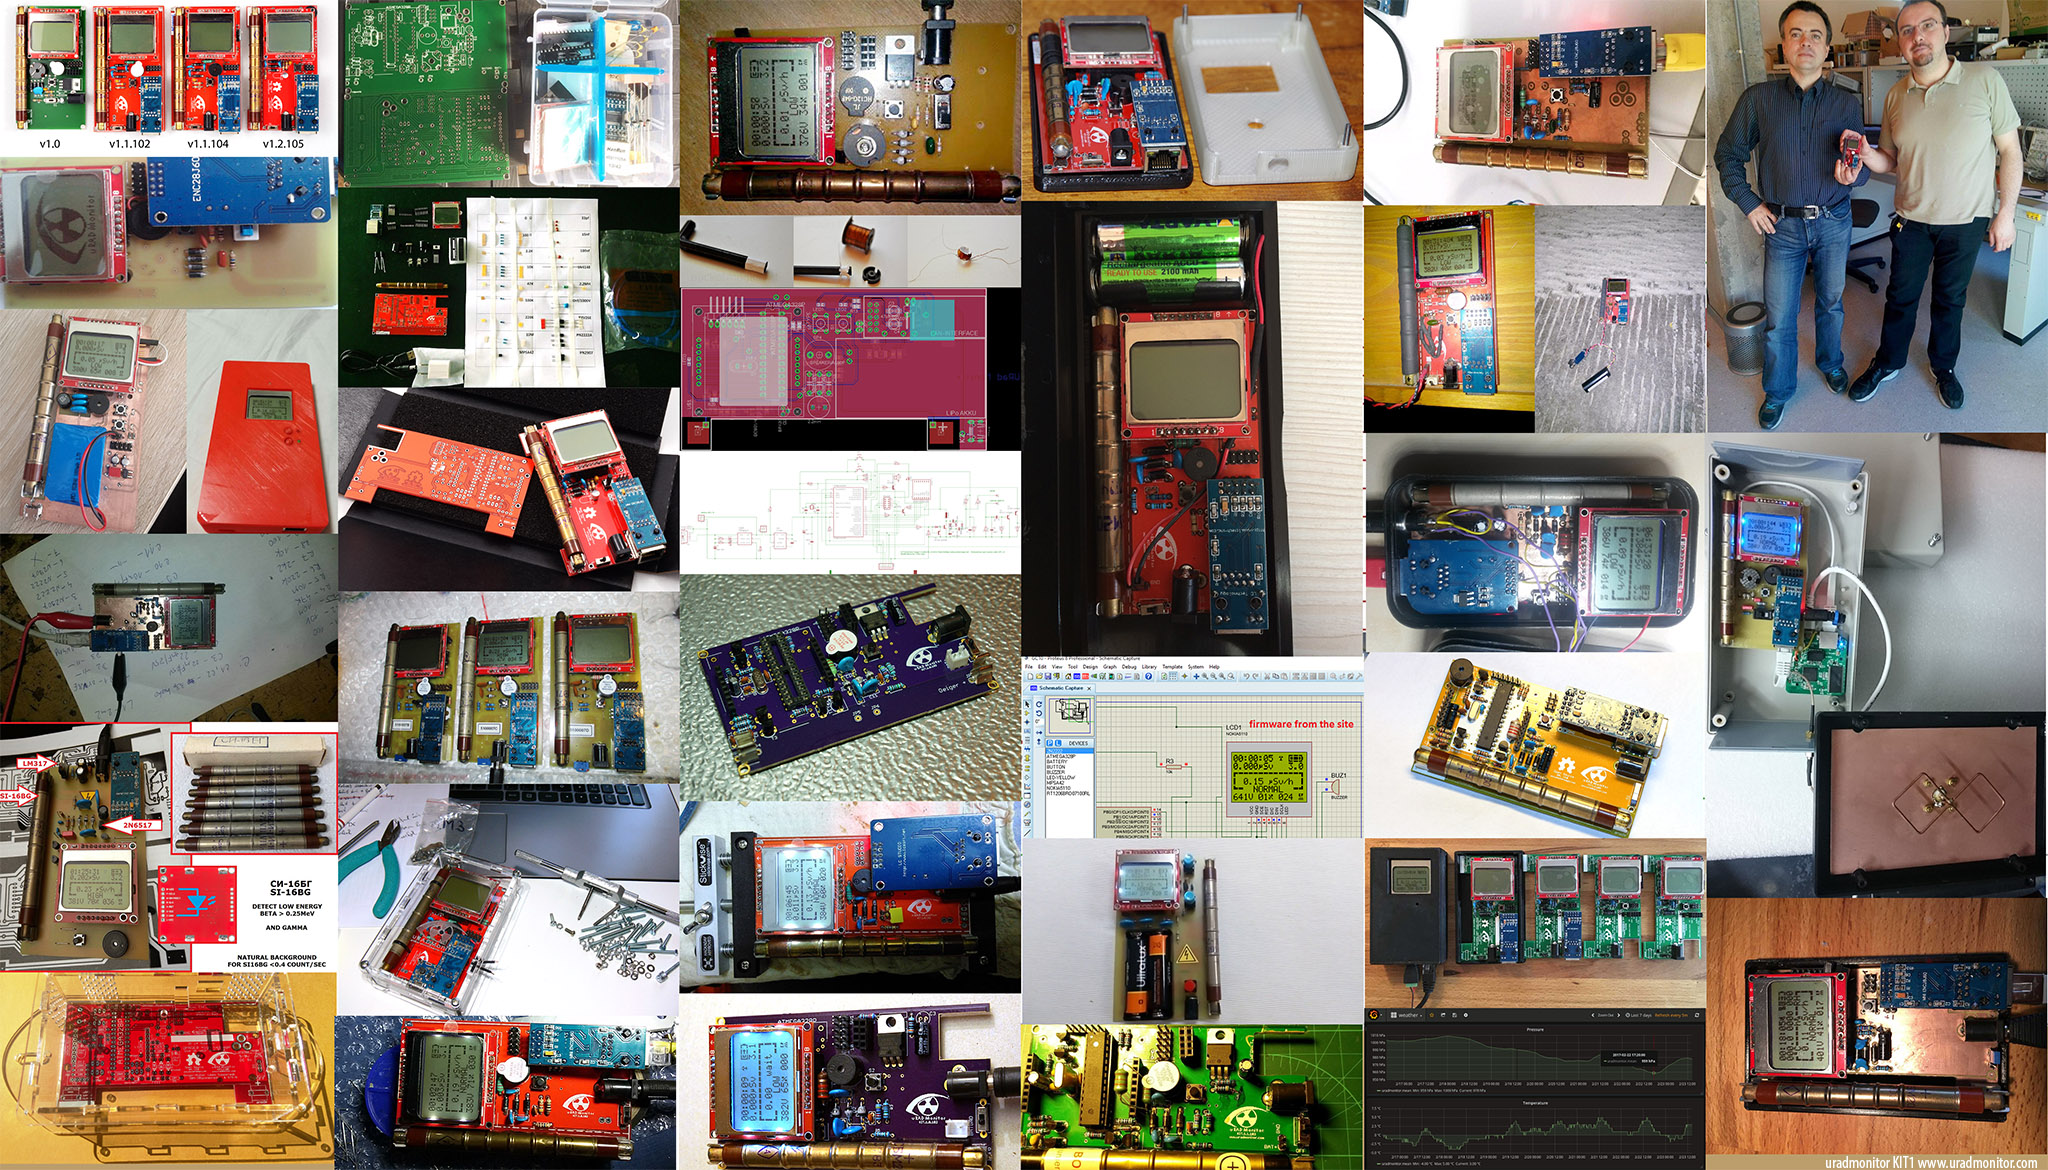
Within your code, I found the conversion factor of 0.006315 from CPM (counts per minute) towards µSievert/h. (Invers conversion factor: 158,35.)
There are various conversion factors being reported in the web. This one is one of the famous ones.

Did you somehow calibrate your device? How did you derive this factor?

Actually I gave up to calculate the conversion factor.
I think I read all of the discussions about this topic in the English or German intrnet,
so I tried to find a reference for my location and calibrate it that way.

I'm located in Lehrte, Germany and see about 18 ticks in average with my SBM20 tube.
The German Bundesamt für Strahlenschutz (Federal Office for Radiation Protection - BfS) operates some monitoring stations acros Germany. Luckily there is one located in Lehrte, see
https://odlinfo.bfs.de/DE/aktuelles/messstelle/032530101.html
The average of this station seems to be around ~0,075 Sv/h.
This leads to a conversion factor of ~ 0,0041666 (inverse= 240).
Unfortuantely, I could not find more details about the station itself.

On https://www.uradmonitor.com/ I found a station located in Uelzen:
https://www.uradmonitor.com/?open=13000206
The station's average is 0.10µSv/h.

The BfS reports for Uelzen 0,066µSv/h, see
https://odlinfo.bfs.de/DE/aktuelles/messstelle/033600252.html

So there is a mismatch of the reported values.
Interestingly, it is the same deviation as I would see with the conversion factor of this project.

If the uradmonitor from Uelzen would use my conversion factor instead of the one from this code,
the calculated radiation dosis for Uelzen becomes:
0.10µSv/h * 158,35 / 240 = 0,0657µSv/h, which is quit close to the value reported by BfS.

Of course this is just an indication but I think this demonstrates a common error.
I did not spend the time to check more stations.

I just would like to get more details about the calibration done for this project and why this way was choosen.

Thank you in advance,
Trickx

Inductor specification

Purchased a 2.2mH inductor (34Ohm) didn't work well. Only was able to reach 380V with the inverter, and inverter was unstable and then entered discontinuous mode and voltage started dropping due to the light load. If left to auto tune, tuned to 90% duty cycle (even if picking 370V as the target). Also tried varying frequency, same result.

Hand wound indicator (2.3mH - 6Ohm) (i.e. same inductance, less resistance), resulted in the same.

So hand wound a 4.4mH 10.28Ohm (2.7 Q 5.7uF parasitic, 450 turns) around a ferrite core (450 turns).

Now by reducing the frequency to 9KHz, I get a stable region at around 65% duty cycle and can lock on to 400V without any issues. The increased inductance prevents the boost circuit from entering discontinuous mode.

I suspect the inductance value in the BOM is at the lower limit of marginal, and either should be increased or the inductor used fully specified.

Missing Documentation and BOM

The project in itself is a very neat thing to build. But can you please add more documentation.
Just from the files alone I was not able to order the correct parts.

The schematics do not give away the exact part-nr. for the components.
This is tricky not only for capacitors but mostly for the electromechanical components like the fuse-clips or the switch.

Furthermore, I managed to order the wrong LCD module - the one from Sparkfun - as opposed to the cheaper Chinese one with a different pinout.
Then I ordered a 1117 Regulator as a THT part because many images online contain a THT regulator.
But the most recent revision of the PCB (v1.2.106) apparently features an SMT regulator.

.. I hope you see my point.
Please add at least a proper BOM with reference to the hardware revision (eg. v1.2.106)

Here is a start. This is what I ordered from digi-key

https://octopart.com/bom-tool/xPA7yJNx

(note: that the BOM is incomplete and does contain extra parts and wrong parts)


Another part you should document is, how you compile and upload the code to the board.
The URL in the README is outdated and does not work anymore.
I used the following commands in WSL to compile the code:

sudo apt install make avr-gcc avr-libc gcc-avr
cd ./code
make

and the following commands in PowerShell to upload the code to the board using USB-ASP connected to the Ethernet SPI

& 'C:\Program Files (x86)\Arduino\hardware\tools\avr/bin/avrdude' -CC:'\Program Files (x86)\Arduino\hardware\tools\avr/etc/avrdude.conf' -v -patmega328p -cusbasp -Pusb -Uflash:w:C:\users\simon\Downloads\uRADMonitor.hex:i

or short

avrdude.exe -Cavrdude.conf -v -patmega328p -cusbasp -Pusb -Uflash:w:uRADMonitor.hex:i

And maybe you could document how the Software works.
What the LCD displays and what the button does.
This is actually covered in the Youtube Video linked somewhere in the repo.

Recommend Projects

  • React photo React

    A declarative, efficient, and flexible JavaScript library for building user interfaces.

  • Vue.js photo Vue.js

    🖖 Vue.js is a progressive, incrementally-adoptable JavaScript framework for building UI on the web.

  • Typescript photo Typescript

    TypeScript is a superset of JavaScript that compiles to clean JavaScript output.

  • TensorFlow photo TensorFlow

    An Open Source Machine Learning Framework for Everyone

  • Django photo Django

    The Web framework for perfectionists with deadlines.

  • D3 photo D3

    Bring data to life with SVG, Canvas and HTML. 📊📈🎉

Recommend Topics

  • javascript

    JavaScript (JS) is a lightweight interpreted programming language with first-class functions.

  • web

    Some thing interesting about web. New door for the world.

  • server

    A server is a program made to process requests and deliver data to clients.

  • Machine learning

    Machine learning is a way of modeling and interpreting data that allows a piece of software to respond intelligently.

  • Game

    Some thing interesting about game, make everyone happy.

Recommend Org

  • Facebook photo Facebook

    We are working to build community through open source technology. NB: members must have two-factor auth.

  • Microsoft photo Microsoft

    Open source projects and samples from Microsoft.

  • Google photo Google

    Google ❤️ Open Source for everyone.

  • D3 photo D3

    Data-Driven Documents codes.