Tiny changes with reference to the original repository. Several tasks and launch settings have been changed. Moreover, in this case container has to be created with rocker using your own docker image. The instructions have been updated.
This template will get you set up using ROS2 with VSCode as your IDE.
See how I develop with vscode and ros2 for a more in-depth look on how to use this workspace.
ROS2-approved formatters are included in the IDE.
- c++ uncrustify; config from
ament_uncrustify - python autopep8; vscode settings consistent with the style guide
There are many pre-defined tasks, see .vscode/tasks.json for a complete listing. Feel free to adjust them to suit your needs.
Take a look at how I develop using tasks for an idea on how I use tasks in my development.
This template sets up debugging for python files and gdb for cpp programs. See .vscode/launch.json for configuration details.
The template also comes with basic continuous integration set up. See .github/workflows/ros.yaml.
To remove a linter just delete it's name from this line:
      matrix:
linter: [cppcheck, cpplint, uncrustify, lint_cmake, xmllint, flake8, pep257]You should already have Docker and VSCode with the remote containers plugin installed on your system.
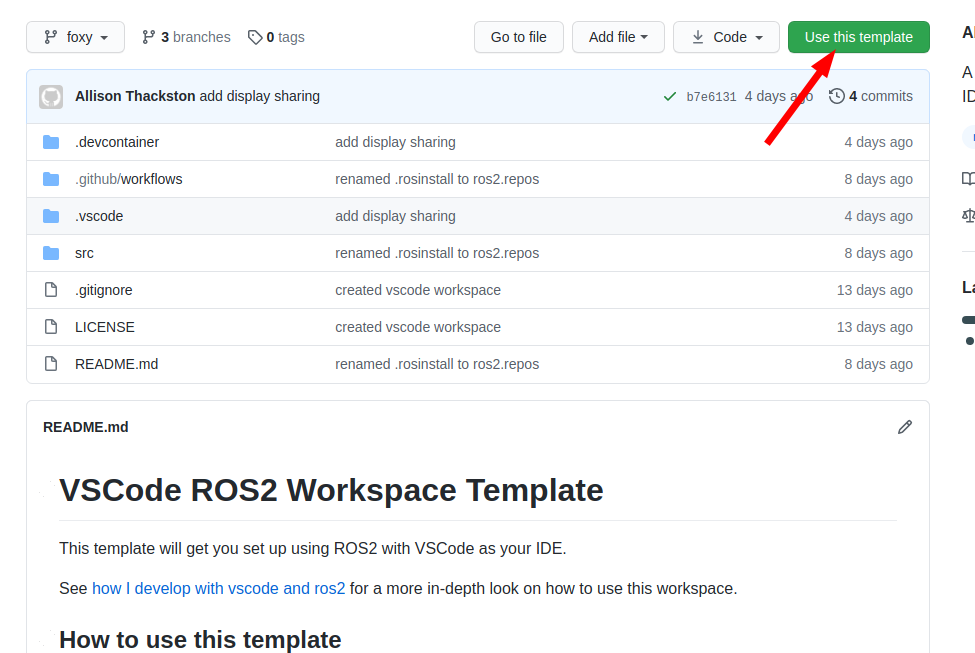
Click on "use this template"
On the next dialog, name the repository you would like to start and decide if you want all of the branches, or just the latest LTS: humble.
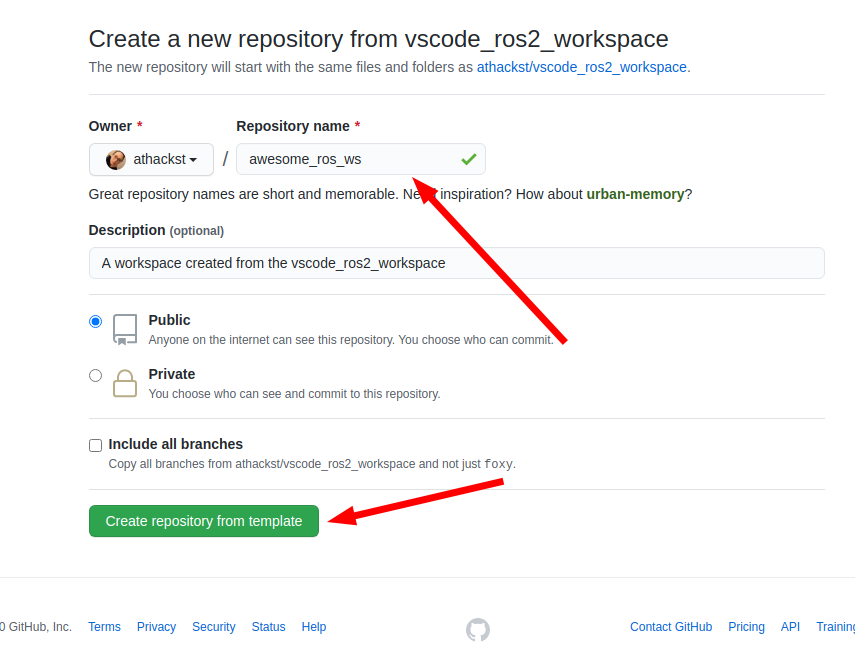
Github will then create a new repository with the contents of this one in your account. It grabs the latest changes as "initial commit".
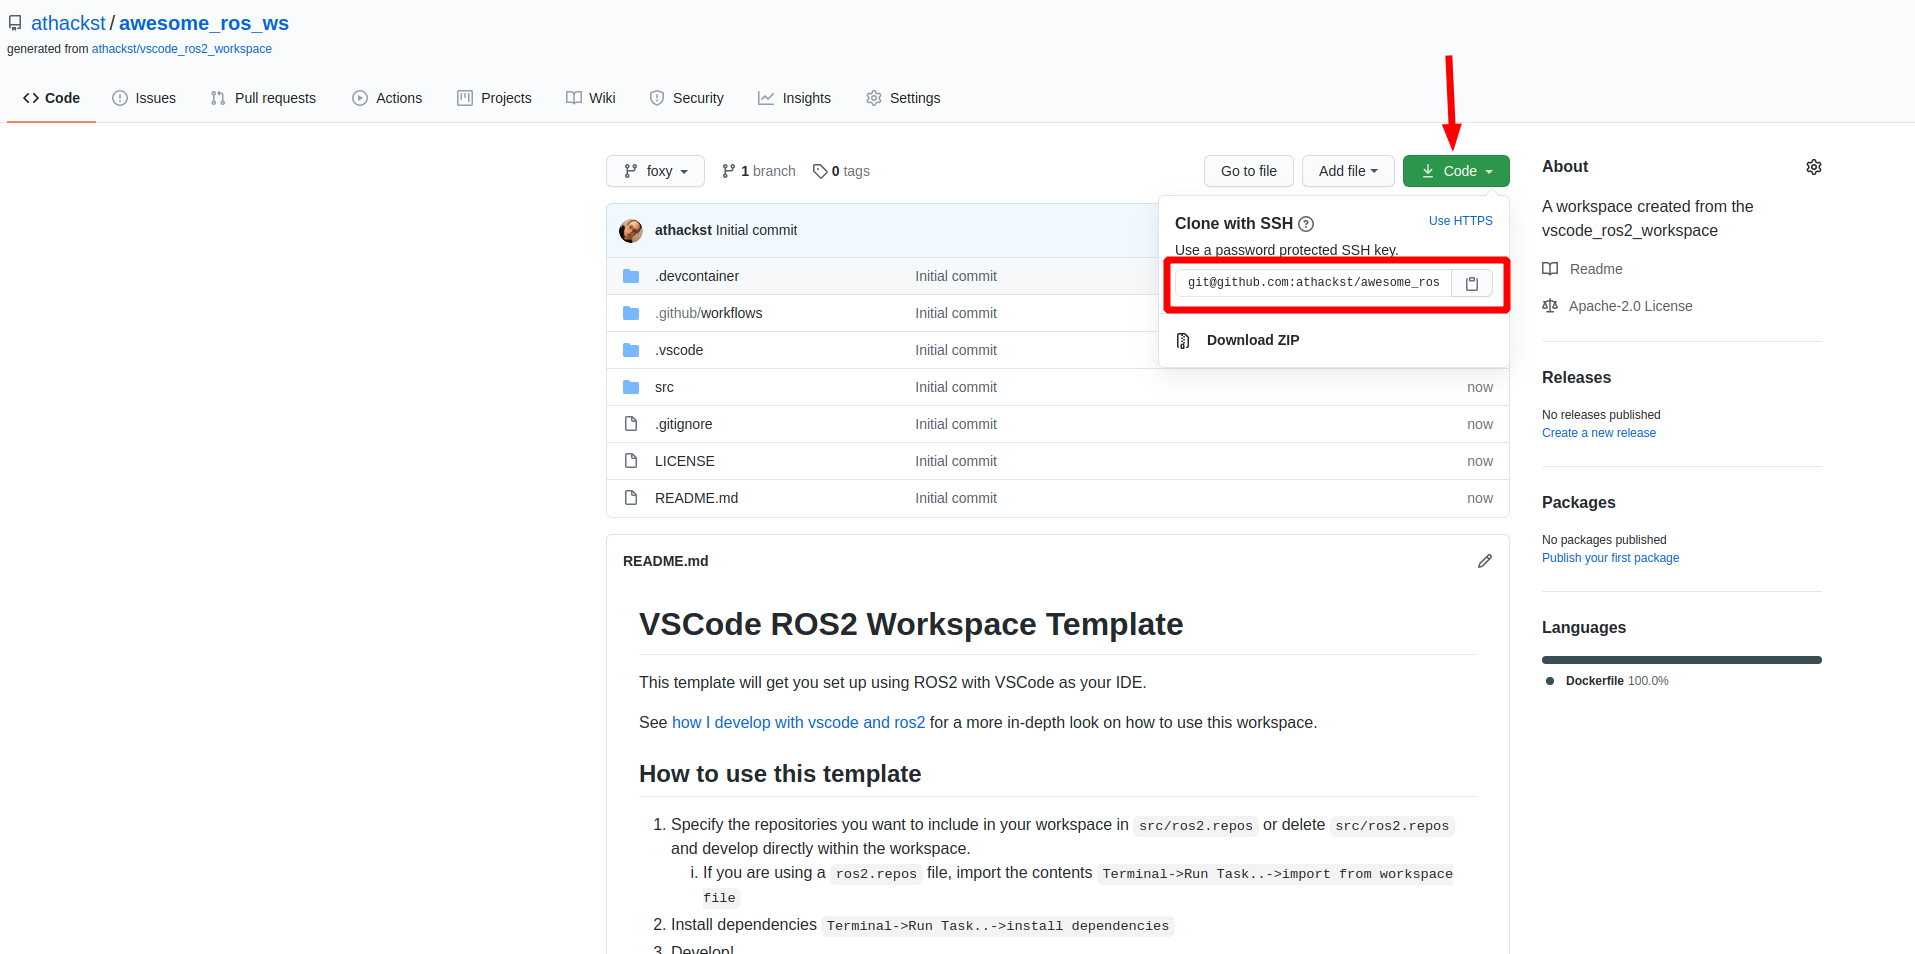
Now you can clone your repo as normal
Open VSCode and download required extensions (Ctrl + Shift + X) on your host:
althack.ament-task-provider
DotJoshJohnson.xml
ms-azuretools.vscode-docker
ms-iot.vscode-ros
ms-python.python
ms-vscode.cpptools
ms-vscode-remote.vscode-remote-extensionpack
redhat.vscode-yaml
smilerobotics.urdf
streetsidesoftware.code-spell-checker
twxs.cmake
yzhang.markdown-all-in-one
zachflower.uncrustify
Build your Docker image. If needed, edit .devcontainer/Dockerfile and add your dependencies. Make sure arg WORKSPACE in build.sh has the same value as your workspace name.
cd path/to/your/workspace
cd .devcontainer
./build.sh
cd ..
./run.sh
cd honey_badger_ws
vcs import < default.repos
bash build.sh
To attach container to new terminal use enter.sh.
Now that you've run your container, you can attach to it using VSCode through Remote Explorer (right mouse click on container name -> Attach to Container).

When you build your image, you have to install extensions (which you already have on your host) inside the container. To do that, go to Extensions tab (Ctrl + Shift + X), click Cloud icon (Install Local Extensions in...) next to the Container section, select all extensions and install.

Now you can open your workspace in the container. In Explorer tab (CRT + Shift + E) choose Open Folder and select your workspace folder.
.vscode contains predefined list of tasks for currently open file. You should pass all the test regarding to the file type (ctrl + shift + p -> Tasks: Run task):
- C++ - fix, uncrustify, cpplint, cppcheck
- CMakesLists.txt - lint_cmake
- Python - flake8, pep257
- XML - xmllint
Moreover, several build tasks are available. Check .vscode/tasks.json file to speedup your development, especially new ROS2 package task which call custom package creation script with a few build type layout.
To debug your code, switch beetween C++/Python debug mode (Ctrl + Shift + D) and run Debug: Start Debugging (F5). The debug call is defined in .vscode/launch.json file, thus you need to modify it to fit your needs (e.g. add your package name, executable name etc. to pickString inputs).
- Specify the repositories you want to include in your workspace in
src/default.repos. - If you are using a
default.reposfile, import the contentsTerminal->Run Task..->import from workspace file. - Update your repositories
Terminal->Run Task..->update repositories. - Install dependencies
Terminal->Run Task..->install dependencies. - Build your workspace/package/up-to package using Release/Debug build type
Terminal->Run Task..->build.... - Test your repositories
Terminal->Run Task..->test. - Develop!

