In this two-day workshop you'll learn the basics of frontend development while building a working web app.
The first day provides an introduction to the fundamentals of the web: HTML, CSS and JavaScript. This is targeted at new and experienced developers alike. On the second day we'll dive into more advanced topics like TypeScript, state management, and testing. While the examples should be accessible to anyone, you'll get the most out of it if you have some prior experience with programming and web technologies.
Before starting, make sure your computer has up-to-date versions of the following installed:
- Node/NPM (choose the LTS option, which should be version 10)
- Git
- Visual Studio Code
- If using a Mac, also follow these steps to install the
codeterminal command. - If you already had VS Code installed, check for updates!
- If using a Mac, also follow these steps to install the
- React Developer Tools for Chrome or Firefox
- Open VS Code and then press
ctrl + `(backtick, in top left corner of keyboard) to open the built-in terminal - Use the
cd(change directory) command to find an appropriate place for your code - Type
git clone https://github.com/Microsoft/frontend-bootcamp.gitinto the terminal to pull down a copy of the workshop code - Type
cd frontend-bootcampto change your current directory to the bootcamp folder - Type
npm installto install all of the project dependencies - Type
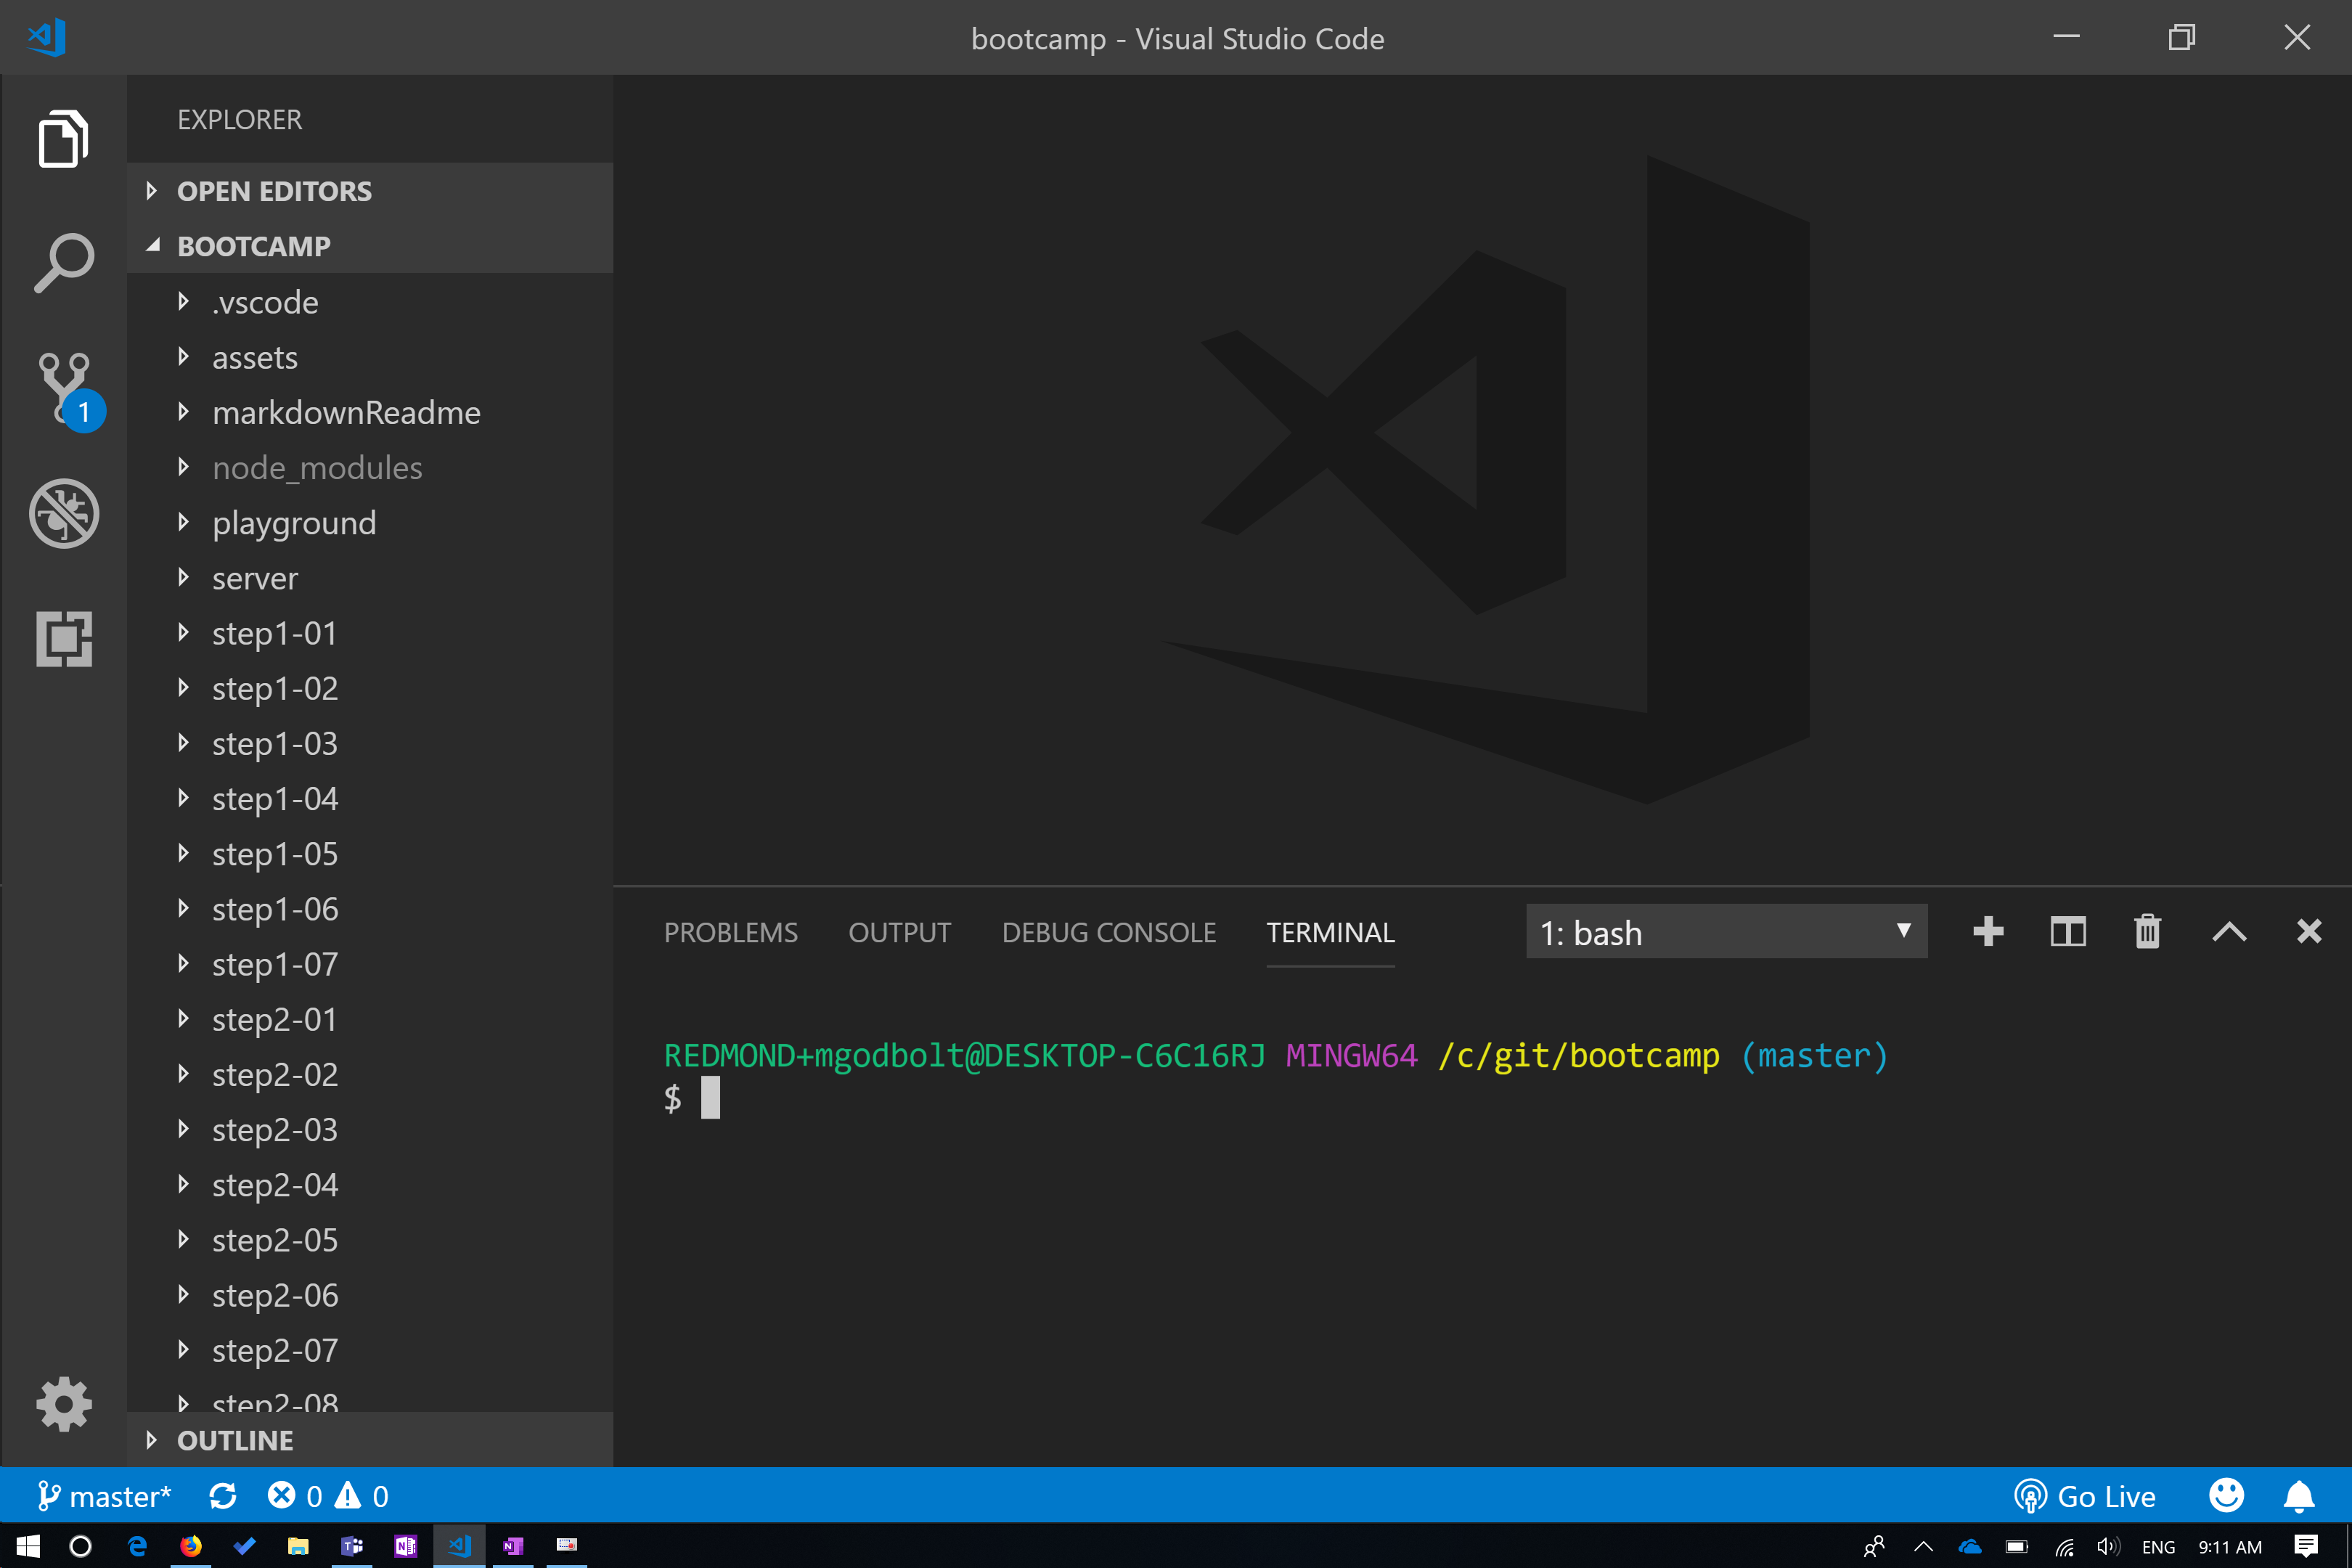
code -r .to open the bootcamp code in VS Code
If on a Mac, be sure you've followed these steps first to make the
codecommand available.
At this point, your VS Code window should look something like this:
To start the dev "inner loop," run:
npm start
This will load the site shown below.

-
Demos will either be via CodePen (Steps 1, 2 and 3) or done in the step folder. Follow the step README to walkthrough the demo.
-
Much like demos, exercises are done via CodePen or in the project step folders. These exercises will give you an opportunity to try what was demonstrated in the first step.
For each lesson, the presenter will walk through some demo code to teach core concepts about the topic. Don't worry about writing code at this point. Just follow along via the readmes linked below.
Most lessons also have an exercise portion. Exercise instructions are usually found in the readme for each step's "exercise" folder.
Day one covers the basics of HTML, CSS and JavaScript, as well as an introduction to React and Typescript.
- Introduction to HTML
- Introduction to CSS
- Introduction JavaScript
- Introduction to React
- React Components
- State-driven UI
- Types and UI-driven state
- TypeScript basics
- Fluent UI component library
- Theming and styling
- React Context
- Redux: Store
- Redux: React binding
If you are interested in JavaScript, TypeScript, React, Redux, or Design Systems, follow us on Twitter:
This project welcomes contributions and suggestions. Most contributions require you to agree to a Contributor License Agreement (CLA) declaring that you have the right to, and actually do, grant us the rights to use your contribution. For details, visit https://cla.microsoft.com.
When you submit a pull request, a CLA-bot will automatically determine whether you need to provide a CLA and decorate the PR appropriately (e.g., label, comment). Simply follow the instructions provided by the bot. You will only need to do this once across all repos using our CLA.
This project has adopted the Microsoft Open Source Code of Conduct. For more information see the Code of Conduct FAQ or contact [email protected] with any additional questions or comments.
Microsoft and any contributors grant you a license to the Microsoft documentation and other content in this repository under the Creative Commons Attribution 4.0 International Public License, see the LICENSE file, and grant you a license to any code in the repository under the MIT License, see the LICENSE-CODE file.
Microsoft, Windows, Microsoft Azure and/or other Microsoft products and services referenced in the documentation may be either trademarks or registered trademarks of Microsoft in the United States and/or other countries. The licenses for this project do not grant you rights to use any Microsoft names, logos, or trademarks. Microsoft's general trademark guidelines can be found at http://go.microsoft.com/fwlink/?LinkID=254653.
Privacy information can be found at https://privacy.microsoft.com/en-us/
Microsoft and any contributors reserve all other rights, whether under their respective copyrights, patents, or trademarks, whether by implication, estoppel or otherwise.


![dependabot-preview[bot] avatar](https://avatars.githubusercontent.com/in/2141?v=4 "dependabot-preview[bot]")


