
![]()
Upon completion of this exercise, you will be able to:
-
Create a simple 2d game using HTML, CSS, JavaScript, and DOM.
-
Implement game logic and UI, including start screen, game screen, and end-game screen.
-
Use classes and OOP to organize data, functionality, and game elements.
-
Use
requestAnimationFrame()to create a game loop that continuously updates the game elements. -
Handle user input and events to control game elements.
-
Create and display randomly generated obstacles to add complexity to the game.
-
Create and manipulate elements in the DOM, including displaying and hiding elements.
-
Change the style of the game elements using DOM and CSS
We are ready to start making 2d games using the knowledge we have gained so far in HTML, CSS, and JavaScript. In this exercise, we will create a Race Car game using DOM manipulation, classes, and object-oriented programming (OOP).
The goal of this exercise is to help you practice for the Module 1 project.
This exercise is divided into two parts: a teacher-led demo and a self-guided exercise.
During the first part, the teacher will do a demo and walk you through the creation of the game, allowing you to ask questions and observe the process. The demo will help you understand how to implement the game.
In the second part, you and your classmates will have the opportunity to create the game on your own. You will be provided with the finished game as a reference guide, and the teacher will be available to answer any questions you may have.
- Fork this repo
- Clone this repo
-
Upon completion, run the following commands:
git add . git commit -m "done" git push origin master -
Create Pull Request so your TAs can check up your work.
The first thing we will do is get familiar with the starter code provided for the exercise:
-
Open the
index.htmlfile and take a look at the HTML structure of the game. The divgame-intro,game-container, andgame-endrepresent the screens of the game. -
Open the
styles/style.cssfile and take a look at the CSS styles for the game. The styles are already provided, but you are free to make changes to the styles or animations to your liking during the exercise. -
The starter code includes a couple of JavaScript files that are located in the
jsfolder:-
script.js- This file contains code that handles the game's start button. Please open it and take a look at how the event listener is set up. -
game.js- This is the file where we will define theGameclass to represent the game's data (properties) and behaviors (methods). We will fill out this class as we progress through the exercise.
-
The start screen is already displayed on the page, as shown below.
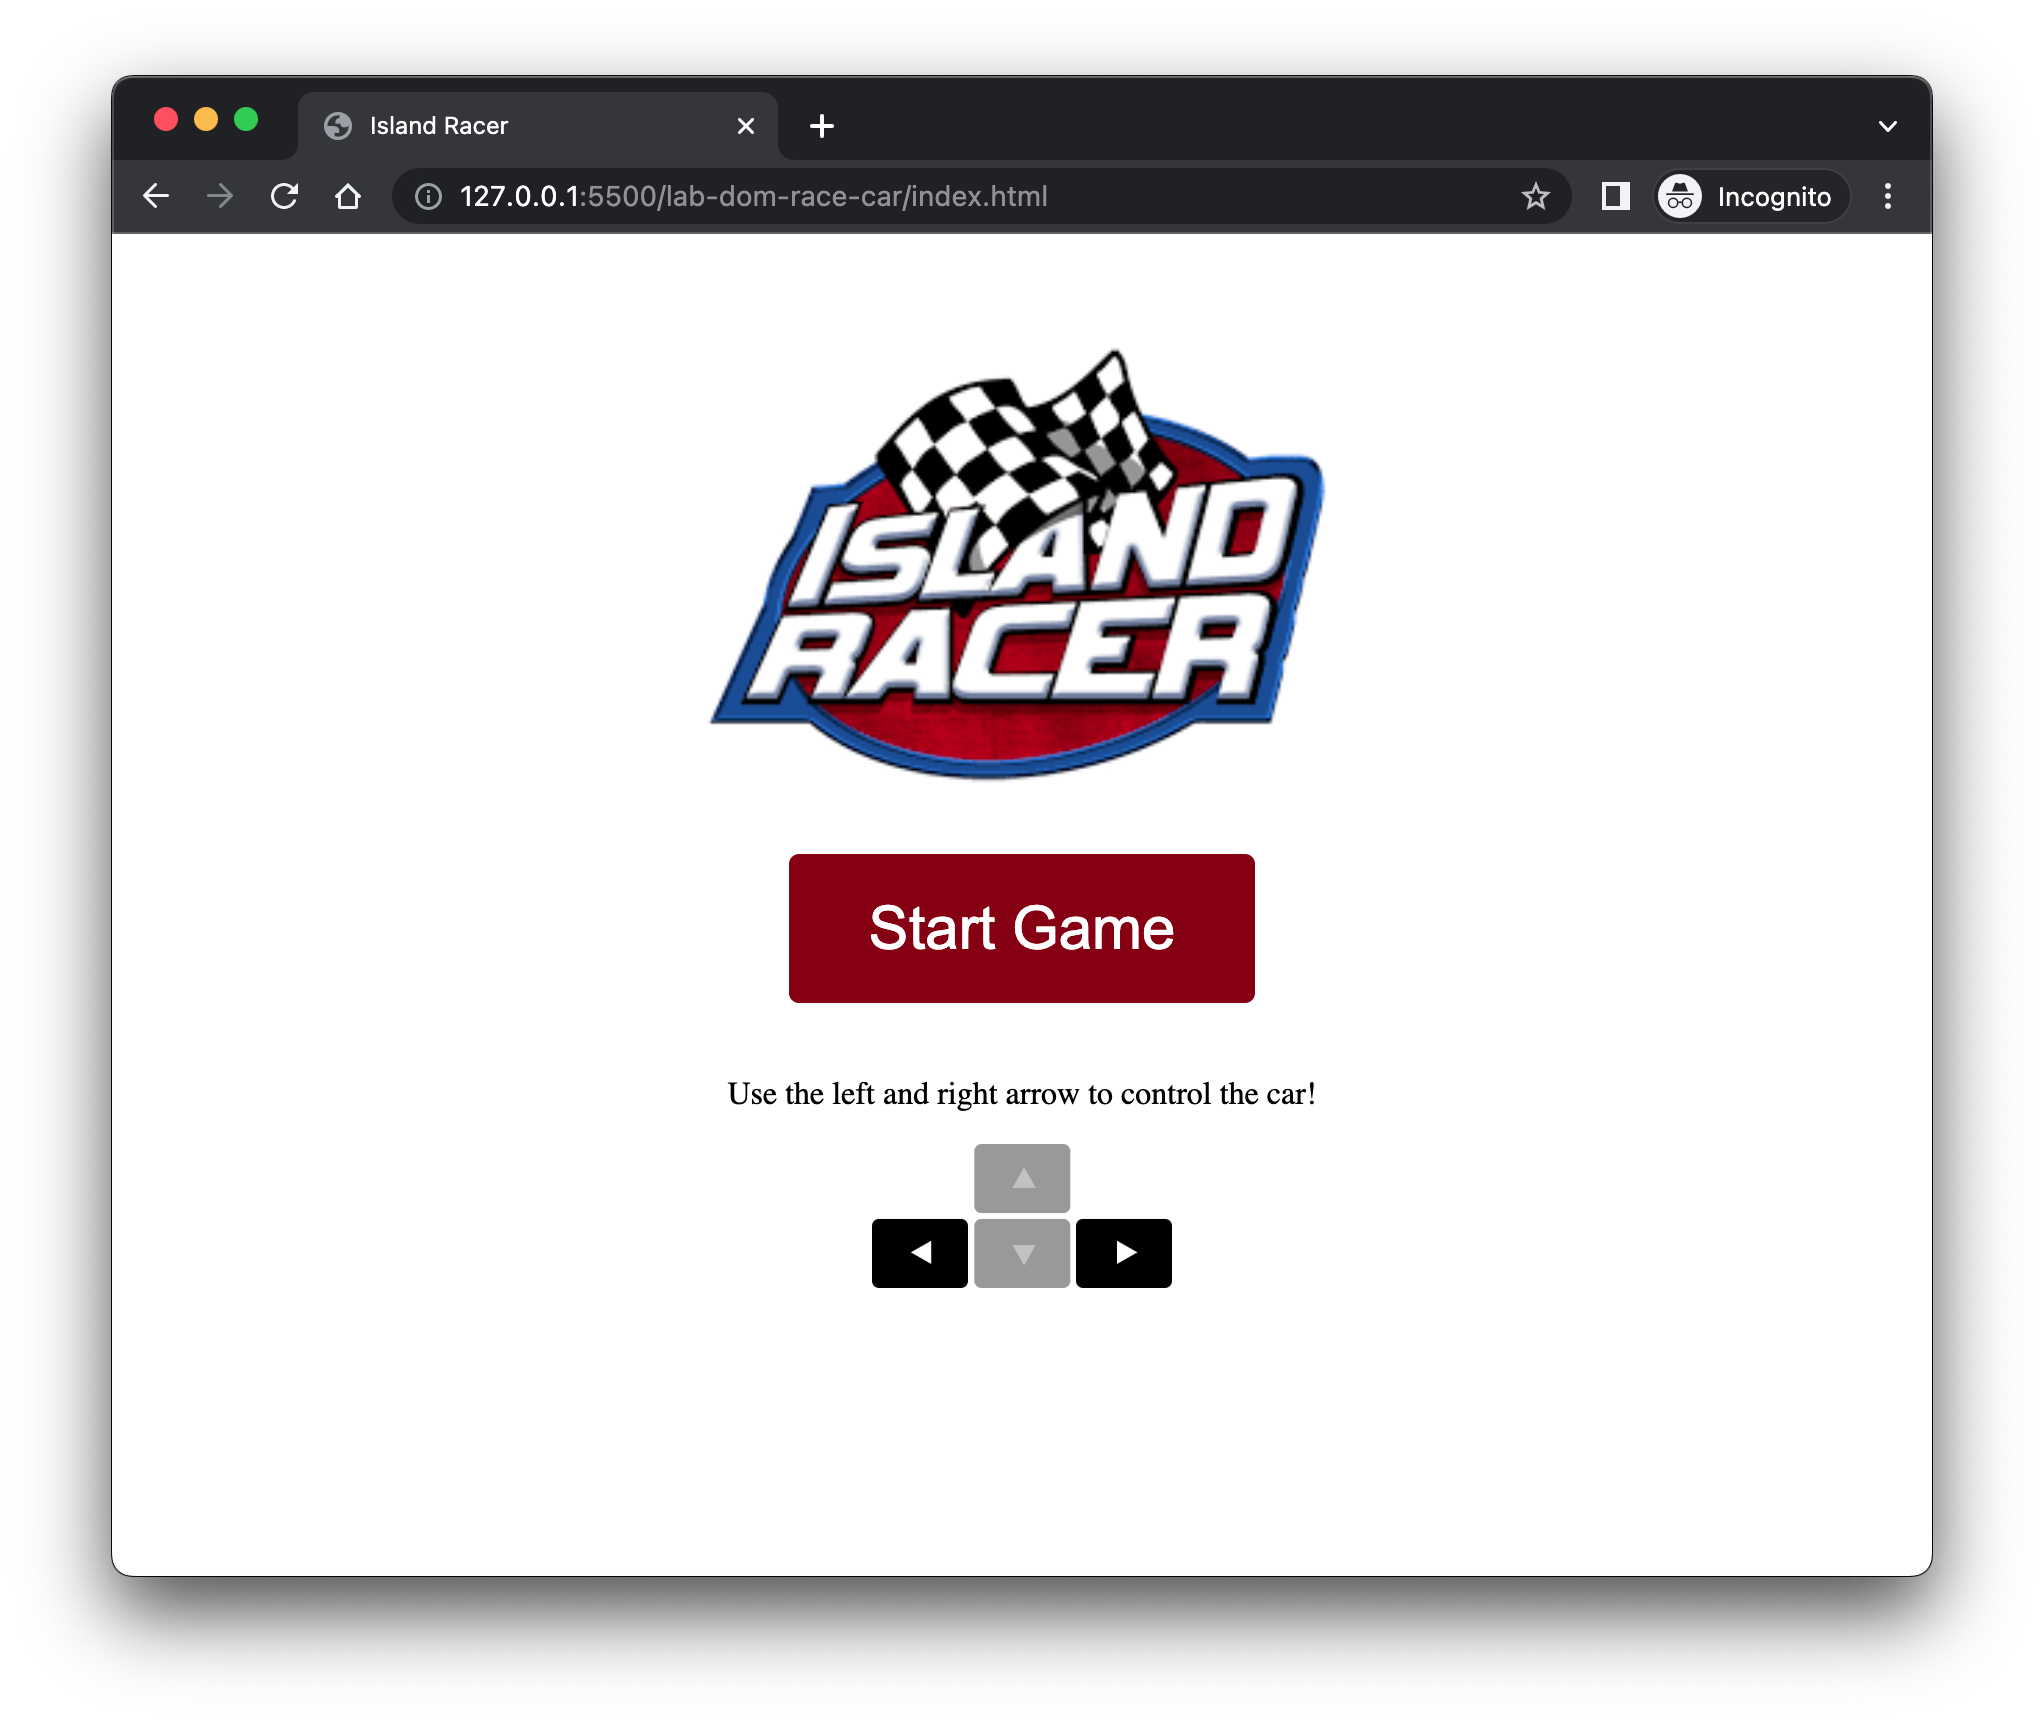
Upon clicking the Start Game button, the player should transition from the start screen to the game screen, initiating the game.
In the next iteration, we will create the Game class and implement the functionality required to start the game.
In this iteration, you will create the Game class in the js/game.js file. This class will be responsible for managing the game data and behavior.
-
The class
Gameis defined in thejs/game.jsfile. -
The
Gameclass should have the following properties defined in the constructor:-
startScreen- holds the div element#game-intro. To access the element, use eitherdocument.getElementById()ordocument.querySelector(). -
gameScreen- holds the div element#game-screen. -
gameEndScreen- holds the div element#game-end. -
player- leave it asnullfor now. We will use this property to save the instance of thePlayerclass that we'll create it in the next iteration. -
height- the height of the game screen in pixels. We will set it to600. -
width- the width of the game screen in pixels. We will set it to500. -
obstacles- an empty array. We'll use it to store the obstacle instances we create later. -
score- a score increases every time an obstacle is passed. Set its initial value to0. -
lives- the number of remaining lives the player has. Set its initial value to3. -
gameIsOver- a flag used to track whether the game is over. Set the initial value tofalse. -
gameIntervalId- a variable used to store the id of the interval running the game loop. We store and use this id to clear the interval once the game is over. -
gameLoopFrecuency- a number that indicates the interval in milliseconds at which the game loop will execute. A good value for most screens is1000/60, which equates to the the game being updated every ~17 millisecond, or about 60 times per second (60fps).
-
-
The
Gameclass should have the following methods:start()Initializes the game by executing the following sequence of steps when called:
- Sets the height and width of the game screen.
- Hides the start screen.
- Shows the game screen.
- Starts the game loop using
setInterval(), which repeatedly executes thegameLoop()function at a frecuency of 60 times per second.
gameLoop()Runs the game loop by executing the following steps:
-
Invokes the
update()method to update the game state. We will create aupdatemethod in the following iteration. -
Checks if the
gameIsOverflag is set totrue. If it is, it interrupts the game interval by callingclearIntervalwhile passing thegameIntervalIdas an argument.
update()This method is responsible for updating the game state during each loop iteration. For now, we will leave it empty and come back to implement it in the upcoming iterations.
You can use the below example of the completed code as a reference:
See the code
class Game {
  constructor() {
    this.startScreen = document.getElementById("game-intro");
    this.gameScreen = document.getElementById("game-screen");
    this.gameEndScreen = document.getElementById("game-end");
    this.player = null;
    this.height = 600;
    this.width = 500;
    this.obstacles = [];
    this.score = 0;
    this.lives = 3;
    this.gameIsOver = false;
    this.gameIntervalId;
    this.gameLoopFrequency = Math.round(1000/60); // 60fps
  }

  start() {
    // Set the height and width of the game screen
    this.gameScreen.style.height = `${this.height}px`;
    this.gameScreen.style.width = `${this.width}px`;

    // Hide the start screen
    this.startScreen.style.display = "none";

    // Show the game screen
    this.gameScreen.style.display = "block";

    // Runs the gameLoop on a fequency of 60 times per second. Also stores the ID of the interval.
    this.gameIntervalId = setInterval(() => {
      this.gameLoop()
    }, this.gameLoopFrequency)
  }

  gameLoop() {
    console.log("in the game loop");

    this.update();

    // If "gameIsOver" is set to "true" clear the interval to stop the loop
    if (this.gameIsOver) {
      clearInterval(this.gameIntervalId)
    }
  }

  update() {
    console.log("in the update");
  }
}Check the provided code in the js/script.js file. When the Start Game button is clicked, inside the startGame function we should create a new instance of the Game class and start the game by invoking the start() method:
See the code
// js/script.js

window.onload = function () {
  const startButton = document.getElementById("start-button");
  const restartButton = document.getElementById("restart-button");
  let game; // added

  startButton.addEventListener("click", function () {
    startGame();
  });

  function startGame() {
    console.log("start game");
    game = new Game(); // added

    game.start(); // added
  }
};
In this iteration, we will create the Player class, representing the player's car.
-
Open the
js/folder and create a new file calledplayer.js. -
In the
index.htmlfile, add a script tag to link theplayer.jsfile. -
Inside the
player.jsfile that you just created, define a new class calledPlayer. -
The
Playerclass should have the following properties defined in the constructor:-
gameScreen- the game screen element passed as an argument to the constructor. -
left- the horizontal position of the car passed as an argument to the constructor. -
top- the vertical position of the car passed as an argument to the constructor. -
width- the width of the car element passed as an argument to the constructor. -
height- the height of the car element passed as an argument to the constructor. -
directionX- initially set to 0. It is used to specify the horizontal movement direction and can have the following values:0: not moving horizontally1: moving horizontally to the right-1: moving horizontally to the left
-
directionY- initially set to 0. It is used to specify the vertical movement direction and can have the following values:0: not moving vertically1: moving vertically down-1: moving vertically up
-
element- the image element representing the car. This image element should be created in the constructor using the provided image source (image url) passed as an argument to the constructor.
-
-
In order to set the exact position of the player element on the game screen, it should be positioned absolutely (
position: absolute). The exact position is determined by this element's width, height, left and top properties. -
Make sure to append the newly created element to the
gameScreen. -
The
Playerclass should have the following methods:move()Updates the player's car position based on the
directionXanddirectionYproperties by doing the following:-
Adds the values of
directionXanddirectionYto the player'sleftandtopproperties. -
Ensures the player's car stays within the boundaries of the game screen by checking and adjusting the
leftandtopproperties. -
Updates the player's car position on the screen by calling the
updatePosition()method. This method will be created in one of the following iterations.
updatePosition()Updates the position of the player's car element on the screen based on its current
leftandtopproperties.didCollide(obstacle)Checks if the player's car collides with an obstacle. This method takes an
Obstacleobject as an argument and returns a boolean value indicating whether a collision occurred.
-
You can use the below example of the completed code as a reference:
See the code
class Player {
  constructor(gameScreen, left, top, width, height, imgSrc) {
    this.gameScreen = gameScreen;
    this.left = left;
    this.top = top;
    this.width = width;
    this.height = height;
    this.directionX = 0;
    this.directionY = 0;
    this.element = document.createElement("img");

    this.element.src = imgSrc;
    this.element.style.position = "absolute";
    // Set up the default element's property values
    this.element.style.width = `${width}px`;
    this.element.style.height = `${height}px`;
    this.element.style.left = `${left}px`;
    this.element.style.top = `${top}px`;

    this.gameScreen.appendChild(this.element);
  }

  move() {
    // Update player's car position based on directionX and directionY
    this.left += this.directionX;
    this.top += this.directionY;

    // Ensure the player's car stays within the game screen
    // handles left hand side
    if (this.left < 10) {
      this.left = 10;
    }

    // handles top side
    if (this.top < 10) {
      this.top = 10;
    }

    // handles right hand side
    if (this.left > this.gameScreen.offsetWidth - this.width - 10) {
      this.left = this.gameScreen.offsetWidth - this.width - 10;
    }

    // handles bottom side
    if (this.top > this.gameScreen.offsetHeight - this.height - 10) {
      this.top = this.gameScreen.offsetHeight - this.height - 10;
    }

    // Update the player's car position on the screen
    this.updatePosition();
  }

  updatePosition() {
    this.element.style.left = `${this.left}px`;
    this.element.style.top = `${this.top}px`;
  }

  didCollide(obstacle) {
    const playerRect = this.element.getBoundingClientRect();
    const obstacleRect = obstacle.element.getBoundingClientRect();

    if (
      playerRect.left < obstacleRect.right &&
      playerRect.right > obstacleRect.left &&
      playerRect.top < obstacleRect.bottom &&
      playerRect.bottom > obstacleRect.top
    ) {
      return true;
    } else {
      return false;
    }
  }


}- As a reminder, we have already defined the
playerproperty of theGameclass and set it tonull. Now let's instantiate a newPlayerobject and store it in theplayerproperty of theGame.
See the code
class Game {
  constructor() {
    // ...
    this.player = new Player(
      this.gameScreen,
      200,
      500,
      100,
      150,
      "./images/car.png"
    );
    // ...
  }

  // ...
}- To continuously update the player's position during gameplay, add a call to the
player.move()method within theupdate()method of theGameclass.
See the code
class Game {
  // ...

  update() {
    this.player.move();
  }
}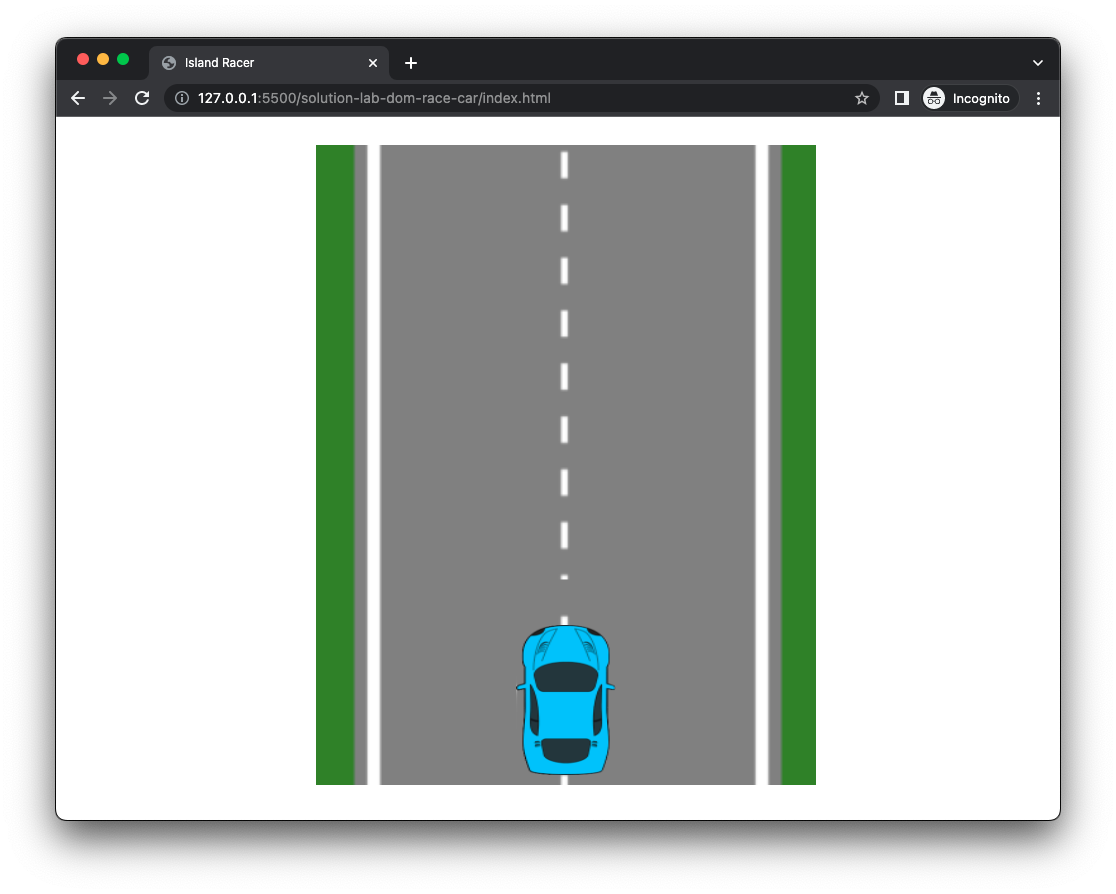
The goal of this iteration is to allow the player to control the car using the keyboard.
To do this, we will add an event listener in the js/script.js file, which will update the player's car directionX and directionY properties based on the keys that the user presses on the keyboard.
This function listens for the keydown event using document.onkeydown and checks if the pressed key matches any of the allowed keystrokes (arrow keys).
See the code
// js/script.js

window.onload = function () {
  // ...

  // Function that handles keydown event
  function handleKeydown(event) {
    const key = event.key;
    const possibleKeystrokes = [
      "ArrowLeft",
      "ArrowUp",
      "ArrowRight",
      "ArrowDown",
    ];

    // Check if the pressed key is in the possibleKeystrokes array
    if (possibleKeystrokes.includes(key)) {
      event.preventDefault();

      // Update player's directionX and directionY based on the key pressed
      switch (key) {
        case "ArrowLeft":
          game.player.directionX = -1;
          break;
        case "ArrowUp":
          game.player.directionY = -1;
          break;
        case "ArrowRight":
          game.player.directionX = 1;
          break;
        case "ArrowDown":
          game.player.directionY = 1;
          break;
      }
    }
  }

  // Add the handleKeydown function as an event listener for the keydown event
  window.addEventListener("keydown", handleKeydown);
};
In this iteration, we will create the Obstacle class, which will be used to create obstacle instances.
-
Open the
js/folder and create a new file calledobstacle.js. -
In the
index.htmlfile, add a script tag to link the newobstacle.jsfile. -
Inside the
obstacle.jsfile that you just created, define a new class calledObstacle. -
The
Obstacleclass should have the following properties defined in the constructor:-
gameScreen- the game screen element passed as an argument to the constructor. -
left- randomly generated number representing the horizontal position of the car. -
top- the initial vertical position of the obstacle. We will set it to0. -
width- the width of the obstacle element. We will set it to100. -
height- the height of the obstacle element. We will set it to150. -
element- the image element that represents the obstacle car. We will use the image of the red car available in theimages/folder.
-
-
Once you create the obstacle element, you should position it absolutely (
position: absolute) to be able to specify its exact position. The exact position is determined by this element's width, height, left and top properties. -
Also, remember to append the obstacle element to the
gameScreen. -
The
Obstacleclass should have the following methods:move()-
Move the obstacle down by 3px by continuously updating its
topproperty. -
Update the obstacle's position on the screen by calling the
updatePosition()method.
updatePosition()Updates the position of the obstacle element on the screen based on its current
leftandtopproperties.
-
You can use the below example of the completed code as a reference:
See the code
class Obstacle {
  constructor(gameScreen) {
    this.gameScreen = gameScreen;
    this.left = Math.floor(Math.random() * 300 + 70);
    this.top = 0;
    this.width = 100;
    this.height = 150;
    this.element = document.createElement("img");

    this.element.src = "./images/redCar.png";
    this.element.style.position = "absolute";
    this.element.style.width = `${this.width}px`;
    this.element.style.height = `${this.height}px`;
    this.element.style.left = `${this.left}px`;
    this.element.style.top = `${this.top}px`;

    this.gameScreen.appendChild(this.element);
  }

  updatePosition() {
    // Update the obstacle's position based on the properties left and top
    this.element.style.left = `${this.left}px`;
    this.element.style.top = `${this.top}px`;
  }

  move() {
    // Move the obstacle down by 3px
    this.top += 3;
    // Update the obstacle's position on the screen
    this.updatePosition();
  }
}The last key aspect of the game is handling the collisions between the player's car and the obstacle cars and generating obstacles randomly.
To do this, you need to modify the update() method in the Game class to do the following:
Game - update()
This method is responsible for updating the game state during each loop iteration. Here are the steps that it should perform:
-
Update player's car position based on its
directionXanddirectionYproperties by invoking the methodplayer.move(). -
Randomly generate a new obstacle.
-
Iterate through the list of
obstacles, move each obstacle, and check for collision with the player’s car.-
If there is a collision, remove the obstacle from the game and reduce the player’s remaining lives by one.
-
If the obstacle is off the screen, remove the obstacle from the game and increase the player’s score by one.
-
-
Check if the player has run out of lives, and end the game if so. Create a new method (
endGame) responsible for ending the game.
endGame()
- Remove a player and all the obstacles from the DOM.
- Set the
gameIsOverflag totrue. - Hide the game screen.
- Show the end game screen.
You can use the below example of the completed code as a reference:
See the code
// js/game.js

class Game {
  // ...

  update() {
    this.player.move();

    // Check for collision and if an obstacle is still on the screen
    for (let i = 0; i < this.obstacles.length; i++) {
      const obstacle = this.obstacles[i];
      obstacle.move();

      // If the player's car collides with an obstacle
      if (this.player.didCollide(obstacle)) {
        // Remove the obstacle element from the DOM
        obstacle.element.remove();
        // Remove obstacle object from the array
        this.obstacles.splice(i, 1);
        // Reduce player's lives by 1
        this.lives--;
        // Update the counter variable to account for the removed obstacle
        i--;
      } // If the obstacle is off the screen (at the bottom)
      else if (obstacle.top > this.height) {
        // Increase the score by 1
        this.score++;
        // Remove the obstacle from the DOM
        obstacle.element.remove();
        // Remove obstacle object from the array
        this.obstacles.splice(i, 1);
        // Update the counter variable to account for the removed obstacle
        i--;
      }
    }

    // If the lives are 0, end the game
    if (this.lives === 0) {
      this.endGame();
    }

    // Create a new obstacle based on a random probability
    // when there is no other obstacles on the screen
    if (Math.random() > 0.98 && this.obstacles.length < 1) {
      this.obstacles.push(new Obstacle(this.gameScreen));
    }
  }

  // Create a new method responsible for ending the game
  endGame() {
    this.player.element.remove();
    this.obstacles.forEach(obstacle => obstacle.element.remove());

    this.gameIsOver = true;

    // Hide game screen
    this.gameScreen.style.display = "none";
    // Show end game screen
    this.gameEndScreen.style.display = "block";
  }

  // ...
}
In this final iteration, we will implement the end game screen, shown to the user when the game is over.
Check the code in the js/script.js. We will do this by adding a click event listener to the Restart Game button. The handler function for this listener should reload the page when the button is clicked. You can achieve this by using the location.reload() method.
You can refer to the example of the completed code below to guide you through this iteration:
See the code
// js/script.js

window.onload = function () {
  // ...

  // Add an event listener to the restart button
  restartButton.addEventListener("click", function () {
    // Call the restartGame function when the button is clicked
    restartGame();
  });

  // The function that reloads the page to start a new game
  function restartGame() {
    location.reload();
  }
};In this iteration, we will focus on refactoring the Player and Obstacle classes by implementing inheritance. This will enable you to reuse common code and establish a more organized structure. In particular, we will create a superclass called Component that will hold the shared functionality for both Player and Obstacle:
-
Create a new class
Componentwith a constructor that takesgameScreen,left,top,width,height, andimgSrcas parameters. This constructor will set up the common properties and DOM elements for bothPlayerandObstacle. -
Update the
PlayerandObstacleclasses to extend theComponentclass. Replace their constructors with a call tosuper()that passes the required parameters to the superclass constructor. -
Remove any duplicated code from the
PlayerandObstacleclasses that is already implemented in theComponentclass.
Here's how the final refactored code should look like:
See the code
// js/component.js

class Component {
  constructor(gameScreen, left, top, width, height, imgSrc) {
    this.gameScreen = gameScreen;
    this.left = left;
    this.top = top;
    this.width = width;
    this.height = height;
    this.element = document.createElement("img");

    this.element.src = imgSrc;
    this.element.style.position = "absolute";
    this.element.style.width = `${width}px`;
    this.element.style.height = `${height}px`;
    this.element.style.left = `${left}px`;
    this.element.style.top = `${top}px`;

    this.gameScreen.appendChild(this.element);
  }

  updatePosition() {
    this.element.style.left = `${this.left}px`;
    this.element.style.top = `${this.top}px`;
  }
}
// js/player.js
class Player extends Component {
constructor(gameScreen, left, top, width, height, imgSrc) {
super(gameScreen, left, top, width, height, imgSrc);
this.directionX = 0;
this.directionY = 0;
}
move() {
// Update player's car position based on directionX and directionY
this.left += this.directionX;
this.top += this.directionY;
debugger;
// Ensure the player's car stays within the game screen
if (this.left < 10) {
this.left = 10;
}
if (this.top < 10) {
this.top = 10;
}
if (this.left > this.gameScreen.offsetWidth - this.width - 10) {
this.left = this.gameScreen.offsetWidth - this.width - 10;
}
if (this.top > this.gameScreen.offsetHeight - this.height - 10) {
this.top = this.gameScreen.offsetHeight - this.height - 10;
}
// Update the player's car position on the screen
this.updatePosition();
}
didCollide(obstacle) {
const playerRect = this.element.getBoundingClientRect();
const obstacleRect = obstacle.element.getBoundingClientRect();
if (
playerRect.left < obstacleRect.right &&
playerRect.right > obstacleRect.left &&
playerRect.top < obstacleRect.bottom &&
playerRect.bottom > obstacleRect.top
) {
console.log("Crash!");
return true;
} else {
return false;
}
}
}// js/obstacle.js
class Obstacle extends Component {
constructor(gameScreen) {
super(
gameScreen,
Math.floor(Math.random() * 300 + 70),
0,
100,
150,
"./images/redCar.png"
);
}
move() {
// Move the obstacle down by 3px
this.top += 3;
// Update the obstacle's position on the screen
this.updatePosition();
}
}To make the game more competitive, add elements to shows the player's score and lives. These elements should display the remaining lives and accumulated points as the player successfully avoids obstacles.

You can find the complete solution code for the lab at: dom-race-car.
To clone the solution repository, run the following commands:
# clone the repo
git clone https://github.com/ironhack-labs/lesson-code-dom-race-car.git

# navigate to the cloned repo
cd lesson-code-dom-race-car
Happy coding! ❤️


