Current macOS version: High Sierra (10.13), tested with VirtualBox 5.2.16 r123759
To build a VM running macOS, follow the directions below:
-
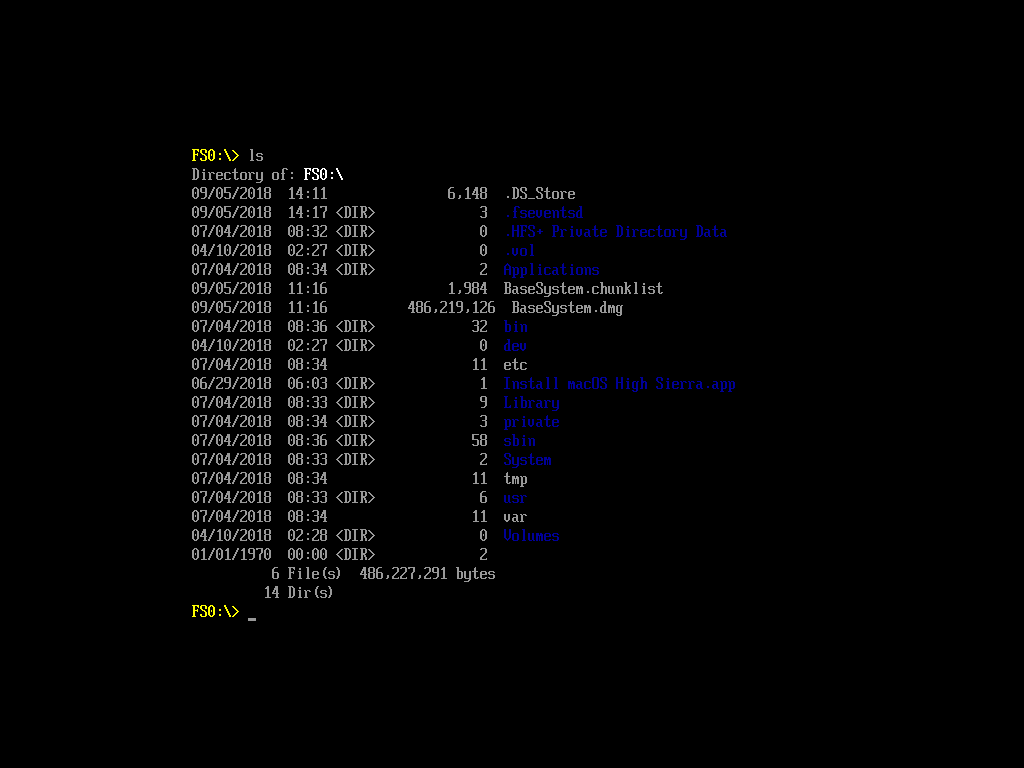
Download the installer from Mac App Store (it should be available in the 'Purchases' section if you've acquired it previously). The installer will be placed in your Applications folder. (Should work for Yosemite, El Capitan, Sierra and High Sierra, Mojave - 10.10-10.14.)
- Note: On newer hardware, you might not be able to download older OS releases that Apple doesn't support on the newer hardware (e.g. the 2016 MacBook Pro can only download 10.12 Sierra or later). In this case, you need to use an older Mac to download the older OS.
-
Make the script executable and run it:
chmod +x prepare-iso.sh && ./prepare-iso.sh.If the script fails to find the installer you can specify its path as the first parameter. By default, the output is saved as <Yosemite|El Capitan|Sierra|High Sierra|Mojave>.iso on the Desktop. You can change this using the second parameter. Example:
./prepare-iso.sh /Applications/Install\ macOS Sierra\ 2.1\ Beta\ 2.app sierra-2.1-b2 -
Open VirtualBox and create a new VM.
-
Set:
- name: Choose a name
- type:
Mac OS X - version:
Mac OS X (64-bit).
-
Follow the rest of the VM creation wizard and either leave the defaults or adjust to your liking.
- For Big Sur, the installer requires the disk to have at least 35.3 GB.
-
Go into the Settings for the new VM you created and: 1. Under 'Display', increase the Video Memory to at least 128MB, otherwise macOS might not boot correctly, and display performance will be abysmal. 2. Under 'Audio', uncheck 'Enable Audio', otherwise the VM may display 'choppy' performance.
-
In Terminal, run the command
VBoxManage modifyvm VM_NAME --cpuidset 00000001 000306a9 00020800 80000201 178bfbff(whereVM_NAMEis the exact name of the VM set in step 4) so the VM has the right CPU settings for macOS. -
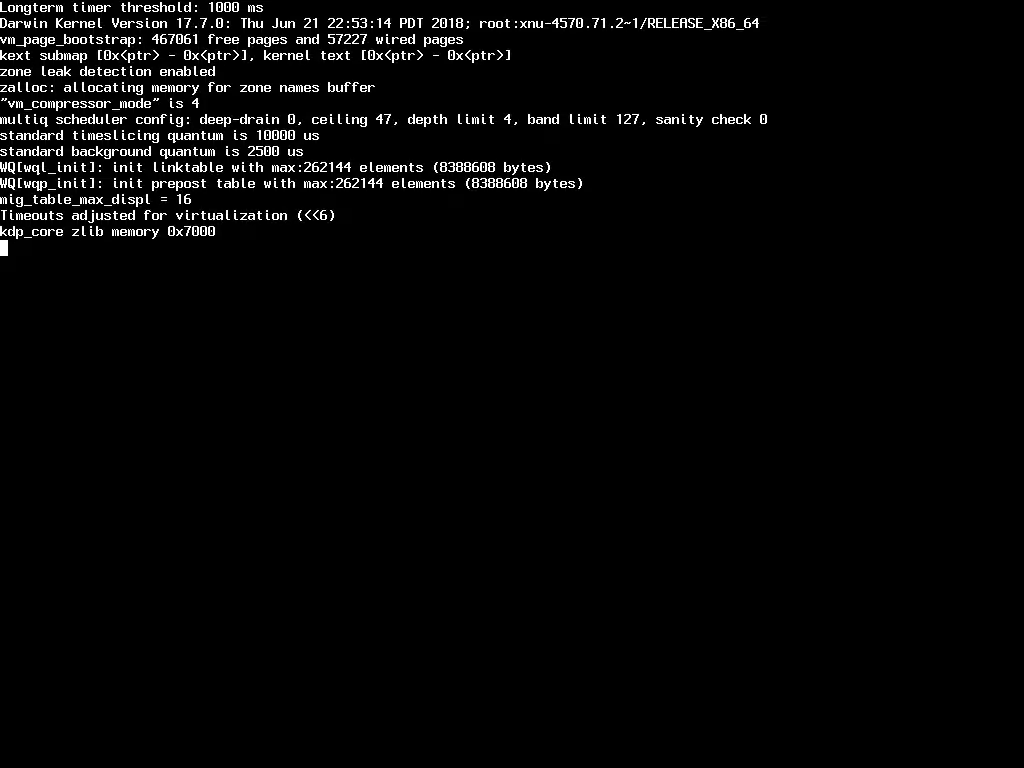
Click 'Start' to boot the new VM.
-
Select the iso created in step 2 when VirtualBox asks for it.
-
In the installer, select your preferred language.
-
Open Disk Utility and format the volume: 1. Go to
Utilities > Disk Utility, select the VirtualBox disk, and chooseEraseto format it as:- For macOS < 10.13, choose
Mac OS Extended (Journaled) - For macOS 10.13 and later, choose
APFS.
- For macOS < 10.13, choose
-
Quit Disk Utility, and then continue with installation as normal.
-
I've noticed that sometimes I need to go in and explicitly mark the iso as a Live CD in the VM settings in order to get the VM to boot from the image.
-
If you try to start your VM and it does not boot up at all, check to make sure you have enough RAM to run your VM.
-
Conversely, VirtualBox sometimes does not eject the virtual installer DVD after installation. If your VM boots into the installer again, remove the ISO in
Settings -> Storage. -
VirtualBox uses the left command key as the "host key" by default. If you want to use it for shortcuts like
command+corcommand-v(copy&paste), you need to remap or unset the "Host Key Combination" inPreferences -> Input -> Virtual Machine. -
The default Video Memory of 16MB is far below Apple's official requirement of 128MB. Increasing this value may help if you run into problems and is also the most effective performance tuning.
-
Depending on your hardware, you may also want to increase RAM and the share of CPU power the VM is allowed to use.
-
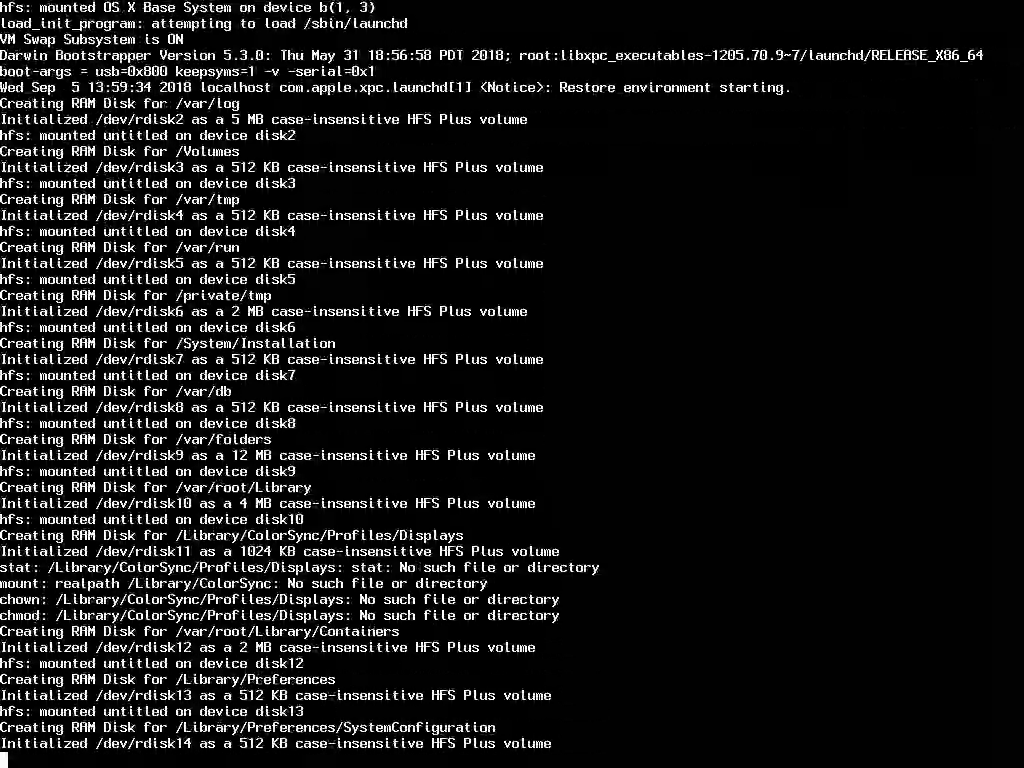
When the installation is complete, and you have a fresh new macOS VM, you can shut it down and create a snapshot. This way, you can go back to the initial state in the future. I use this technique to test the
mac-dev-playbook, which I use to set up and configure my own Mac workstation for web and app development. -
If for High Sierra you can not find the VirtualBox disk created inside the Disk Utility select
View -> Show All Devicesand format the newly visible device (Source: tinyapps.org). -
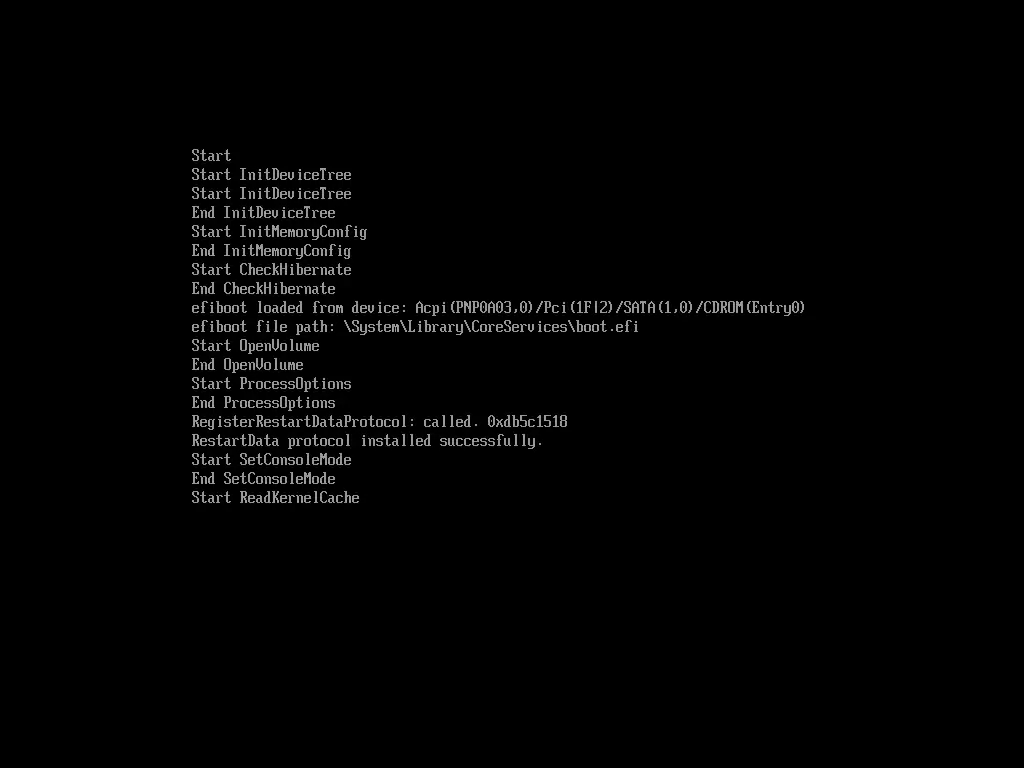
If for High Sierra you encounter boot / EFI problems, restart the VM and hit
F12to get to the VirtualBox boot manager. Select EFI In-Terminal Shell and run:Shell> fs1: FS1:\> cd "macOS Install Data" FS1:\macOS Install Data\> cd "Locked Files" FS1:\macOS Install Data\Locked Files\> cd "Boot Files" FS1:\macOS Install Data\Locked Files\Boot Files\> boot.efi -
If keyboard and mouse do not work inside the VM:
- Ensure the VirtualBox Extension Pack is installed.
- In the VM settings, under
Ports > USB, selectUSB 3.0 (xHCI) Control.
-
If for Big Sur the installer says
The selected volume is not large enough to install on. A minimum of 35.3 GB is required., shutdown the VM, go to File > Virtual Media Manager, and increase the disk size. Now, restart the VM, go to Disk Utility, delete the too-small partition and re-create it to use all of the available space.
To control the screen size of your macOS VM:
-
Shutdown your VM
-
Run the following VBoxManage command:
VBoxManage setextradata VM_NAME VBoxInternal2/EfiGopMode N
Replace VM_NAME with the name of your Virtual Machine. Replace N with one of 0,1,2,3,4,5. These numbers correspond to the screen resolutions 640x480, 800x600, 1024x768, 1280x1024, 1440x900, 1920x1200 screen resolution, respectively.
The video mode can only be changed when the VM is powered off and remains persistent until changed. See more details in this forum discussion.
- The code for this example originally came from VirtualBox forums and especially this article.
- Subsequently updated to support Yosemite - Sierra based on this thread, and High Sierra and beyond based on the work of a number of contributors (thanks!).
- To install command line tools after macOS is booted, open a terminal window and enter
xcode-select --install(or just try usinggit,gcc, or other tools that would be installed with CLI tools).
This project was created in 2015 by Jeff Geerling.