Lets find out! Today we will be making a Twitter like clone to practice
creating routes, templates, and forms with Flask, Jinja, and WTForms!
There is a starter file for this project, which has the following:
-
Pipfile with a few dependencies already defined.
-
Templates folder with a few Jinja templates.
-
Static folder with some CSS.
-
tweets.pywhich has your tweet seed data
This project has 4 Phases, each with its own starter code. The starter code for Phase 2 is also the solution code for Phase 1, and the same with Phases 3 and 4. Please do not look at the solution until you have completed the corresponding phase 🙏🏼
Lets get that flask server up and running!
-
The starter already has
flaskandpython-dotenvdependencies in its pipfile, so we just need to runpipenv installto get those dependencies installed and our.venvfolder created 👍🏼. REMINDER! You want to cd into the starter folder before doing any installs, and then create all new files in the starter folder -
Next let's make our 2 environment files, a
.flaskenvfile to hold our public environmental variables like FLASK_APP and FlASK_DEBUG and then a.envfile to hold our sensitive environmental variables like our SECRET_KEY (and eventually our DATABASE_URL). -
Next let's set up our
config.pyto store all of our environmental variables imports (it should go in theappfolder). It should be aConfigclass with the SECRET_KEY being set as a class attribute (HINT: will need to import os and use that module to get the necessary environmental variables) -
Last step for this phase! Time to create a init.py in our app folder to house the instance of our flask app. We want to import our
Configclass we just made, as well as flask, and then we will want to create an instance of Flask. We will also want to configure our Flask instance with theConfigclass we imported.
When you have completed this phase, you should be able to start up your flask
server successfully using pipenv run flask run and provide an additional -p 5001 if you need to start it on a port other than the default of 5000. If you
navigate to the app in the browser you will see a "Not Found" error, as we have
not made any routes yet!
Now that we have a server up and running, let's make some routes!
-
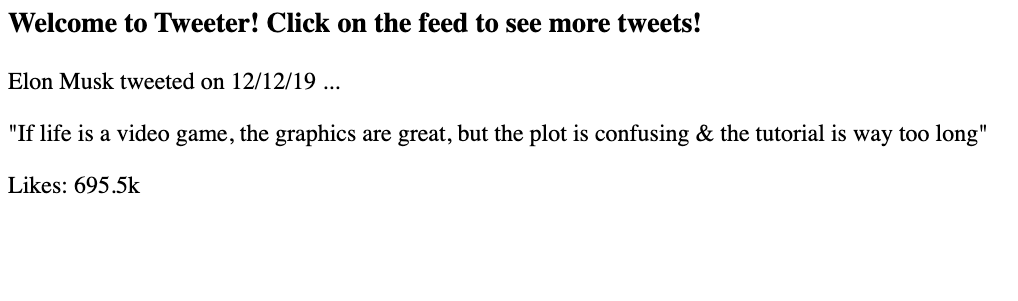
Lets start by making a home or index route! This route should have the URL path of
'/'and should randomly pick a tweet from thetweetsdictionary in thetweets.pyfile. (might want to check out the random module if your don't remember the method to use) Once a random tweet has been selected, we want to render a template using the already createdindex.htmltemplate in thetemplatesfolder (remember to send the tweet along to the template). You should see output in the browser like the following if all is done correctly (might see a different tweet as that part is random)Note how we did not need to install
Jinja2at all, since it is a dependency of flask! -
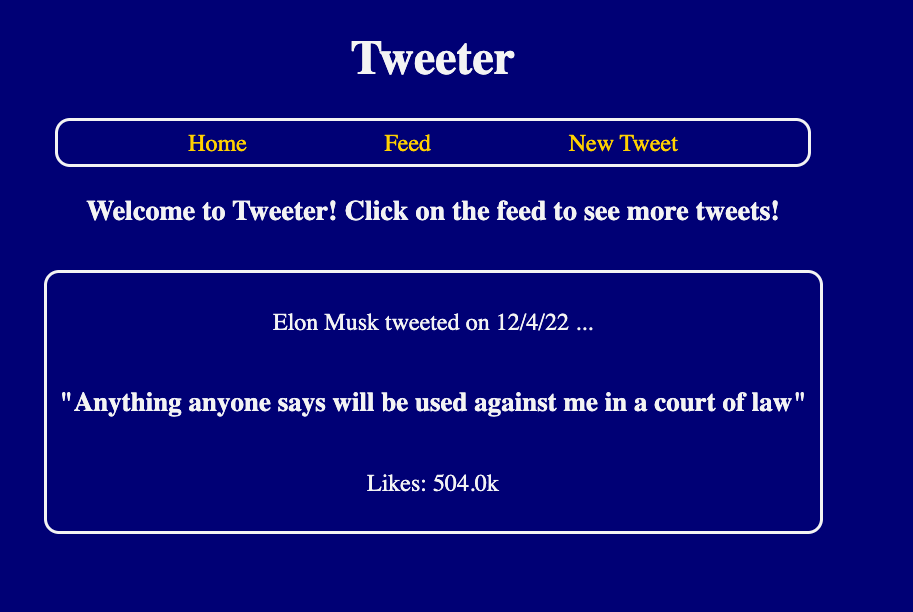
So our index route works, but wow is it in need of some styling, and maybe navigation? Luckily, there is a
base.htmlin our templates folder that has a nav bar and is already linked to a stylesheet! All we need to do is set up ourindex.htmlto inherit from thebase.html, and we will be looking at some pretty colors! Check out the browser and our home route should look like the following if all is done correctly (again might see a different tweet as that part is random) -
A random tweet is nice and all for a home page, but we want more of a feed that is going to display all the tweets we have, so lets start on that route!
a. Let's make a route at the URL path of
'/feed'that will get all of the tweets, and then send them to thefeed.htmltemplate that is already created in thetemplatesfolder.b. The
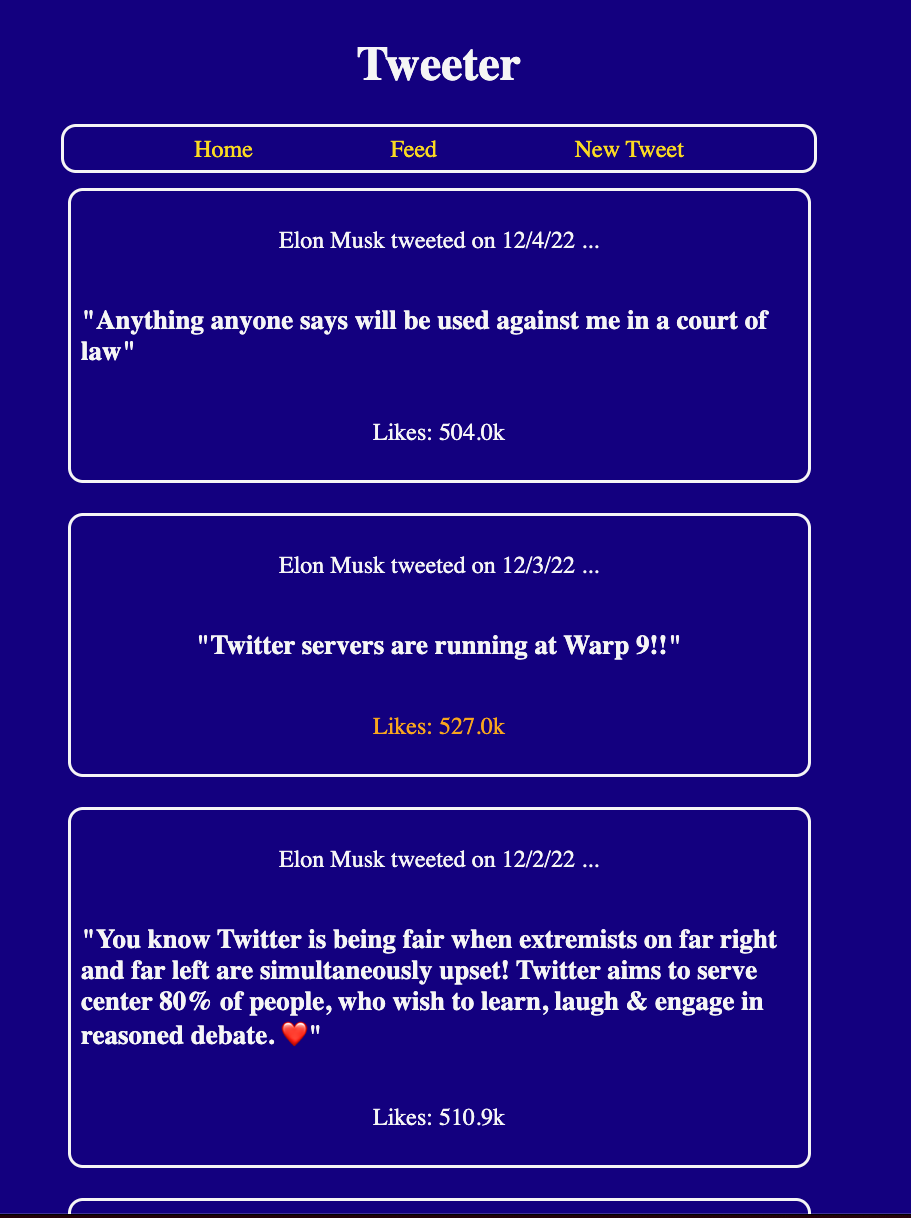
feed.htmltemplate is going to need some work, lets start of by having it inherit from thebase.htmltemplate, like we did for our home route. Now at least it should look pretty!c. We are not just sending a single tweet like we did on the home route, we are sending a whole list, so we will need to iterate through the list in the template. What we want displayed in each tweet can be the same as our home page, so it should look like this (the below code snippet is how you should display a single tweet, but you will need to add the code to iterate through all the tweets):
    <div class="tweet">
        <p>{{ tweet.author }} tweeted on {{ tweet.date }} ...</p>
        <p>"{{ tweet.tweet }}"</p>
        <p>Likes: {{ tweet.likes / 1000}}k</p>
    </div>
Make sure the "tweet" is in the div with the class name "tweet" and the div with the class name "feed_container" is outside you loop to make the completed template look the same as other styles in the site.
d. If a tweet has more than 525k likes, lets make the
Likesorange instead of being plain white! Add a conditional to thefeed.htmltemplate to take care of this.If everything was done right, you should be able to see something like this in your browser:
So now we get a random tweet on our home page, and our feed is filled with great tweets, what else could we want with our site? We probably want to let users make new tweets?
-
We are going to need a few more dependencies to get a form up and working, so lets run the following:
pipenv install wtforms flask-wtfto getWTFormsand its helper dependencyflask-wtfinstalled. -
We will want to make a
formfolder, and then in that folder aform.pyfile to store our tweet form. Create a Tweet form class and form fields for author, tweet, and a submit button. The author and tweet fields should both be strings and be required. Label the submit button "Create Tweet". Reminder that forms need several imports 👍🏼 -
Now lets start working on a route for this form! We will want to start with the GET route for a URL path of
'/new'and we will certainly need to import our new form, so we can instantiate it inside our route. We will also want to create a new html template for our form called'new_tweet.html', but before we jump to that, make sure to render the new template, and to pass form to that template. -
The
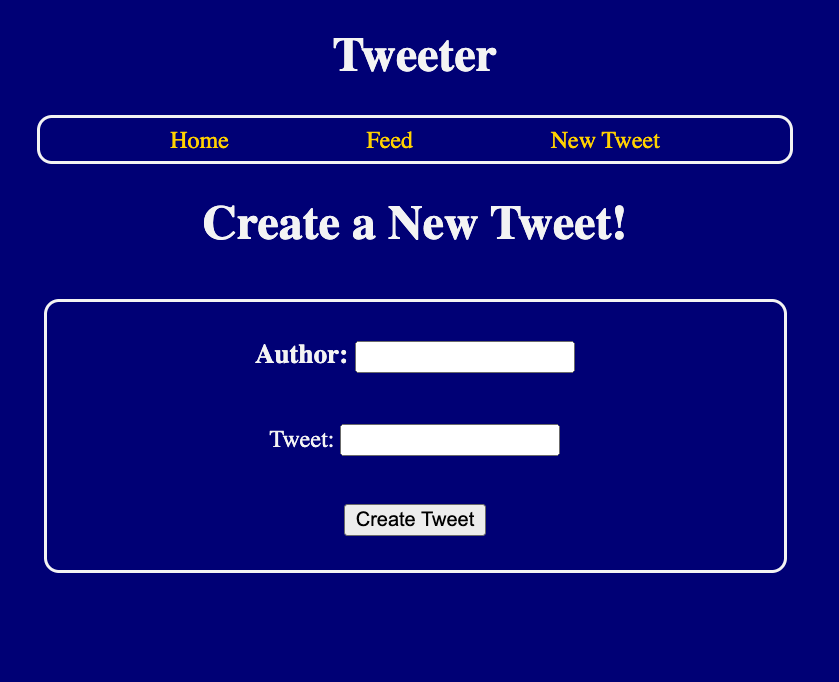
'new_tweet.html'form should inherit from'base.html'so it will get some CSS. Some sort of header would be nice on this page. You can set up the form fields anyway you like,div's orptags are usually preferred. Don't forget your CSRF protection! If you give theformtag aclass="tweet"attribute, it will look a whole lot nicer in the browser!
If you take a peek in the browser, your new form should look something like
this, depending on how you set up the fields. If you try to submit the form,
nothing should happen because we still need to set up the post route!
The finish line is in sight! We just need to save the posts from our form!
-
Lets get back to the
'/new'route and add in some POST functionality! Make sure to set up conditional logic for yourform.validate_on_submit()andform.errors.a. As far as creating a new tweet, your
idcan be the length of the tweets list. Theauthorandtweetfields need to be populated from the form data. Thedatecan just be generated at the time of the post (check out the datetime module, it should just be the date, no need for times). Lastly thelikesattribute should be set to 0 or you can randomly generate a value for it. (the templates do divide likes by 1,000 and add a 'k' afterwards, Mr Musk has a decent amount of followers...) Make sure to add that new tweet to the list of tweets when you are done!b. If we successfully made a new tweet, we should redirect the user to the
feedpage so they can see their new tweet!c. If for some reason we had errors on the form submission, we should return those to the browser.
If you can make new tweets and they show up in the feed, then you are all done with this project! Unless you are bold and want to try to tackles some of these bonuses? 💪🏻
Feeling pretty good about your 'Tweeter' app? But can you take it further? Here are some things to try out!
-
Our feed is not in order, it should display 'tweets' in order from most recent to least recent, but it is being displayed by ID. If only we could get this
sortedout... -
How do those dates look? If you used something like
date.today()to create new dates, you should have gotten the date, but not in the same format as the 'seed' tweets, can we fix that? -
Would be pretty cool if we could actually like some of the tweets, right? And what if we changed our minds and wanted to un-like them?
![aa-assessment-project-manager[bot] avatar](https://avatars.githubusercontent.com/u/2138704?v=4 "aa-assessment-project-manager[bot]")
