- flight_data_logger.py: reads rocket flight data and logs it to a file.
- rocket_server.py: reads rocket flight data and broadcasts it.
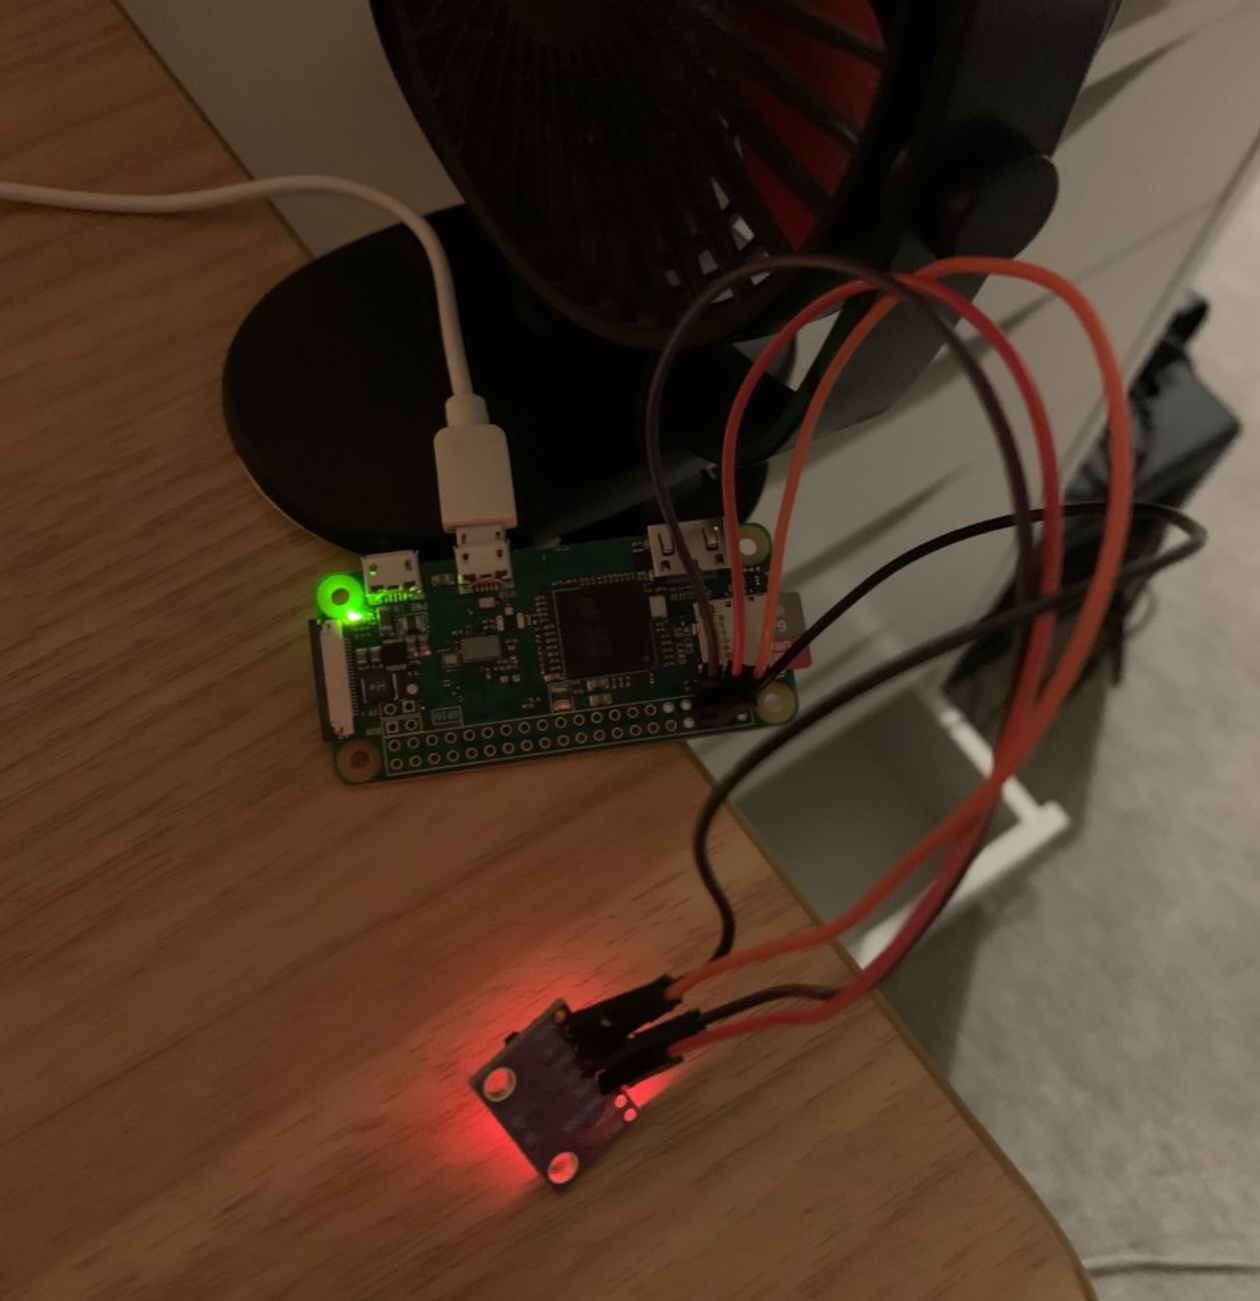
- sensor_tester.py: used to check whether the sensors are working.
| Component | Description | Source | Price |
|---|---|---|---|
| Raspberry Pi Zero W | Version 1.3 | Pimoroni | £9.30 |
| MicroSD Card | 64GB | Amazon | £17.49 |
| Camera | Camera for Raspberry Pi Zero | Pimoroni | £14.10 |
| LiPo SHIM | Enables the RPi to be power supplied from a battery | Pimoroni | £12.60 |
| LiPo Battery | 150mAh | Pimoroni | £5.10 |
| GY-91 | A chip combining an MPU-9250 and a BMP280 | ebay | £14.95 |
Before we can start programming, we need to setup the Raspberry Pi we will be using.
- On an SD card, flash the latest version of Raspberry Pi OS using Raspberry Pi Imager.
- Setup WPA on the Imager application or through adding a
wpa_supplicant.conffile in the SD card:
country=gb
update_config=1
ctrl_interface=/var/run/wpa_supplicant
network={
 scan_ssid=1
 ssid="MyNetworkSSID"
 psk="MyNetworkPassword"
}
- Setup a user for the Raspberry Pi through the Imager with a username and password.
- Setup SSH by adding an empty file called
sshin the SD card.
After the SD card has been flashed, we can insert it into our Raspberry Pi and power it up. When booting, the Raspberry Pi consumes the wpa_supplicant.conf and ssh files.
To gather flight data, we are using the GY-91 module, which combines an MPU-9250 (accelerometer, gyroscope and magnetometer) and a BMP280 (temperature and pressure sensor).
The Raspberry Pi in the diagram below is different from the Raspberry Pi Zero W we are using, but the wiring configuration to connect the GY-91 should be the same.

With the Raspberry Pi now booted up, we can scan our network with an application such as MobaXterm to find the IP address with which we can start an SSH session. The Raspberry Pi will prompt us to log in with a username and password, which should be the ones we set when configuring it.
Python already comes installed with the OS.
In order to read from the I2C from Python, we need to install the smbus module
sudo apt-get install python-smbus
You can run the following command to scan an I2C bus for devices. It outputs a table with the list of detected devices on the specified bus.
i2cdetect -y 1
This library is needed so that Python can read from the BMP280 sensor
sudo apt-get install build-essential python-pip python-dev python-smbus git
git clone https://github.com/adafruit/Adafruit_Python_GPIO.git
cd Adafruit_Python_GPIO
sudo python setup.py install
RPi Cam Web Interface is a web interface for the Raspberry Pi Camera module. It can be used for a wide variety of applications including surveillance, DVR recording and time lapse photography. We will be using it to capture images and live video from the camera.
Connect the camera with the Raspberry Pi Zero W and proceed with the instructions below.
git clone https://github.com/silvanmelchior/RPi_Cam_Web_Interface.git
cd RPi_Cam_Web_Interface
./install.sh

