NOTE: This sample application uses the Programmable Voice Android 5.x APIs. If you are using prior versions of the SDK, we highly recommend planning your migration to 5.0 as soon as possible.
Get started with Voice on Android:
- Quickstart - Run the quickstart app
- Examples - Customize your voice experience with these examples
- Migration Guide 4.x to 5.x - Migrating from 4.x to 5.x
- New Features 4.0 - New features in 4.0
- Migration Guide 3.x to 4.x - Migrating from 3.x to 4.x
- New Features 3.0 - New features in 3.0
- Migration Guide 2.x to 3.x - Migrating from 2.x to 3.x
- Emulator Support - Android emulator support
- Reducing APK Size - Use ABI splits to reduce APK size
- Access Tokens - Using access tokens
- Managing Push Credentials - Managing Push Credentials
- Troubleshooting Audio - Troubleshooting Audio
- More Documentation - More documentation related to the Voice Android SDK
- Twilio Helper Libraries - TwiML quickstarts.
- Issues & Support - Filing issues and general support
To get started with the Quickstart application follow these steps. Steps 1-6 will allow you to make a call. The remaining steps 7-8 will enable push notifications using FCM.
- Generate google-services.json
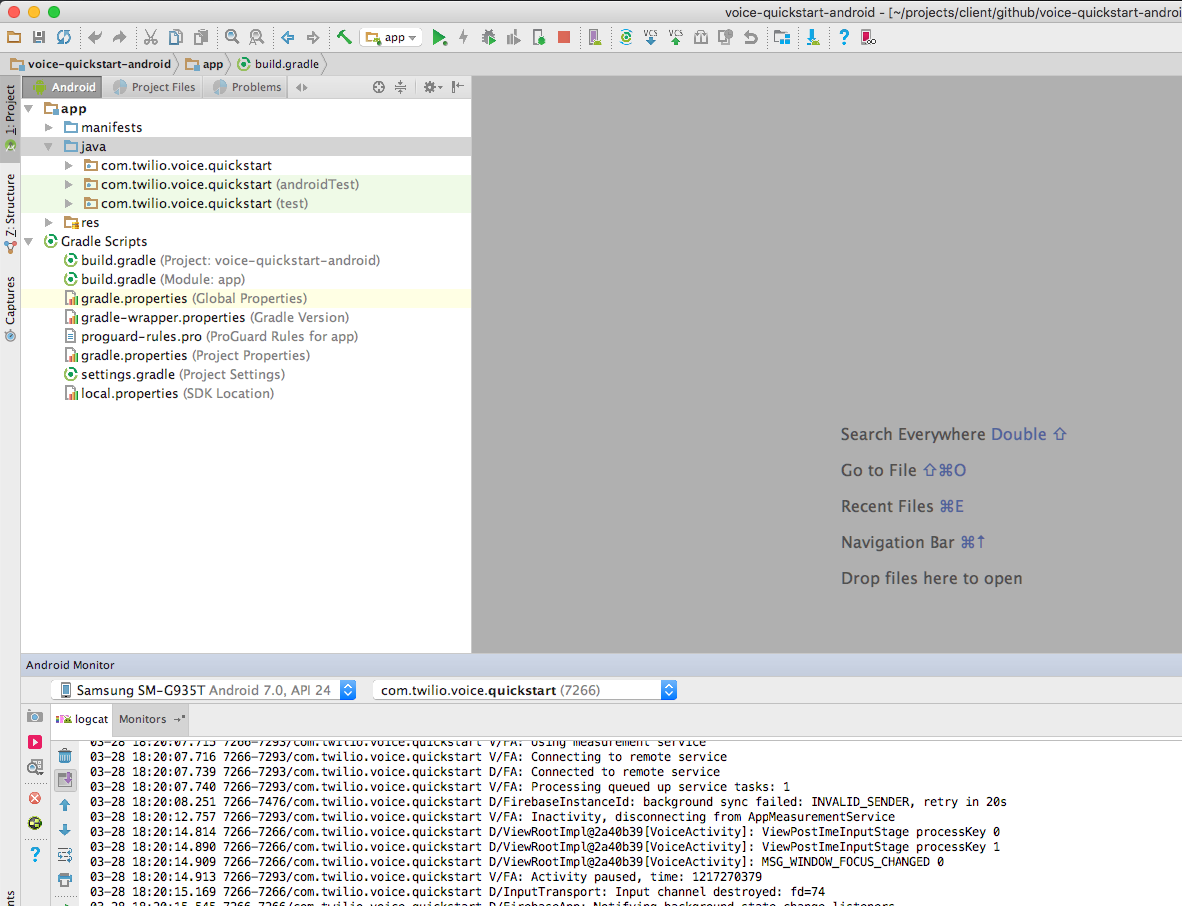
- Open this project in Android Studio
- Create a Voice API key
- Configure a server to generate an access token to use in the app
- Create a TwiML application
- Configure your application server
- Run the app
- Add a Push Credential using your FCM Server API Key
- Receiving an Incoming Notification
- Make client to client call
- Make client to PSTN call
The Programmable Voice Android SDK uses Firebase Cloud Messaging push notifications to let your application know when it is receiving an incoming call. If you want your users to receive incoming calls, you’ll need to enable FCM in your application.
Follow the steps under Use the Firebase Assistant in the Firebase Developers Guide. Once you connect and sync to Firebase successfully, you will be able to download the google-services.json for your application.
Login to Firebase console and make a note of generated Server API Key and Sender ID in your notepad. You will need them in step 8.
Make sure the generated google-services.json is downloaded to the app directory of the quickstart project to replace the existing app/google-services.json stub json file. If you are using the Firebase plugin make sure to remove the stub google-services.json file first.
Missing valid google-services.json will result in a build failure with the following error message :
 "
"
Go to the API Keys page and create a new API key.

Save the generated API_KEY and API_KEY_SECRET in your notepad. You will need them in the next step.
Download one of the starter projects for the server.
- voice-quickstart-server-java
- voice-quickstart-server-node
- voice-quickstart-server-php
- voice-quickstart-server-python
Follow the instructions in the server's README to get the application server up and running locally and accessible via the public Internet. For now just add the Twilio Account SID that you can obtain from the console, and the API_KEY and API_SECRET you obtained in the previous step. For example:
ACCOUNT_SID=AC12345678901234567890123456789012
API_KEY=SK12345678901234567890123456789012
API_KEY_SECRET=the_secret_generated_when_creating_the_api_key
Next, we need to create a TwiML application. A TwiML application identifies a public URL for retrieving TwiML call control instructions. When your Android app makes a call to the Twilio cloud, Twilio will make a webhook request to this URL, your application server will respond with generated TwiML, and Twilio will execute the instructions you’ve provided.
To create a TwiML application, go to the TwiML app page. Create a new TwiML application, and use the public URL of your application server’s /makeCall endpoint as the Voice Request URL (If your app server is written in PHP, then you need .php extension at the end).

As you can see we’ve used our ngrok public address in the Request URL field above.
Save your TwiML Application configuration, and grab the TwiML Application SID (a long identifier beginning with the characters "AP").
Put the remaining APP_SID configuration info into your application server by setting the following constants with the information you gathered above. For example:
ACCOUNT_SID=AC12345678901234567890123456789012
API_KEY=SK12345678901234567890123456789012
API_KEY_SECRET=the_secret_generated_when_creating_the_api_key
APP_SID=AP12345678901234567890123456789012
Once you’ve done that, restart the server so it uses the new configuration info. Now it's time to test.
Open up a browser and visit the URL for your application server's Access Token endpoint: https://{YOUR_SERVER_URL}/accessToken (If your app server is written in PHP, then you need .php extension at the end). If everything is configured correctly, you should see a long string of letters and numbers, which is a Twilio Access Token. Your Android app will use a token like this to connect to Twilio.
Paste the public URL of your application server’s https://{YOUR_SERVER_URL}/accessToken endpoint into TWILIO_ACCESS_TOKEN_SERVER_URL in VoiceActivity.java. Make sure to include /accessToken in the URL path.

Run the quickstart app on an Android device
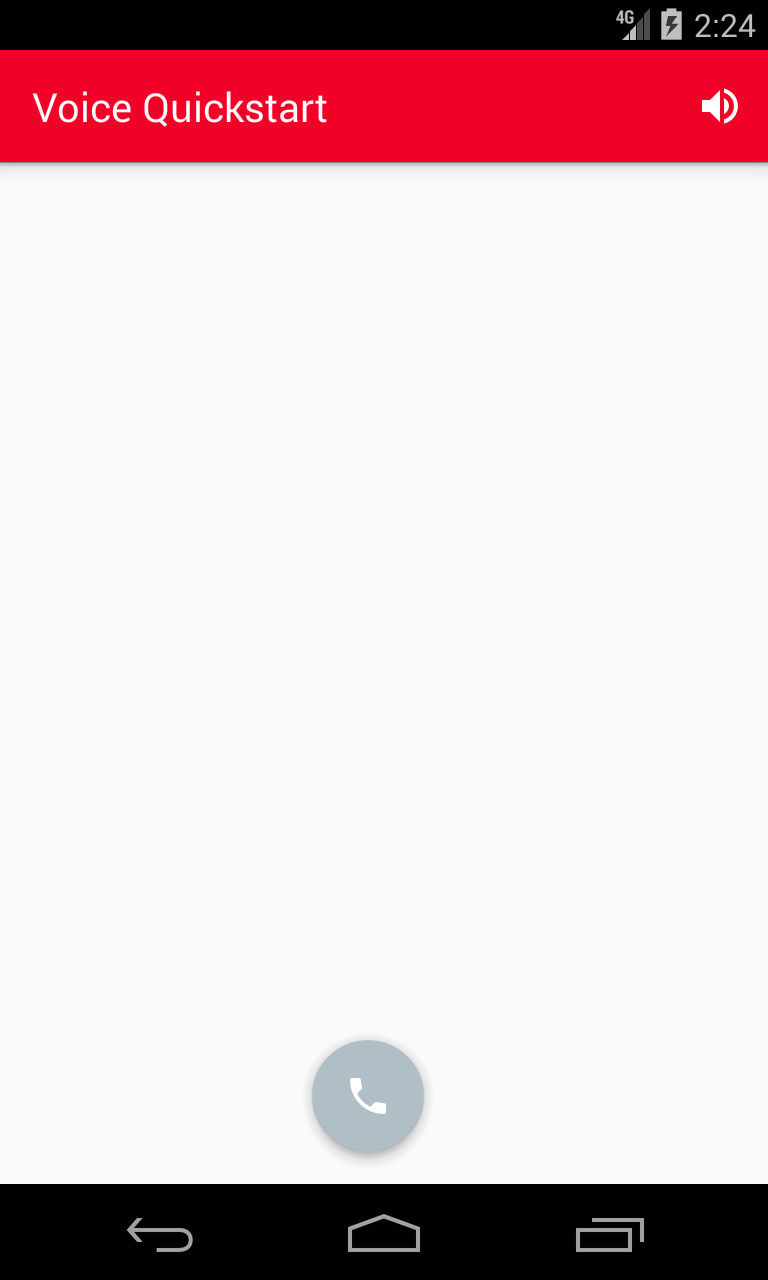
Press the call button to open the call dialog.
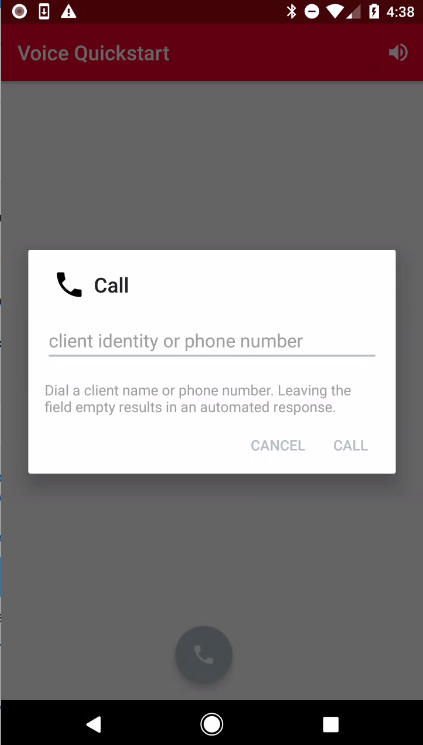
Leave the dialog text field empty and press the call button to start a call. You will hear the congratulatory message. Support for dialing another client or number is described in steps 10 and 11.
You will need to store the FCM Server API Key with Twilio so that we can send push notifications to your app on your behalf. Once you store the API Key with Twilio, it will get assigned a Push Credential SID so that you can later specify which key we should use to send push notifications.
Go to the Push Credentials page and create a new Push Credential.
Paste in the Server API Key saved in step 2 and press Save.
 "
"
Put the PUSH_CREDENTIAL_SID configuration info into your application server by setting the following constants with the information you gathered above. For example:
ACCOUNT_SID=AC12345678901234567890123456789012
API_KEY=SK12345678901234567890123456789012
API_KEY_SECRET=the_secret_generated_when_creating_the_api_key
PUSH_CREDENTIAL_SID=CR12345678901234567890123456789012
APP_SID=AP12345678901234567890123456789012
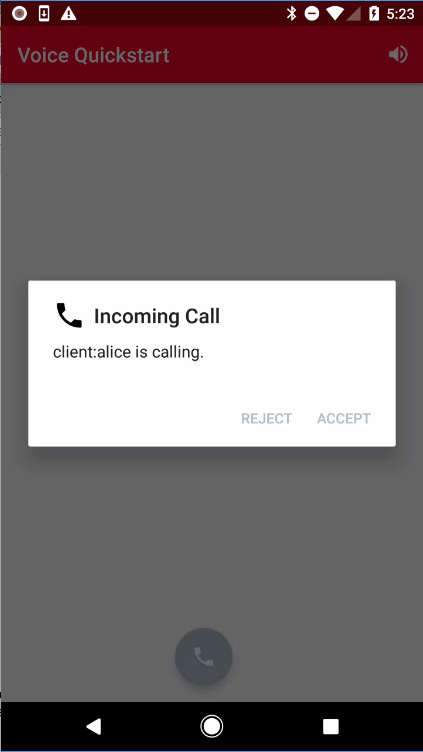
Once you’ve done that, restart the server so it uses the new configuration info. Now it's time to test. Use your browser to initiate an incoming call by navigating to the public URL of your application server’s https://{YOUR_SERVER_URL}/placeCall endpoint (If your app server is written in PHP, then you need .php extension at the end). This will trigger a Twilio REST API request that will make an inbound call to your mobile app.
Your application will be brought to the foreground and you will see an alert dialog. The app will be brought to foreground even when your screen is locked.
 "
"
You will receive an incoming call notification as well. If you pull down the notification drawer, you will be able to view the notification.
 "
"
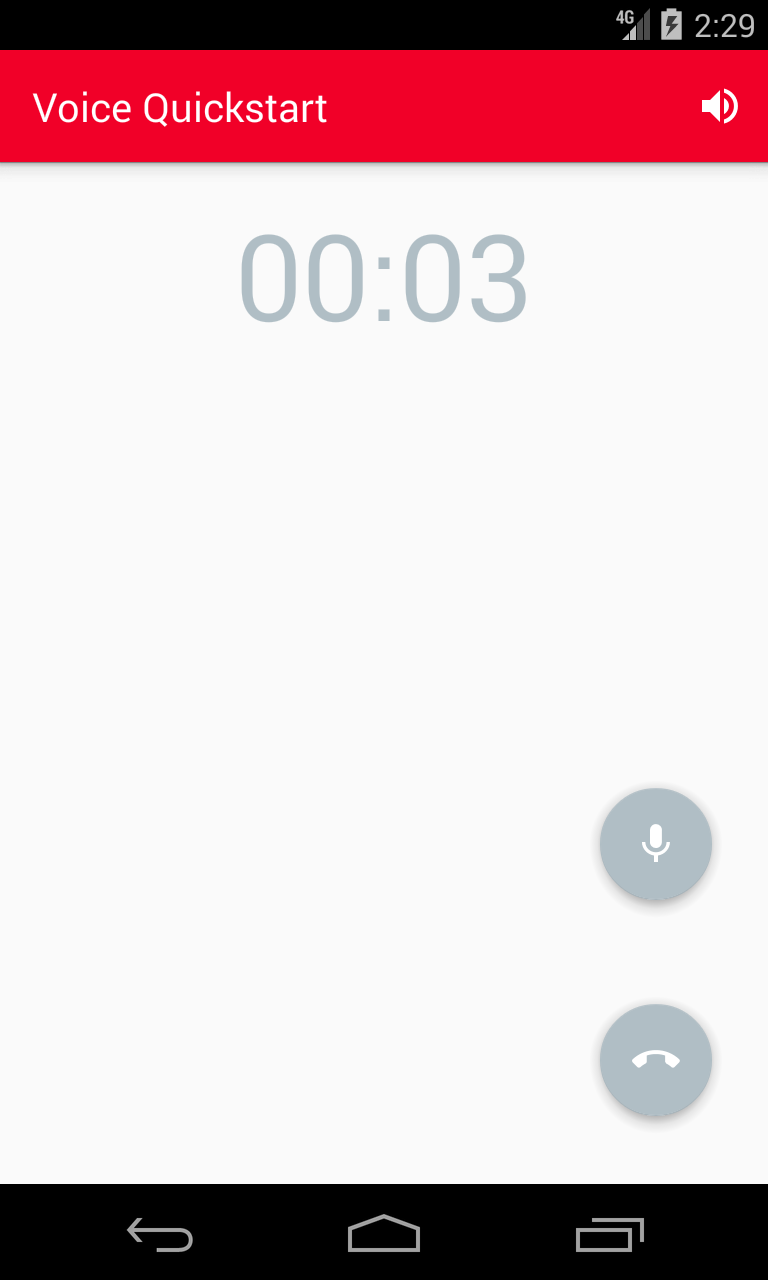
Once your app accepts the call, you should hear a congratulatory message.
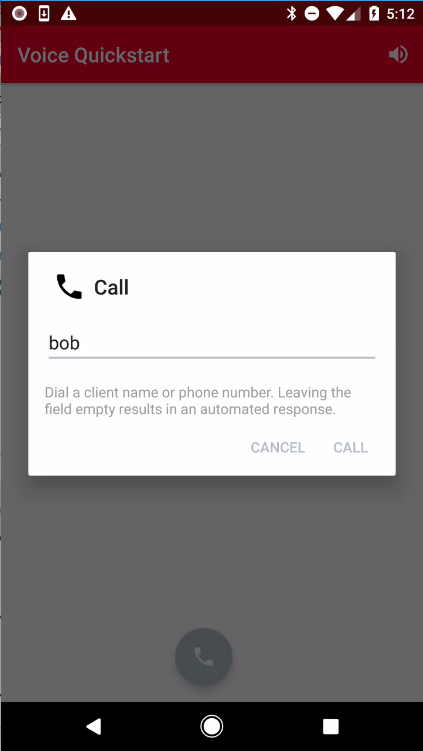
To make client to client calls, you need the application running on two devices. To run the application on an additional device, make sure you use a different identity in your access token when registering the new device. For example, change the identity field to bob and run the application.

Press the call button to open the call dialog.
Enter the client identity of the newly registered device to initiate a client to client call from the first device.
A verified phone number is one that you can use as your Caller ID when making outbound calls with Twilio. This number has not been ported into Twilio and you do not pay Twilio for this phone number.
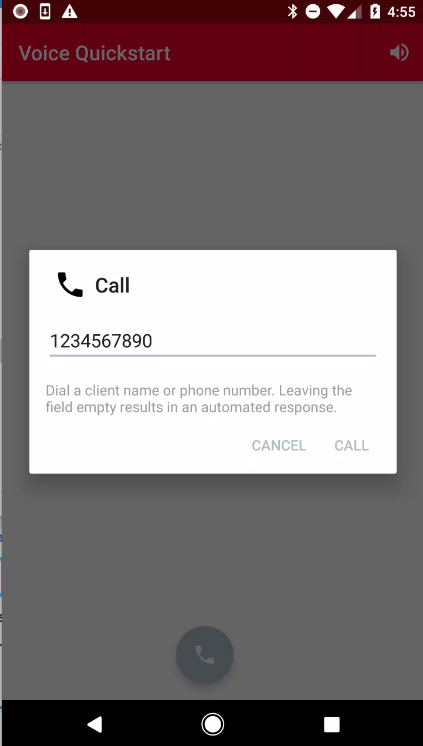
To make client to number calls, first get a valid Twilio number to your account via https://www.twilio.com/console/phone-numbers/verified. Update your server code and replace the caller number variable (CALLER_NUMBER or callerNumber depending on which server you chose) with the verified number. Restart the server so that it uses the new value.
Press the call button to open the call dialog.
Enter a PSTN number and press the call button to place a call.
In addition to the quickstart we've also added an example that shows how to create and customize media experience in your app:
- Custom Audio Device - Demonstrates how to use Twilio's Programmable Voice SDK with audio playback and recording functionality provided by a custom
AudioDevice.
The SDK supports using emulators except in the following known cases:
- Emulators with API 22 or lower have bad audio emulation, the sound is generally inaudible
- Emulators must have Google Play services support to use FCM to receive call invites
- Running on x86 API 25 emulators results in application crashes
In general we advise using a real device when doing development with our SDK since real-time audio is a performance oriented operation.
Our library is built using native libraries. As a result, if you use the default gradle build you will generate an APK with all four architectures(armeabi-v7a, arm64-v8a, x86, x86_64) in your APK.
APK splits allow developers to build multiple APKs for different screen sizes and ABIs. Enabling APK splits ensures that the minimum amount of files required to support a particular device are packaged into an APK.
The following snippet shows an example build.gradle with APK splits enabled.
apply plugin: 'com.android.application'

android {
    // Specify that we want to split up the APK based on ABI
    splits {
        abi {
            // Enable ABI split
            enable true

            // Clear list of ABIs
            reset()

            // Specify each architecture currently supported by the Voice SDK
            include "armeabi-v7a", "arm64-v8a", "x86", "x86_64"

            // Specify that we do not want an additional universal SDK
            universalApk false
        }
    }
}
The adoption of APK splits requires developers to submit multiple APKs to the Play Store. Refer to Google’s documentation for how to support this in your application.
The access token generated by your server component is a jwt that contains a grant for Programmable Voice, an identity that you specify, and a time-to-live that sets the lifetime of the generated access token. The default time-to-live is 1 hour and is configurable up to 24 hours using the Twilio helper libraries.
In the Android SDK the access token is used for the following:
- To make an outgoing call via
Voice.call(Context context, String accessToken, String twiMLParams, Call.Listener listener) - To register or unregister for incoming notifications via GCM or FCM via
Voice.register(String accessToken, Voice.RegistrationChannel registrationChannel, String registrationToken, RegistrationListener listener)andVoice.unregister(String accessToken, Voice.RegistrationChannel registrationChannel, String registrationToken, RegistrationListener listener). Once registered, incoming notifications are handled via aCallInvitewhere you can choose to accept or reject the invite. When accepting the call an access token is not required. Internally theCallInvitehas its own accessToken that ensures it can connect to our infrastructure.
As mentioned above, an access token will eventually expire. If an access token has expired, our infrastructure will return error EXCEPTION_INVALID_ACCESS_TOKEN_EXPIRY/20104 via a CallException or a RegistrationException.
There are number of techniques you can use to ensure that access token expiry is managed accordingly:
- Always fetch a new access token from your access token server before making an outbound call.
- Retain the access token until getting a
EXCEPTION_INVALID_ACCESS_TOKEN_EXPIRY/20104error before fetching a new access token. - Retain the access token along with the timestamp of when it was requested so you can verify ahead of time whether the token has already expired based on the
time-to-livebeing used by your server. - Prefetch the access token whenever the
Application,Service,Activity, orFragmentassociated with an outgoing call is created.
When answerOnBridge is enabled in the <Dial> TwiML verb, the caller will not hear the ringback while the call is ringing and awaiting to be accepted on the callee's side. The application can use the SoundPoolManager to play custom audio files between the Call.Listener.onRinging() and the Call.Listener.onConnected() callbacks. To enable this behavior, add playCustomRingback as an environment variable or a property in local.properties file and set it to true.
playCustomRingback=true
A Push Credential is a record for a push notification channel, for Android this Push Credential is a push notification channel record for FCM or GCM. Push Credentials are managed in the console under Mobile Push Credentials.
Whenever a registration is performed via Voice.register(…) in the Android SDK the identity and the Push Credential SID provided in the JWT based access token, along with the FCM/GCM token are used as a unique address to send push notifications to this application instance whenever a call is made to reach that identity. Using Voice.unregister(…) removes the association for that identity.
If you need to change or update your server key token provided by Firebase (under Project Settings → Cloud Messaging → Server key) you can do so by selecting the Push Credential in the console and adding your new Server key in the text box provided on the Push Credential page shown below:

We do not recommend that you delete a Push Credential unless the application that it was created for is no longer being used.
When a Push Credential is deleted any associated registrations made with this Push Credential will be deleted. Future attempts to reach an identity that was registered using the Push Credential SID of this deleted push credential will fail.
If you are certain you want to delete a Push Credential you can click on Delete this Credential on the console page of the selected Push Credential.
Please ensure that after deleting the Push Credential you remove or replace the Push Credential SID when generating new access tokens.
The following sections provide guidance on how to ensure optimal audio quality in your applications.
The quickstart uses AudioSwitch to control audio focus and manage audio devices within the application. If you have an issue or question related to audio management, please open an issue in the AudioSwitch project.
Our library performs acoustic echo cancellation (AEC) and noise suppression (NS) using device hardware by default. Using device hardware is more efficient, but some devices do not implement these audio effects well. If you are experiencing echo or background noise on certain devices reference the following snippet for enabling software implementations of AEC and NS.
/*
 * Execute any time before invoking `Voice.connect(...)` or `CallInvite.accept(...)`.
 */

// Use software AEC
DefaultAudioDevice defaultAudioDevice = new DefaultAudioDevice();
defaultAudioDevice.setUseHardwareAcousticEchoCanceler(false);
Voice.setAudioDevice(defaultAudioDevice);

// Use sofware NS
DefaultAudioDevice defaultAudioDevice = new DefaultAudioDevice();
defaultAudioDevice.setUseHardwareNoiseSuppressor(false);
Voice.setAudioDevice(defaultAudioDevice);
Our library performs acoustic echo cancellation (AEC), noise suppression (NS), and auto gain control (AGC) using device hardware by default. Using device hardware is more efficient, but some devices do not implement these audio effects well. If you are experiencing echo, background noise, or unexpected volume levels on certain devices reference the following snippet for enabling software implementations of AEC, NS, and AGC.
/*
 * Execute any time before invoking `Voice.connect(...)` or `CallInvite.accept(...)`.
 */
// Use software AEC
tvo.webrtc.voiceengine.WebRtcAudioUtils.setWebRtcBasedAcousticEchoCanceler(true);

// Use sofware NS
tvo.webrtc.voiceengine.WebRtcAudioUtils.setWebRtcBasedNoiseSuppressor(true);

// Use software AGC
tvo.webrtc.voiceengine.WebRtcAudioUtils.setWebRtcBasedAutomaticGainControl(true);
Starting with Voice SDK 4.3.0, our library does not use OpenSL ES for audio playback by default. Prior versions starting with Voice SDK 3.0.0 did use OpenSL ES by default. Using OpenSL ES is more efficient, but can cause problems with other audio effects. For example, we found on the Nexus 6P that OpenSL ES affected the device's hardware echo canceller so we blacklisted the Nexus 6P from using OpenSL ES. If you are experiencing audio problems with a device that cannot be resolved using software audio effects, reference the following snippet for enabling OpenSL ES:
/*
 * Execute any time before invoking `Voice.connect(...)` or `CallInvite.accept(...)`.
 */

// Enable OpenSL ES
tvo.webrtc.voiceengine.WebRtcAudioManager.setBlacklistDeviceForOpenSLESUsage(false);

// Check if OpenSL ES is disabled
tvo.webrtc.voiceengine.WebRtcAudioUtils.deviceIsBlacklistedForOpenSLESUsage();
The Voice Android SDK does not maintain a list of devices for which hardware effects or OpenSL ES are disabled. We recommend maintaining a list in your own application and disabling these effects as needed. The Signal App provides a great example of how to maintain a list and disable the effects as needed.
If your application experiences low playback volume, we recommend the following snippets:
int focusRequestResult = audioManager.requestAudioFocus(new AudioManager.OnAudioFocusChangeListener() {

                                   @Override
                                   public void onAudioFocusChange(int focusChange) {
                                   }
                               }, AudioManager.STREAM_VOICE_CALL,
        AudioManager.AUDIOFOCUS_GAIN_TRANSIENT);
AudioAttributes playbackAttributes = new AudioAttributes.Builder()
        .setUsage(AudioAttributes.USAGE_ASSISTANCE_SONIFICATION)
        .setContentType(AudioAttributes.CONTENT_TYPE_SPEECH)
        .build();
AudioFocusRequest focusRequest = new AudioFocusRequest.Builder(AudioManager.AUDIOFOCUS_GAIN_TRANSIENT)
        .setAudioAttributes(playbackAttributes)
        .setAcceptsDelayedFocusGain(true)
        .setOnAudioFocusChangeListener(new AudioManager.OnAudioFocusChangeListener() {
            @Override
            public void onAudioFocusChange(int i) {
            }
        })
        .build();
You can find more documentation on getting started as well as our latest Javadoc below:
To learn more about how to use TwiML and the Programmable Voice Calls API, check out our TwiML quickstarts:
- TwiML Quickstart for Python
- TwiML Quickstart for Ruby
- TwiML Quickstart for PHP
- TwiML Quickstart for Java
- TwiML Quickstart for C#
Please file any issues you find here on Github. For general inquiries related to the Voice SDK you can file a support ticket. Please ensure that you are not sharing any Personally Identifiable Information(PII) or sensitive account information (API keys, credentials, etc.) when reporting an issue.
MIT


