
The new reading environment for version 5.0 of the Perseus Digital Library.
This repository is part of the Scaife Viewer project, an open-source ecosystem for building rich online reading environments.
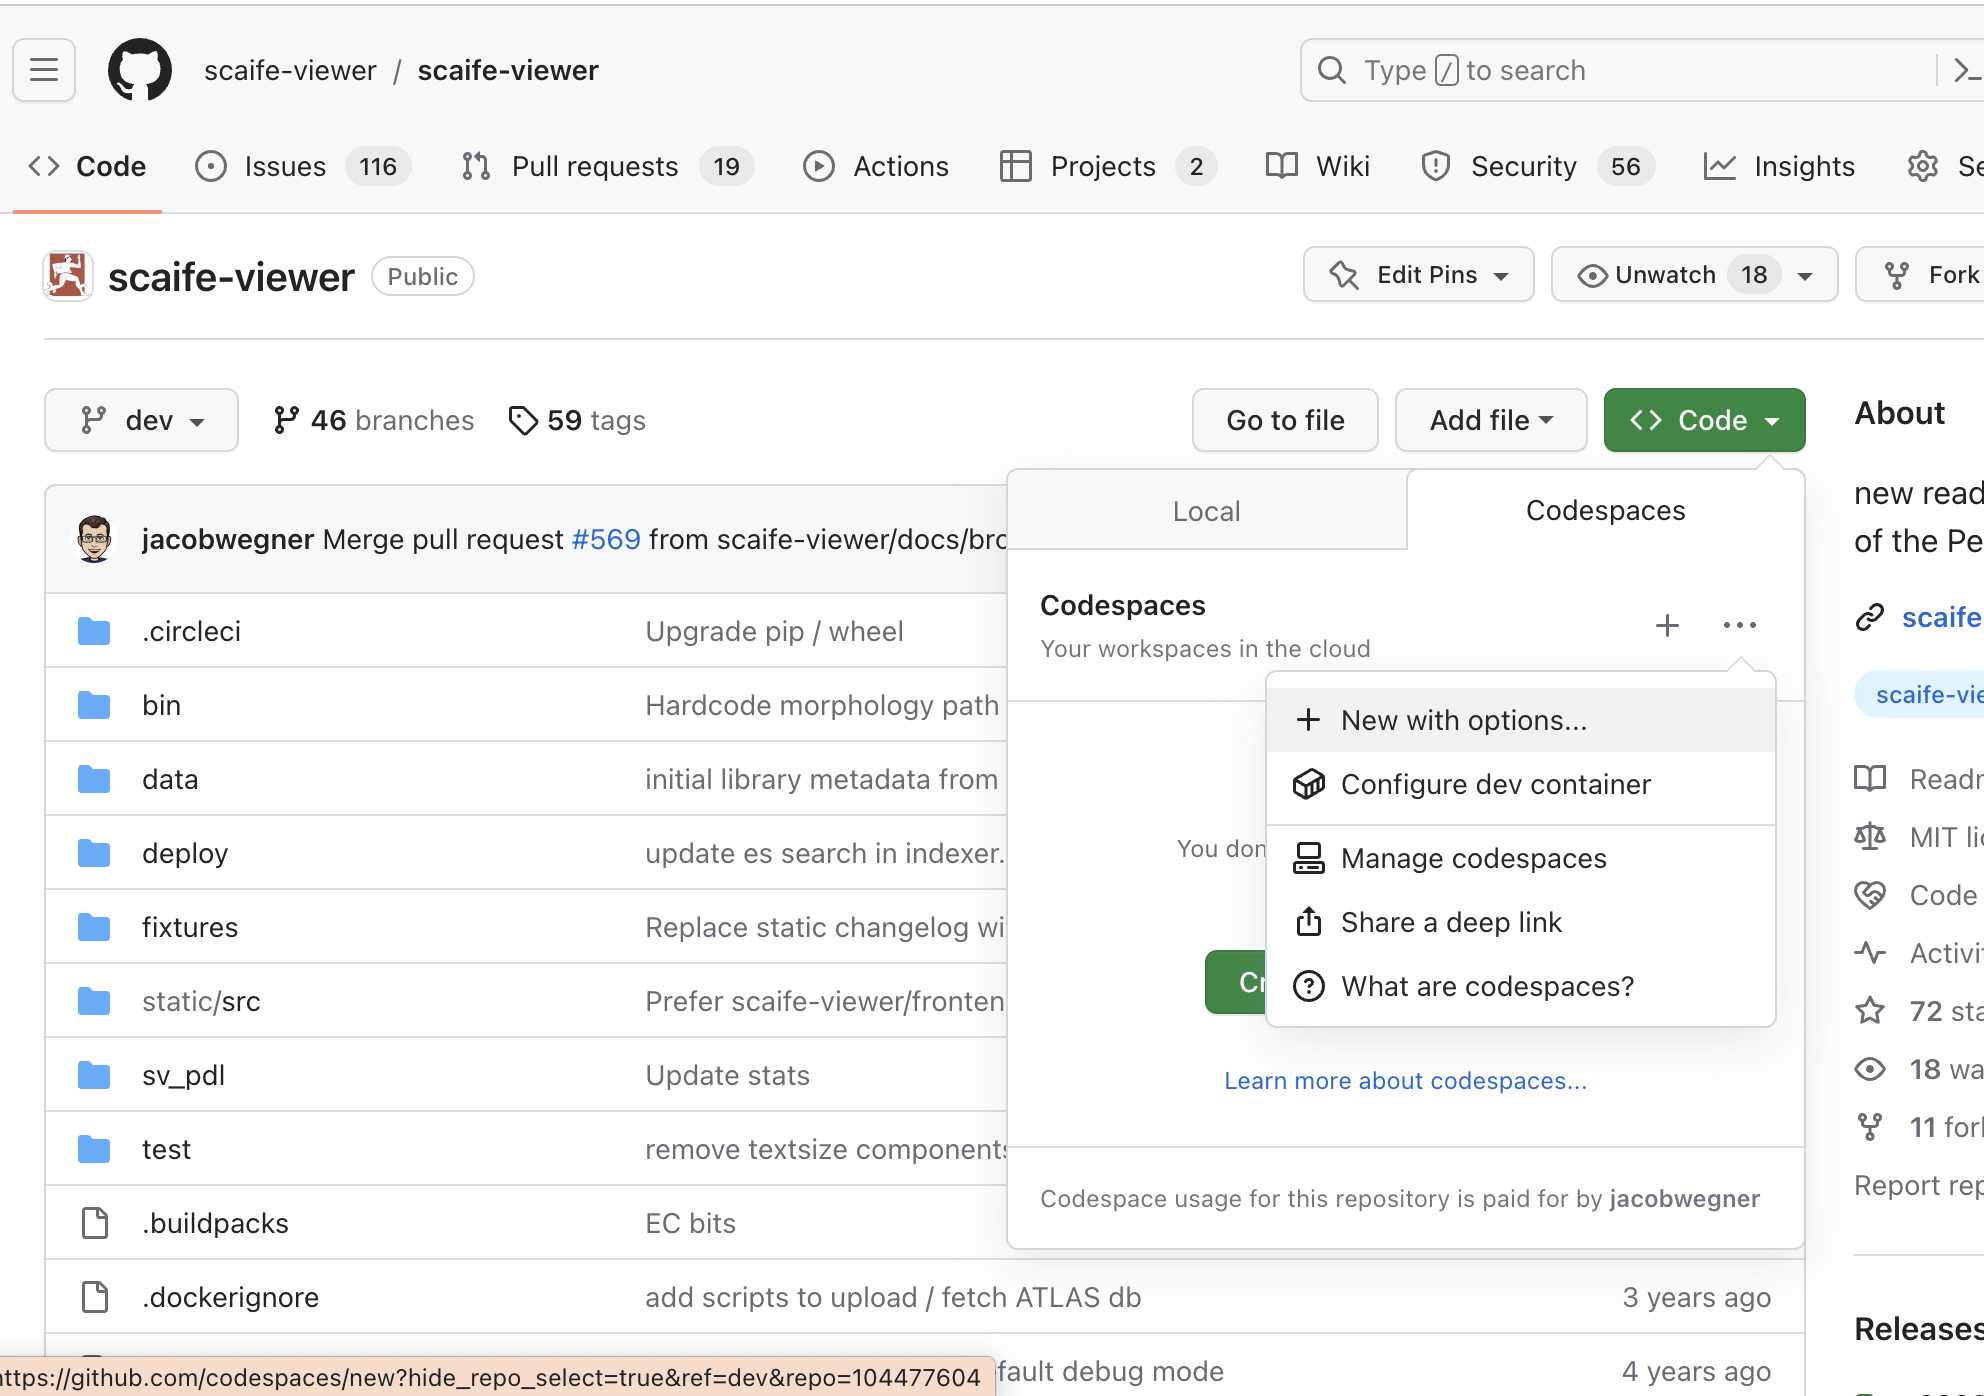
This project can be developed via GitHub Codespaces.
- Browse to https://github.com/scaife-viewer/scaife-viewer
- (Optionally) fork the repo; if you're a part of the Scaife Viewer development team, you can work from
scaife-viewer/scaife-viewer - Create a codespace from the green "Code" button:
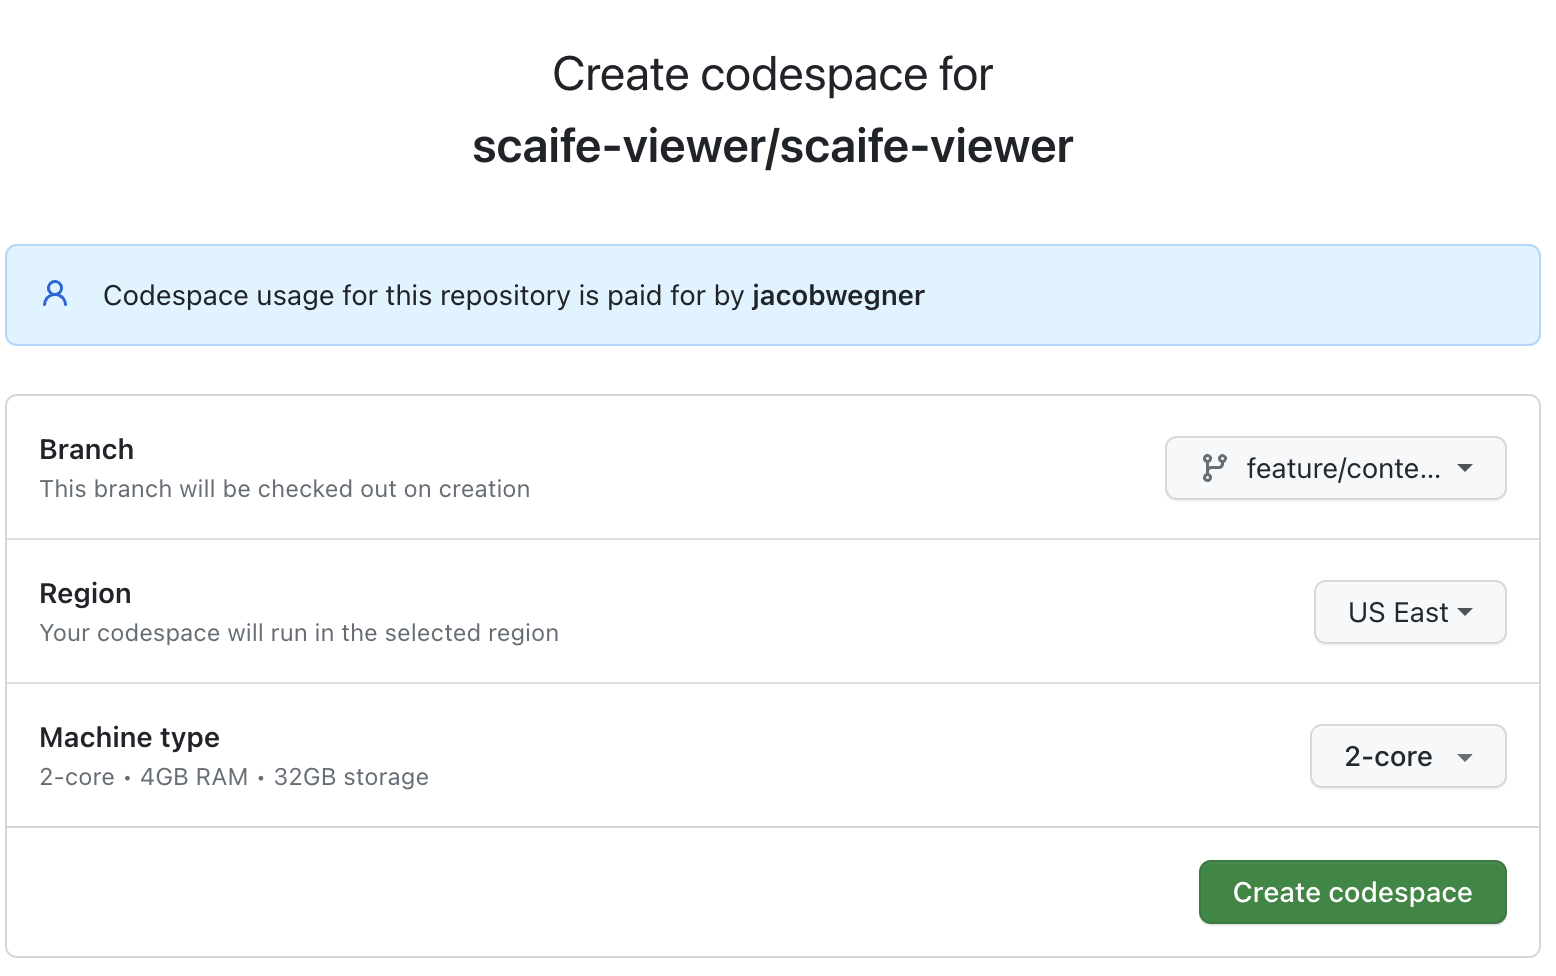
- Configure options to:
- Choose the closest data center to your geographical location
- Start the codespace from the
feature/content-update-pipelinebranch
- Install and activate Node 12:
nvm use 12- Install dependencies:
npm i- Rebuild the
node-sassdependency:
npm rebuild node-sass- Build the frontend:
npm run buildNote: These may be made optional in the future Build and start up services via:
touch deploy/.env
docker-compose -f deploy/docker-compose.yml up -d sv-elasticsearch sv-postgres- Create a virtual environment and activate it:
python3 -m venv .venv
source .venv/bin/activate- Install dependencies:
pip install pip wheel --upgrade
pip install -r requirements.txt
pip install PyGithub- Set required environment variables:
export CTS_RESOLVER=local \
    CTS_LOCAL_DATA_PATH=data/cts \
    CONTENT_MANIFEST_PATH=data/content-manifests/test.yaml \
DATABASE_URL=postgres://scaife:[email protected]:5432/scaife- Populate the database schema and load site fixture:
./manage.py migrate
./manage.py loaddata sites- Copy the static assets
./manage.py collectstatic --noinput- Fetch content from
content-manifests/test.yaml:
mkdir -p $CTS_LOCAL_DATA_PATH
./manage.py load_text_repos
./manage.py slim_text_repos- Ingest the data and pre-populate CTS cache:
mkdir -p atlas_data
./manage.py prepare_atlas_db --forceWe'll ingest a portion of the data into ElasticSearch
- Fetch the ElasticSearch template:
curl -O https://gist.githubusercontent.com/jacobwegner/68e538edf66539feb25786cc3c9cc6c6/raw/252e01a4c7e633b4663777a7e12dcb81119131e1/scaife-viewer-tmp.json- Install the template:
curl -X PUT "localhost:9200/_template/scaife-viewer?pretty" -H 'Content-Type: application/json' -d "$(cat scaife-viewer-tmp.json)"- Index content:
python manage.py indexer --max-workers=1 --limit=1000- Cleanup the search index template:
rm scaife-viewer-tmp.json ./manage.py runserverCodespaces should show a notification that a port has been mapped:
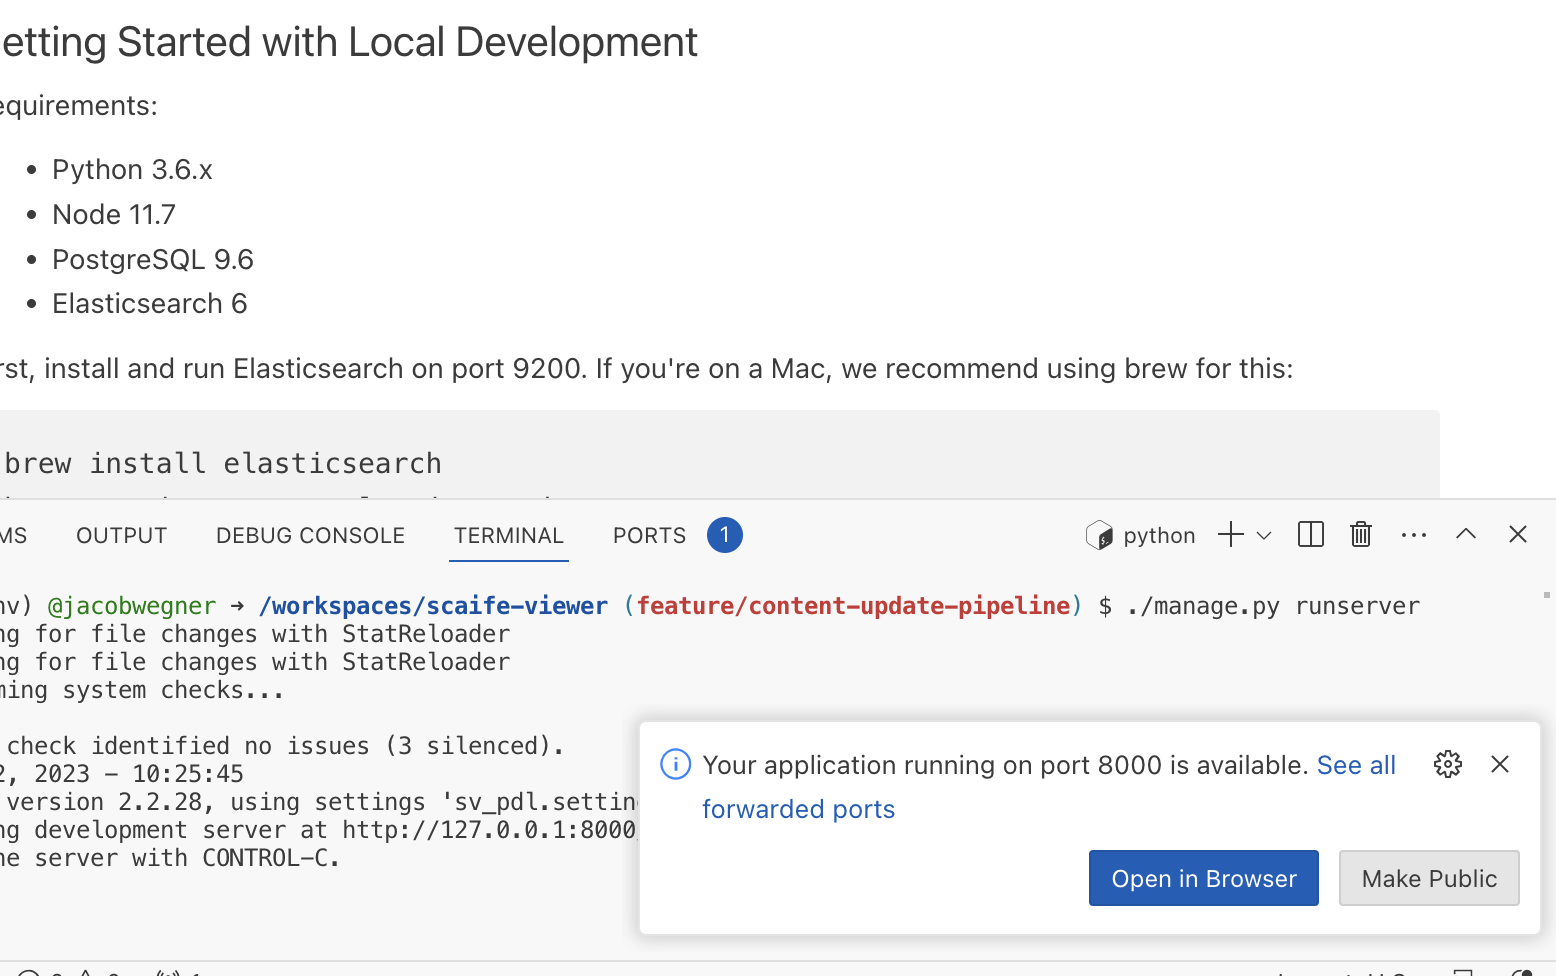
- Click "Open in Browser" to load the dev server.
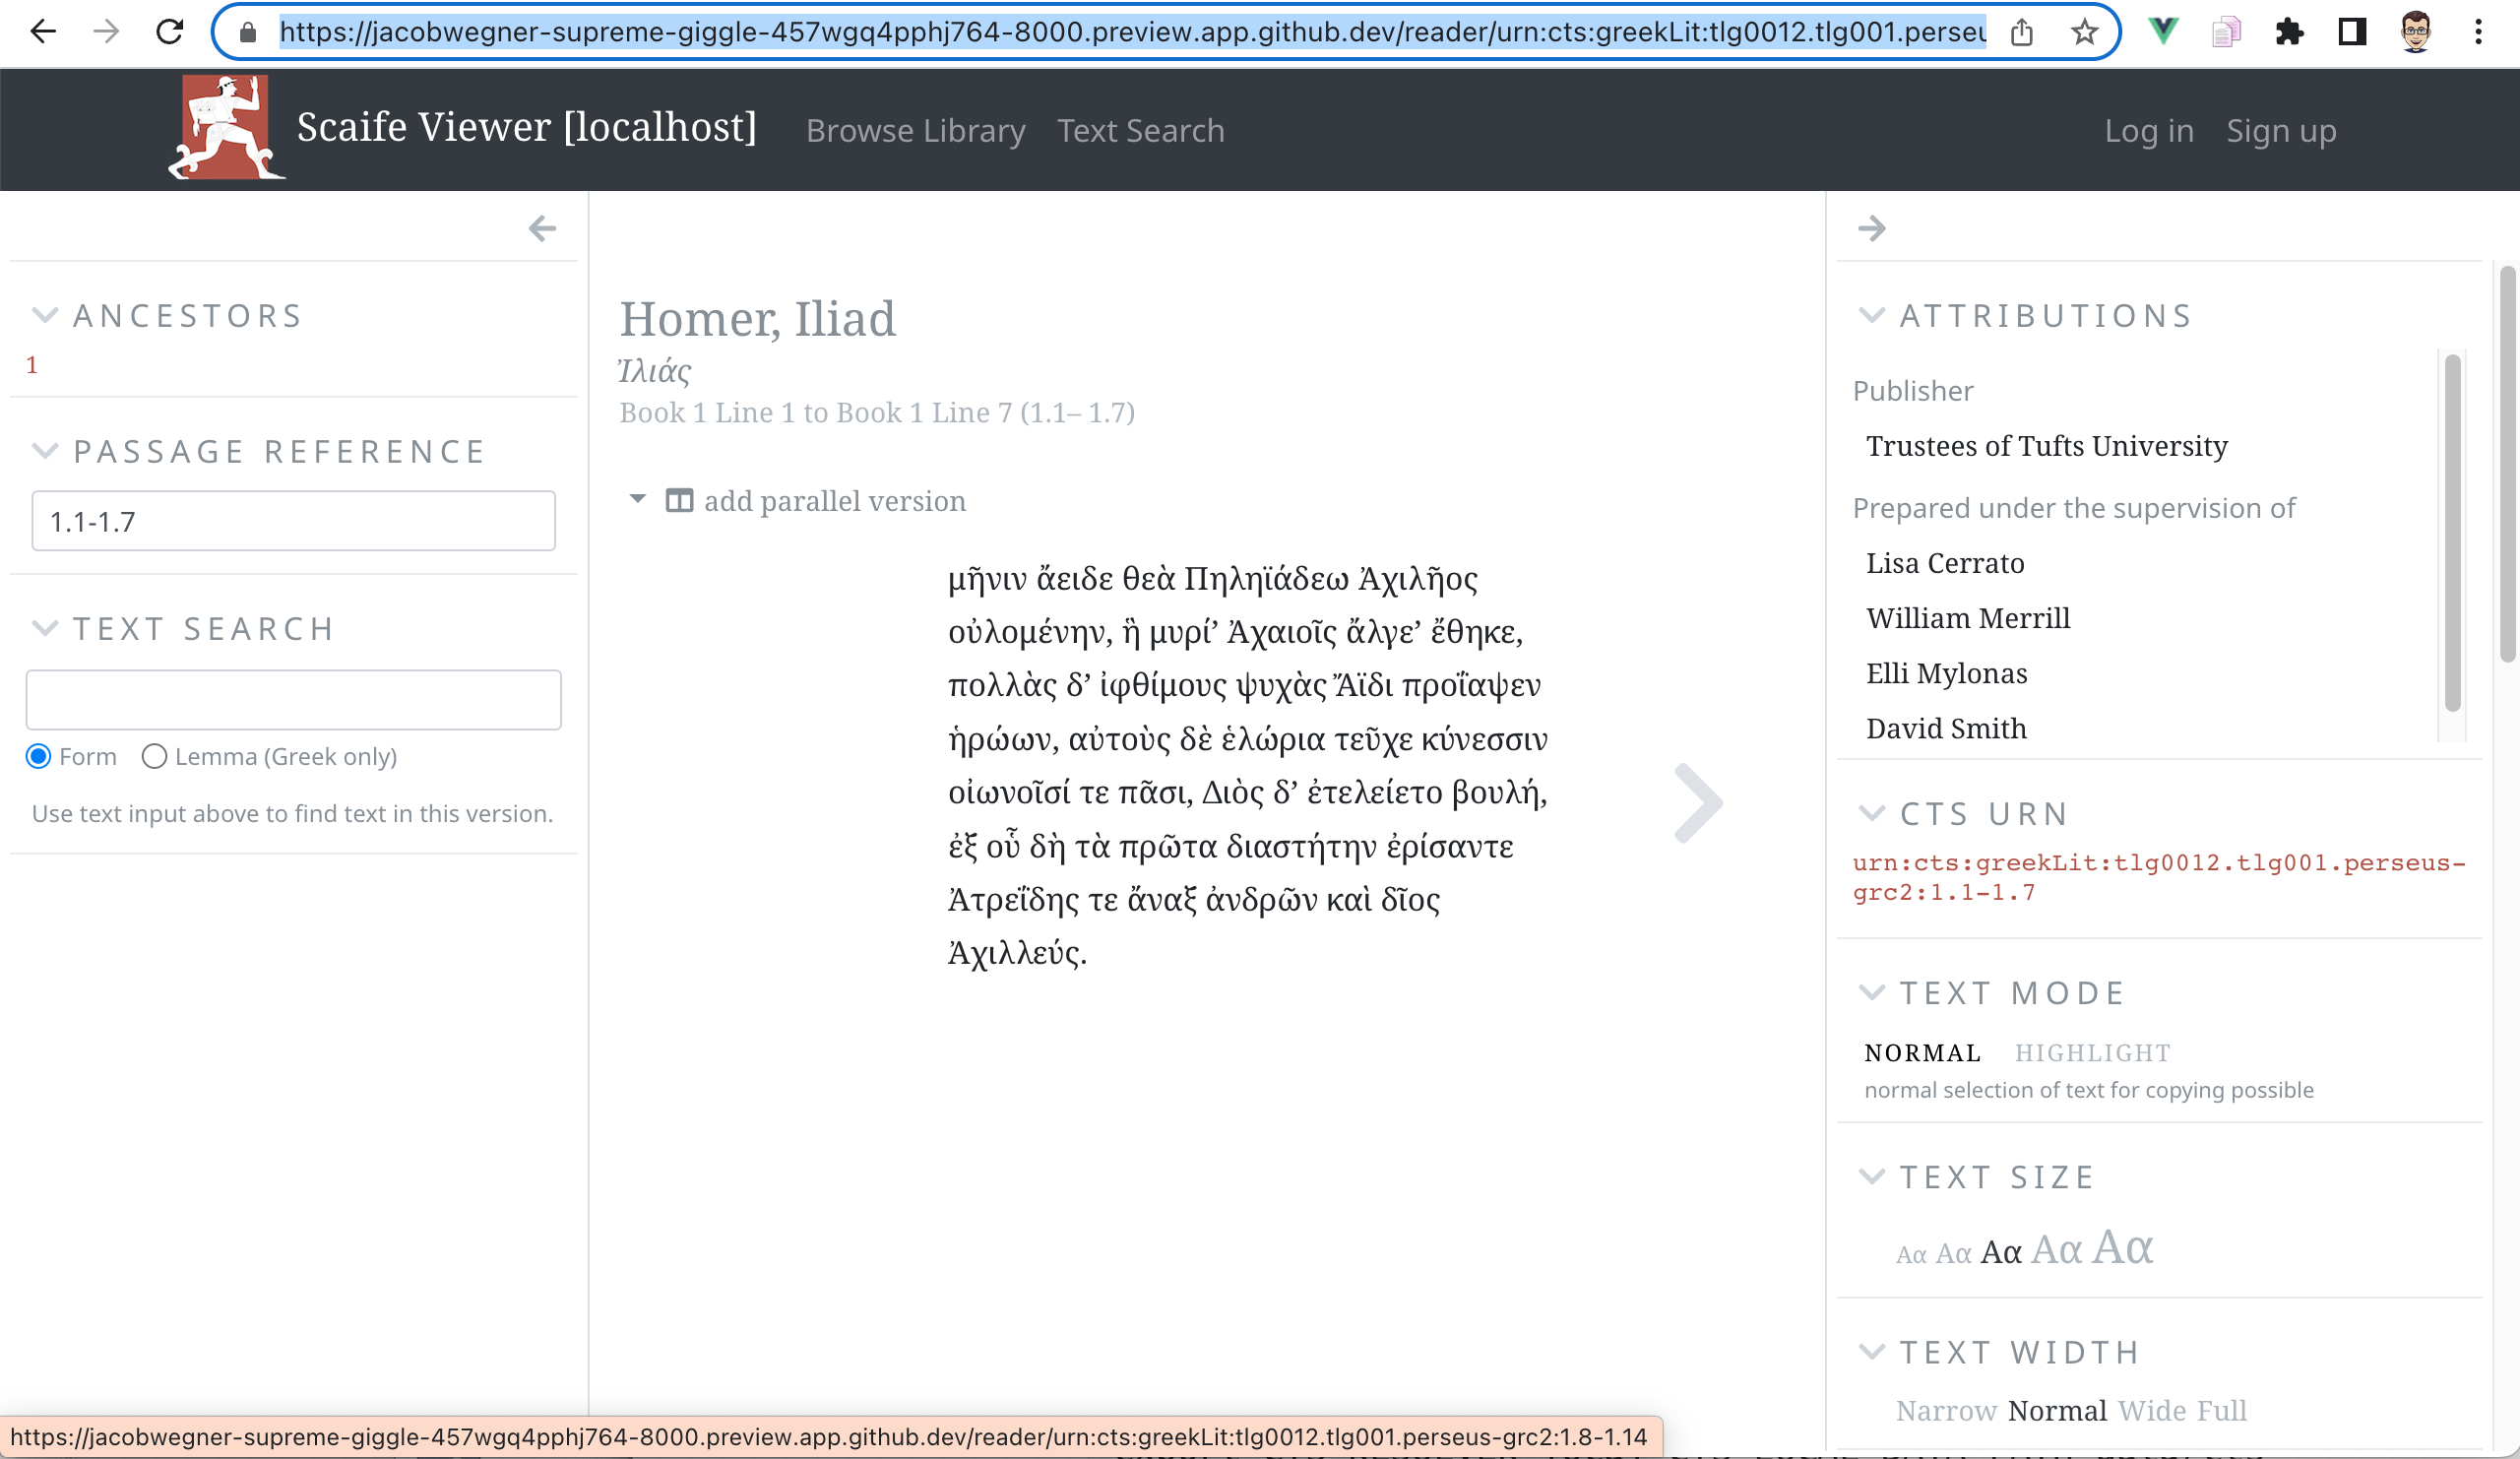
- Click on "try the Iliad" to load the reader:
The Codespace has now been set up! Close it by opening the "Codespaces" menu (F1) and then selecting
Codespaces: Stop Current Codespace.
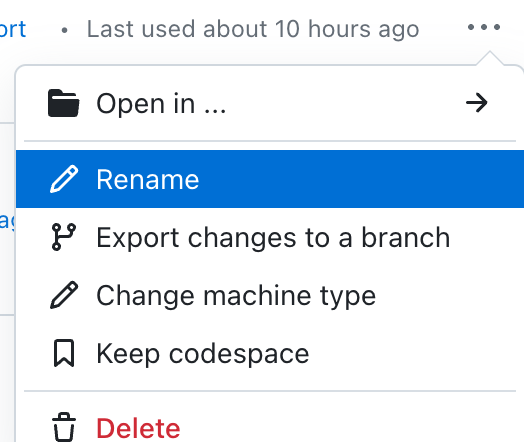
- Browse to https://github.com/codespaces and find the codespace:
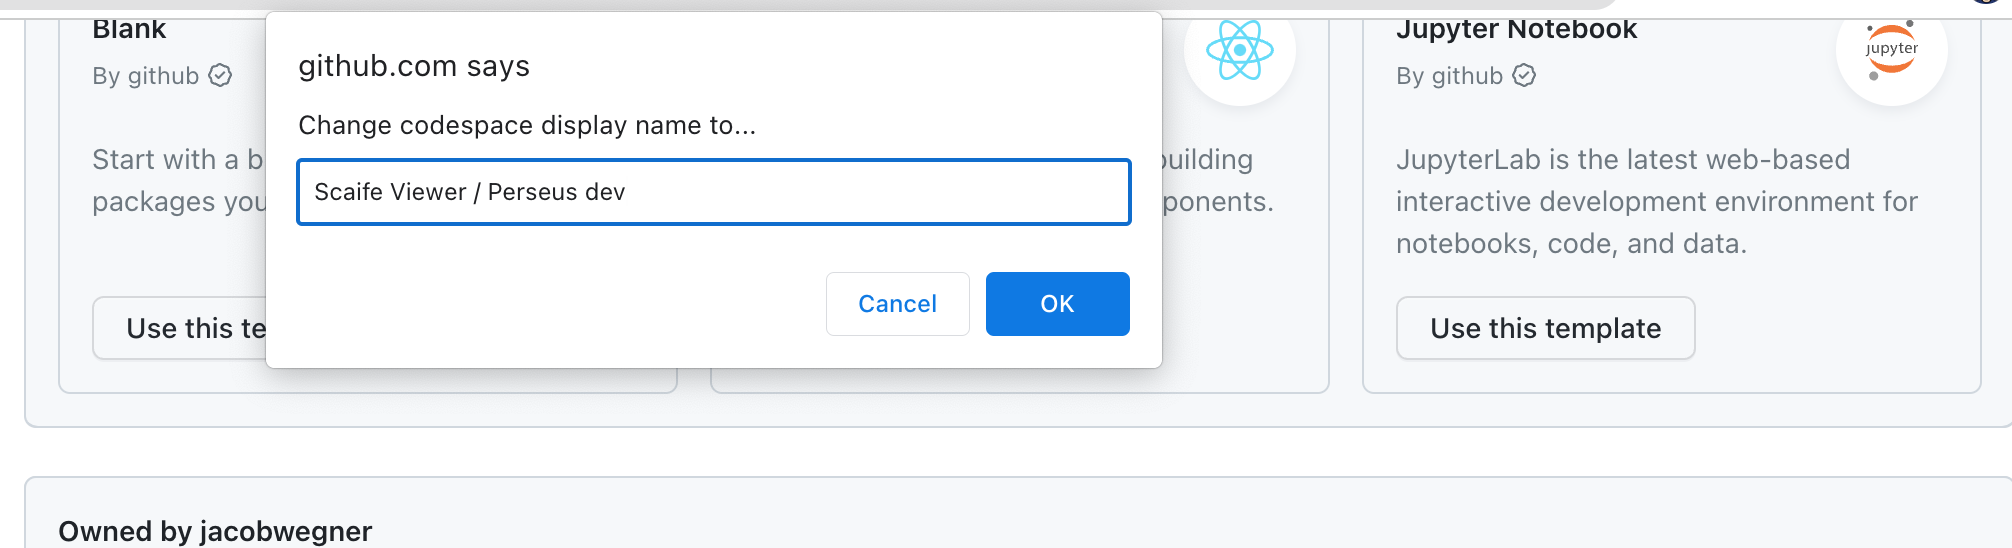
- Select the "..." menu and then "Rename":
- Give the Codespace a meaningful name (e.g. Scaife Viewer / Perseus dev):

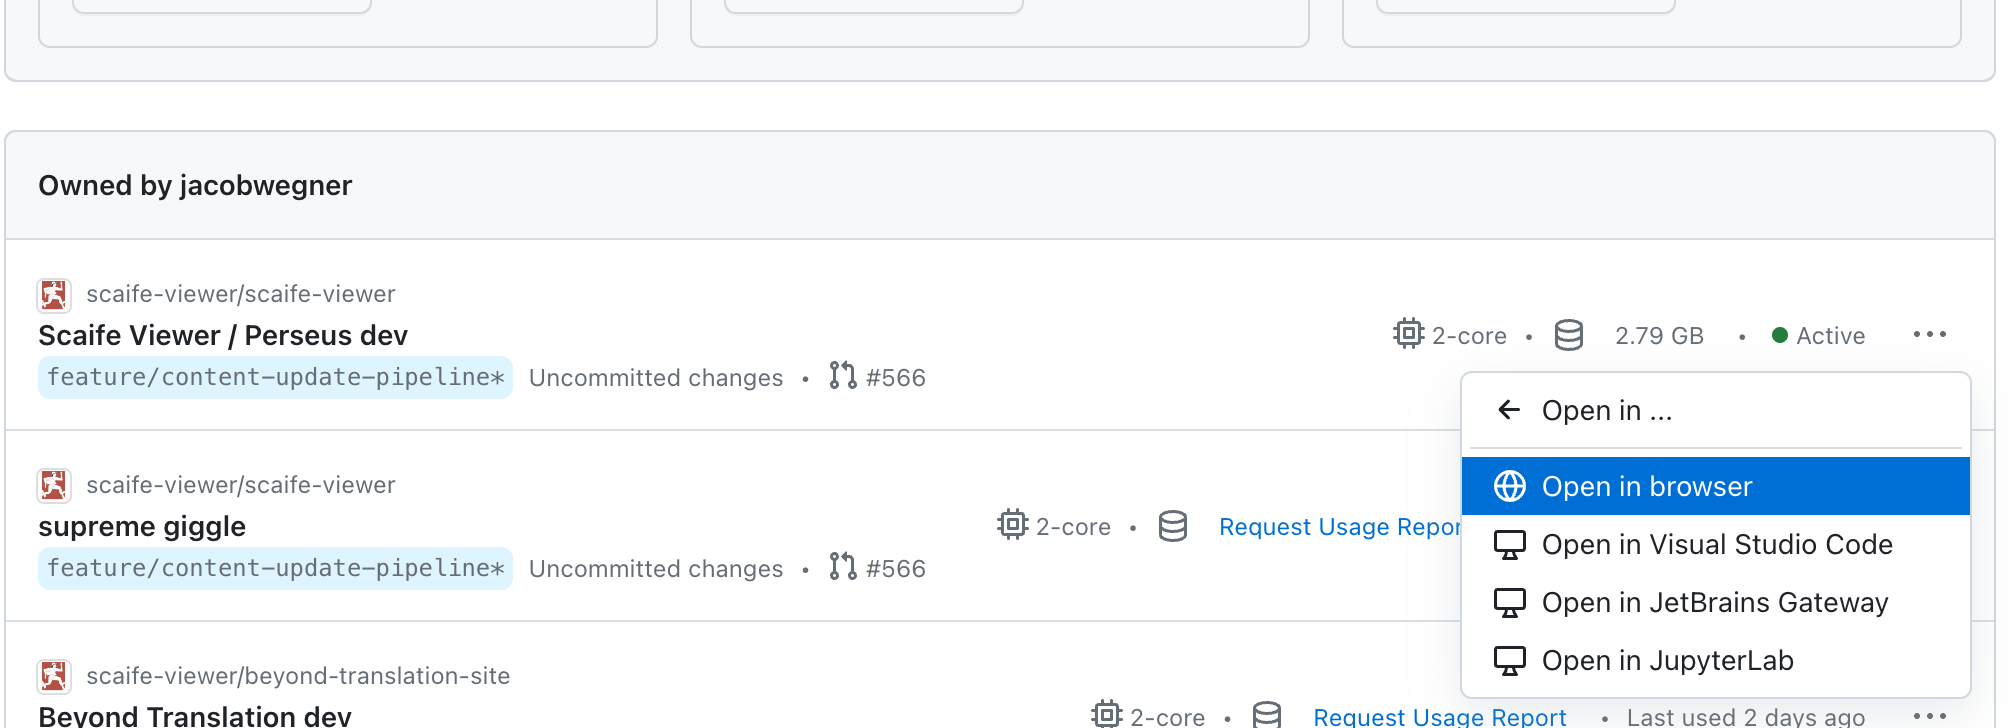
- Browse to https://github.com/codespaces and find the codespace
- Select the "..." menu and then "Open in..." and select "Open in browser" or another of the available options.
- After the Codespace launches, open a new terminal and reactivate the Python virtual environment:
source .venv/bin/activate- Populate required envionment variables:
export CTS_RESOLVER=local \
    CTS_LOCAL_DATA_PATH=data/cts \
    CONTENT_MANIFEST_PATH=data/content-manifests/test.yaml \
DATABASE_URL=postgres://scaife:[email protected]:5432/scaife- Start up PostgreSQL and ElasticSearch:
docker-compose -f deploy/docker-compose.yml up -d sv-elasticsearch sv-postgres
# Optionally wait 10 seconds for Postgres to finish starting
sleep 10- Run the dev server:
./manage.py runserverCodespaces should show a notification that a port has been mapped:
- Click "Open in Browser" to load the dev server.
Requirements:
- Python 3.6.x
- Node 11.7
- PostgreSQL 9.6
- Elasticsearch 6
First, install and run Elasticsearch on port 9200. If you're on a Mac, we recommend using brew for this:
brew install elasticsearch
brew services start elasticsearch
Then, set up a postgres database to use for local development:
createdb scaife-viewer
This assumes your local PostgreSQL is configured to allow your user to create databases. If this is not the case you might be able to create the user yourself:
createuser --username=postgres --superuser $(whoami)
Create a virtual environment. Then, install the Node and Python dependencies:
npm install
pip install -r requirements-dev.txt
Set up the database:
python manage.py migrate
python manage.py loaddata sites
Seed the text inventory to speed up local development:
./bin/download_local_ti
You should now be set to run the static build pipeline and hot module reloading:
npm start
In another terminal, collect the static files and then start runserver:
python manage.py collectstatic --noinput
python manage.py runserver
Browse to http://localhost:8000/.
Note that, although running Scaife locally, this is relying on the Nautilus server at https://scaife-cts-dev.perseus.org to retrieve texts.
You can run the Vue unit tests, via:
npm run unit
Cross-browser testing is provided by BrowserStack through their open source program.
Before you work with translations, you will need gettext installed.
macOS:
brew install gettext
export PATH="$PATH:$(brew --prefix gettext)/bin"
To prepare messages:
python manage.py makemessages --all
If you need to add a language; add it to LANGUAGES in settings.py and run:
python manage.py makemessages --locale <lang>
If you need to host at a place other than root, for example, if you need to have a proxy serve at some path off your domain like http://yourdomain.com/perseus/, you'll need to do the following:
- Set the environment variable,
FORCE_SCRIPT_NAMEto point to your script:
export FORCE_SCRIPT_NAME=/perseus # this front slash is important
-
Make sure this is set prior to running
npm run buildas well as prior to and part of your wsgi startup environment. -
Then, you just set your proxy to point to the location of where your wsgi server is running. For example, if you are running wsgi on port 8000 you can have this snippet inside your nginx config for the server:
    location /perseus/ {
        proxy_pass        http://localhost:8000/;
    }
That should be all you need to do.
A sample docker-compose configuration is available at deploy/docker-compose.yml.
Copy .env.example and customize environment variables for your deployment:
cp deploy/.env.example deploy/.env
To build the Docker image and bring up the scaife-viewer, sv-postgres and sv-elasticsearch services in the background:
docker-compose -f deploy/docker-compose.yml up --build -d
Tail logs via:
docker-compose -f deploy/docker-compose.yml logs --follow
To host the application off-root using docker-compose, you'll need to ensure that the scaife-viewer Docker image is built with the FORCE_SCRIPT_NAME build arg:
docker-compose -f deploy/docker-compose.yml build --build-arg FORCE_SCRIPT_NAME=/<your-off-root-path>
You'll also need to ensure that FORCE_SCRIPT_NAME exists in deploy/.env:
echo "FORCE_SCRIPT_NAME=/<your-off-root-path>" >> deploy/.env
Then, bring up all services:
docker-compose -f deploy/docker-compose.yml up -d
The project also includes Dockerfile-dev and Dockerfile-webpack images which can be used with Docker Compose to facilitate development.
First, copy .env.example and customize environment variables for development:
cp deploy/.env.example deploy/.env
Then build the images and spin up the containers:
docker-compose -f deploy/docker-compose.yml -f deploy/docker-compose.override.yml up --build
To run only the scaife-viewer, sv-webpack, and sv-postgres services, set the USE_ELASTICSEARCH_SERVICE environment variable in docker-compose.override.yml to 0, and then run:
docker-compose -f deploy/docker-compose.yml -f deploy/docker-compose.override.yml up --build scaife-viewer sv-webpack sv-postgres
To run the indexer command:
docker-compose -f deploy/docker-compose.yml -f deploy/docker-compose.override.yml exec scaife-viewer python manage.py indexer
The client-side currently caches the results of library/json/. The cache is automatically invalidated every 24 hours. You can manually invalidate it by bumping the LIBRARY_VIEW_API_VERSION environment variable.
bin/fetch_atlas_db can be used to fetch and extract an ATLAS database from a provided URL.
To build a copy of this database locally:
- Run
bin/download_local_tito get a local copy of the text inventory from$CTS_API_ENDPOINT - Run
bin/fetch_corpus_configto load corpus-specific configuration files - Run the
prepare_atlas_dbmanagement command to ingest ATLAS data from CTS collections (assumesatlas_datadirectory exists; create it viamkdir -p atlas_data)
Queries to ATLAS models are routed via the ATLASRouter database router
(and therefore are isolated from the default database)
CTS data is now bundled with the application.
The deployment workflow is responsible for making corpora available under at the location
specified by settings.CTS_LOCAL_DATA_PATH.
For Heroku deployments, this is currently accomplished by preparing a tarball made available via
$CTS_TARBALL_URL and downloading and uncompressing the tarball using bin/fetch_cts_tarball.sh.
The production instance of the application is built using GitHub Actions.
To deploy a new version, trigger the following GitHub Actions workflows:
-
Update content manifest: (optional)
This workflow scheduled to run daily, and if a change is found, it will open a PR against the default GitHub branch (e.g. #592)
- Manually merge the PR into the branch (e.g. a3f9ba6)
-
Fetches content as defined in data/content-manifests/production.yaml and removes non-essential files.
-
Build base image: (optional)
This workflow should be ran each time the source code / code dependencies are changed.
If there have been no changes to the code since the last deployment, the last built base image will be used when creating the deployment image.
-
Copies the content from the artifacts image onto the base image and ingests content into the CTS resolver and the ATLAS database.
-
Deploys the deployment image to Heroku.
After the deploy finishes, create a new draft release
Heroku app defaults to
scaife-perseus-org-dev. -
Copies the lemmatization data from scaife-viewer/ogl-pdl-annotations onto the deployment image.
This image with code + data + lemmatization data is used to rebuild the search index.
-
Use the search indexer image to run a reindex task (currently on Google Cloud Run).
The job output includes the new index as
ELASTICSEARCH_INDEX_NAME.Check the status of the job using the Check reindexing job status workflow
-
Updates the search index on Heroku to the provided index name (from the "Reindex content" workflow above).
Heroku app defaults to
scaife-perseus-org-dev.
After verifying the changes on scaife-dev.perseus.org, re-run "Deploy app image" and "Promote search index" with:
- Heroku app:
scaife-perseus-org - Name of the latest search index: (
$ELASTICSEARCH_INDEX_NAME) from the "Reindex content" workflow.
Additional maintenance tasks are documented below.
After deploying to scaife.perseus.org, manually create a new release:
-
- Tag:
YYYY-MM-DD-###, e.g.2023-07-06-001 - Title: (repeat value from "Tag")
- Description:
- Code feature 1
- Code feature 2, etc
- Content changes since the last deployment (To generate a diff, use the "Diff corpora contents" workflow documented below in "Release Tasks")
- Tag:
-
Save the release as a draft
-
After verifying changes on scaife-dev.perseus.org and promoting changes to scaife.perseus.org, publish the draft
-
Restart the Heroku app to pick up the new release: *
* TODO: Add a workflow to restart the app.
It will be restarted when "Promote search index" is ran (due to the updated environment variable):

Or manually via:
heroku ps:restart --app=scaife.perseus.orgAfter the application restarts, refresh the homepage to verify the latest release is linked:

-
Diff two versions of the corpus-metadata manifest.
This workflow should be ran after deploying to
scaife-perseus-org-devand before deploying toscaife-perseus-org.It uses the
scaifeCLI to create a diff:scaife diff-corpora-contents
If the workflow is succesful, the diff will be included in the job summary:
--- old.json	2023-07-06 08:30:12
+++ new.json	2023-07-06 08:30:12
@@ -1527,10 +1527,10 @@
    ]
},
{
-    "ref": "0.0.5350070018",
+    "ref": "0.0.5426028119",
    "repo": "PerseusDL/canonical-greekLit",
-    "sha": "593087513cb16dd02f0a7b8362519a3a0e2f29bc",
-    "tarball_url": "https://api.github.com/repos/PerseusDL/canonical-greekLit/tarball/0.0.5350070018",
+    "sha": "701d7470d6bf9a11fb6e508ddd3270bf88748303",
+    "tarball_url": "https://api.github.com/repos/PerseusDL/canonical-greekLit/tarball/0.0.5426028119",
    "texts": [
    "urn:cts:greekLit:tlg0001.tlg001.perseus-grc2",
    "urn:cts:greekLit:tlg0003.tlg001.opp-fre1",
\ No newline at end of file
The following GitHub Actions workflows are used to run maintenance tasks:
-
This workflow should be ran to check the status of the Reindex content job.
It will query the Google Cloud Run API and return a description of the latest job execution:

It also checks the completion status of the execution. If the execution has not completed, an error will be returned:

When the execution has completed, no error is returned:

-
This workflow should be ran after promoting the search index.
It will remove all indices except for the current active index (
$ELASTICSEARCH_INDEX_NAMEas configured for thescaife-perseus-orgHeroku app).This could be a scheduled workflow, but was kept as a manual task in case there was a need to have multiple indices available (for testing on
scaife-perseus-org-dev, etc.)